
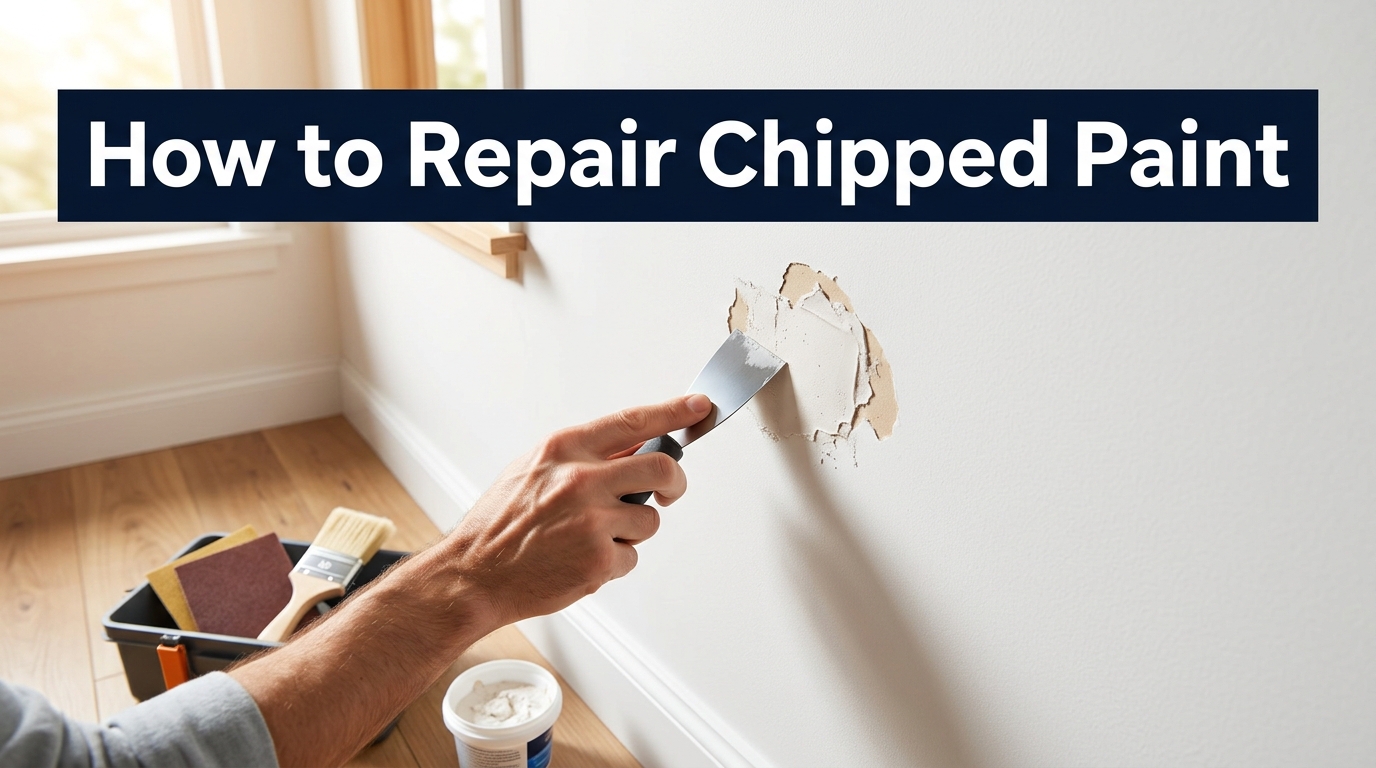
You notice it while you’re vacuuming, or maybe while you’re carrying a laundry basket down the hallway. A little scuff by the baseboard. A gouge near the door handle. A curl of paint peeling off the bathroom ceiling like old wallpaper. Suddenly that room you loved yesterday looks tired today.
The good news is that learning how to repair chipped paint doesn’t require a full repaint, a professional crew, or a weekend you don’t have. Most chips can be fixed in under an hour with a putty knife, a small tub of filler, and a little patience. This guide walks through the whole process in plain language, from figuring out why paint chips in the first place to fixing it on walls, doors, wood trim, metal, bike frames, corners, and ceilings.
One quick note before we start: if your home was built before 1978, chipped or peeling paint could contain lead, and that changes how you should handle the repair. We’ll cover that in the safety section below, so don’t skip it.
Why Paint Chips in the First Place
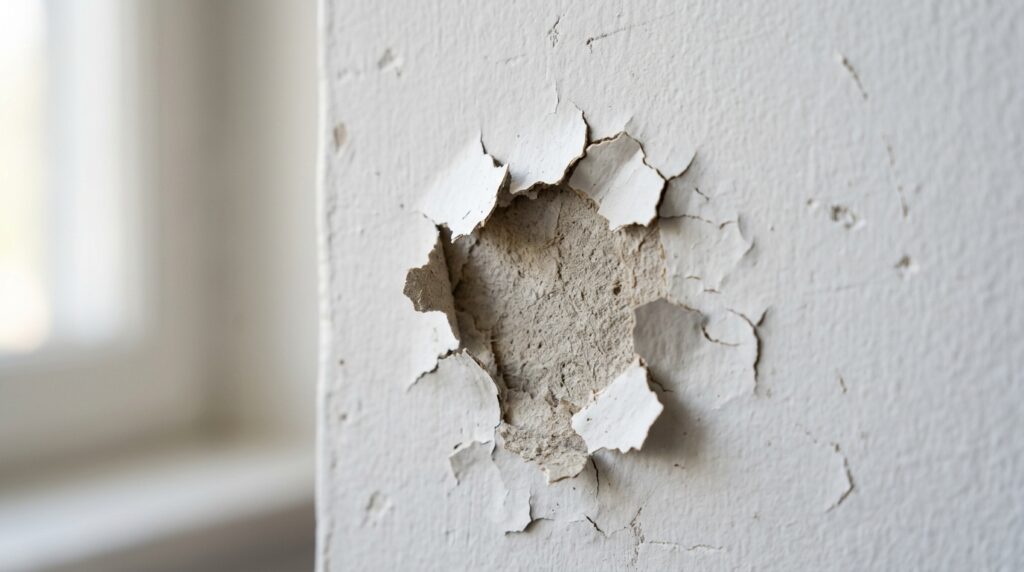
Before grabbing tools, it helps to understand what caused the chip. Paint doesn’t usually fail for no reason. Most chips trace back to one of these:
- Poor surface prep. If the wall or trim wasn’t cleaned, sanded, or primed properly before the last paint job, the new coat never bonded well. It’s basically been waiting to peel off.
- Moisture. Bathrooms, kitchens, and basements trap humidity, and moisture behind paint causes bubbling, cracking, and eventual chipping.
- Impact damage. Furniture bumps, doors slamming into walls, kids’ toys, pets, and moving boxes all leave their mark.
- Age and layers. Old homes often have years of built-up paint layers. Each layer adds thickness, and thick paint is more brittle and prone to cracking at the edges.
- Temperature swings. On exterior surfaces, expansion and contraction from hot and cold cycles gradually loosens paint’s grip.
Knowing the cause matters because it tells you whether a simple touch-up will hold or whether you need to address something bigger first, like a leaky pipe behind a bathroom wall.
Safety First: Checking for Lead Paint
If your house or apartment building was constructed before 1978, there’s a real chance the paint underneath newer layers contains lead. Scraping or sanding that paint without precautions can release lead dust, which is dangerous for children and pregnant women in particular, according to information from the CDC’s childhood lead poisoning prevention program.
A simple home test kit from a hardware store can give you a first read on whether lead is present. If you get a positive result, or you’re not sure, it’s worth following EPA-recommended lead-safe work practices before you do any scraping, sanding, or dry-sweeping. That generally means wetting the area before scraping, using a HEPA vacuum instead of a broom, keeping kids and pets out of the work zone, and disposing of debris properly. For anything beyond a tiny touch-up in an older home, it’s often worth calling in a certified professional.
If your home was built after 1978, you can skip straight to the fun part.
Tools and Materials You’ll Need
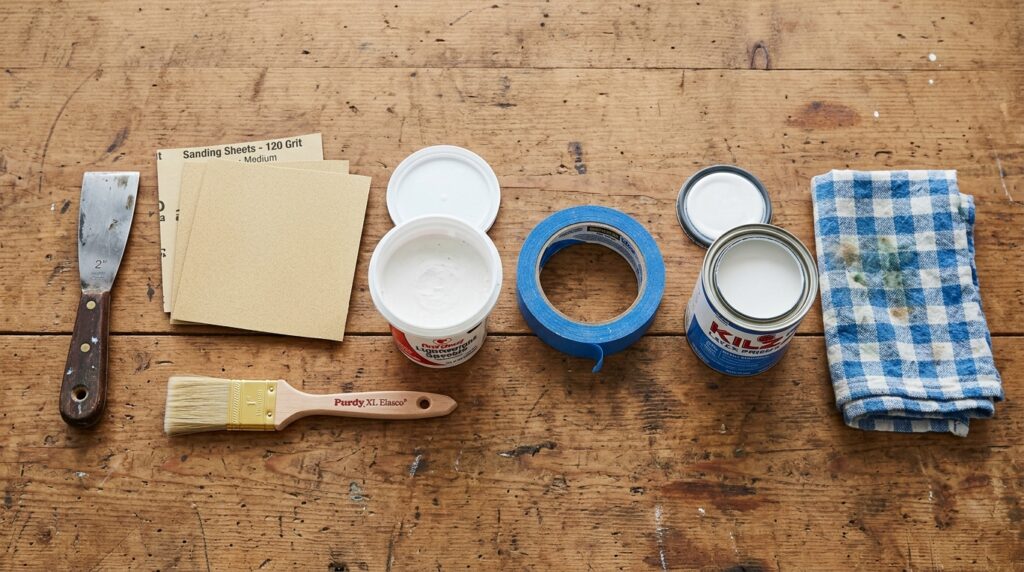
You don’t need a garage full of equipment. A basic kit covers almost every job in this guide:
| Tool/Material | What It’s For |
|---|---|
| Putty knife (1-2 inch) | Scraping loose paint and applying filler |
| Fine and medium grit sandpaper | Smoothing filler and feathering edges |
| Spackle or wood filler | Filling the chipped area |
| Painter’s tape | Protecting edges and adjacent surfaces |
| Small angled brush | Applying primer and paint precisely |
| Primer | Helping new paint bond and preventing stains from showing through |
| Matching paint | The final finish coat |
| Tack cloth or damp rag | Removing dust before painting |
| Rubbing alcohol or degreaser | Cleaning grease or grime off the surface |
Keeping a small labeled jar of leftover paint from your last project saves a lot of guesswork later, since matching color and sheen exactly is the hardest part of any invisible repair.
How to Repair Chipped Paint on a Wall
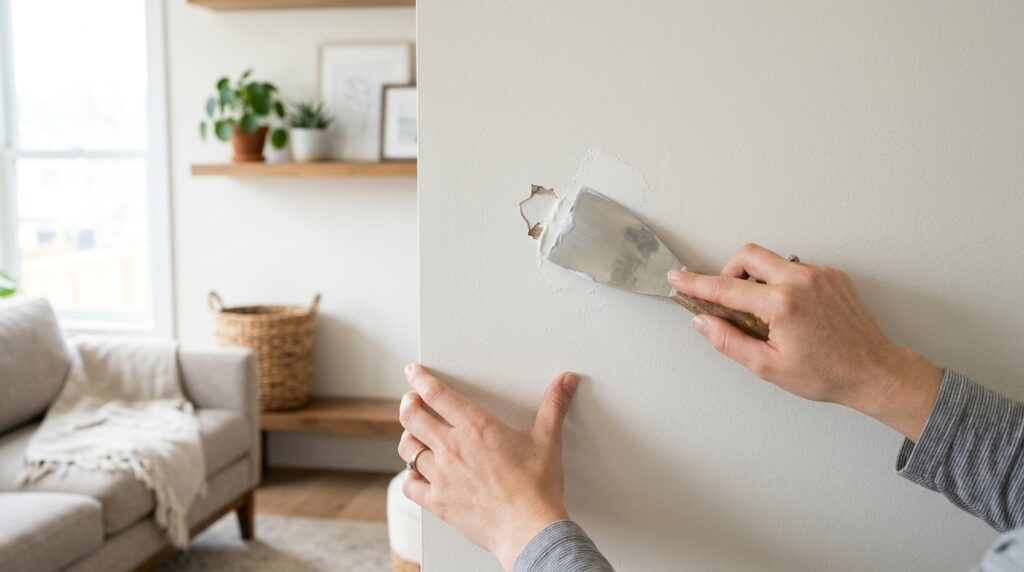
Walls are the most common place people deal with chipped paint, whether it’s from a doorknob ding, a moved couch, or a toddler with a toy truck. Here’s the basic process to repair chipped paint on a wall:
- Clean the area. Wipe away dust and grease with a damp cloth so the filler has something clean to grip.
- Scrape loose edges. Run a putty knife gently over the chip to remove any paint that’s still loose or flaking. You want a stable edge, not a crumbling one.
- Fill the chip. Apply a small amount of acrylic latex filler with your putty knife, slightly overfilling the spot since it will shrink a little as it dries.
- Sand it smooth. Once dry, sand gently with fine grit sandpaper until the patch is level with the surrounding wall. Wipe away the dust.
- Prime and paint. Dab on primer over the patch only, let it dry, then feather your matching paint outward from the center of the repair using light, overlapping strokes.
For drywall texture like orange peel or knockdown, a small piece of sea sponge dabbed lightly with paint can help mimic the surrounding texture before your final coat.
How to Repair Chipped Paint on Corners
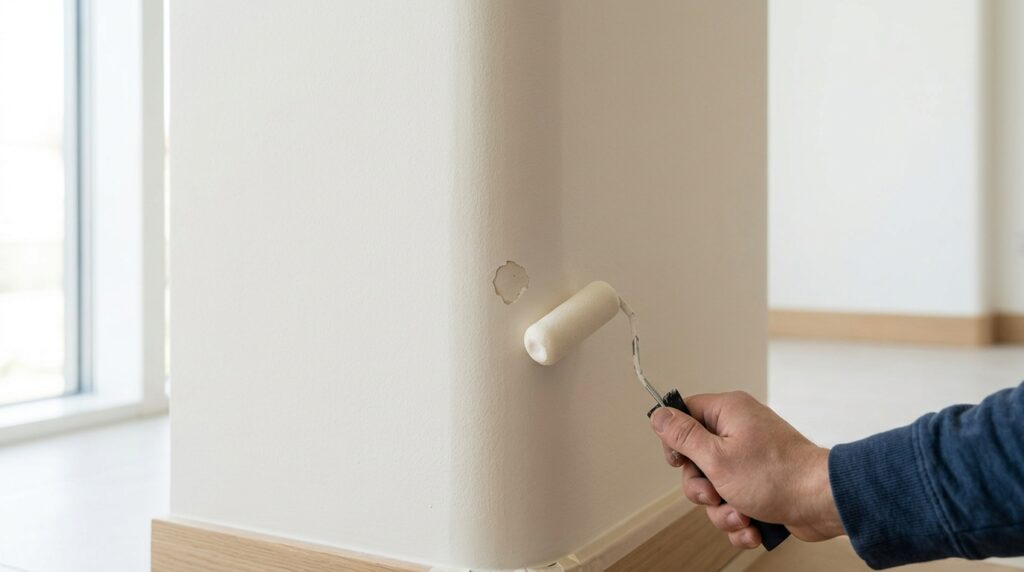
Corners take more abuse than flat wall sections because they stick out into high-traffic paths. Vacuum handles, moving boxes, and backpacks all seem to find them.
The repair steps are similar to a flat wall, with a couple of adjustments:
- Corners are often slightly rounded (called bullnose corners) or perfectly square, so match your filler application to that shape rather than leaving a flat patch that looks off.
- Use a slightly flexible putty knife so you can follow the curve without leaving hard edges.
- Because corners catch light differently from two directions, step back and check the repair from both angles before calling it done.
- Consider adding a clear corner guard afterward if the same spot keeps getting damaged. It’s a small, inexpensive way to stop the cycle of repairing the same corner every few months.
If the corner bead itself (the metal or plastic strip under the drywall corner) is dented or exposed, that’s a slightly bigger repair involving a corner-bead patch, which is worth mentioning to a drywall pro if it’s more than cosmetic.
How to Repair Chipped Paint on a Door
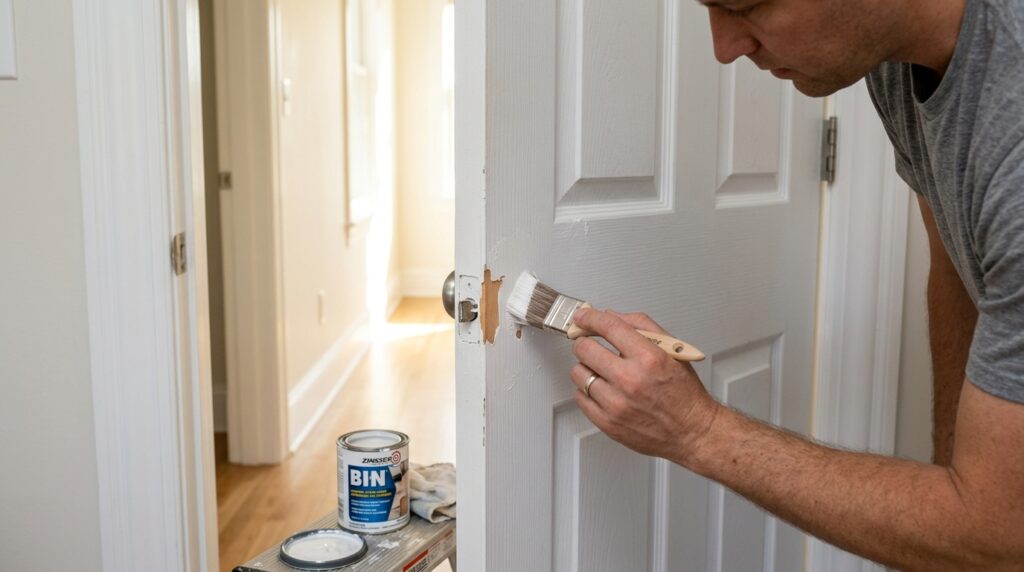
Doors chip constantly near the handle, the bottom edge, and anywhere keys, shoes, or pet claws make contact. Because doors get touched and viewed up close daily, blending the repair well matters more here than almost anywhere else in the house.
- Remove the door from its hinges if you’re doing more than a small spot repair; it’s much easier to work on flat and horizontal.
- Clean the surface with a degreaser, since hands leave oils that resist paint adhesion, especially near handles.
- Sand the chipped area and about an inch around it with fine grit sandpaper to feather the edges.
- Fill any deeper gouges with a lightweight filler, let dry, then sand flush.
- Prime the repaired spot, then paint using the same tool (brush, foam roller, or sprayer) that was used originally, since different tools leave different textures.
- Apply thin coats and let each one dry fully. Two thin coats almost always look better than one thick one.
If your door has panels and detailed molding, work in the direction of the panel lines rather than in broad strokes across the whole door, so the repair reads as part of the original finish rather than a patch.
How to Repair Chipped Paint on a Door Frame
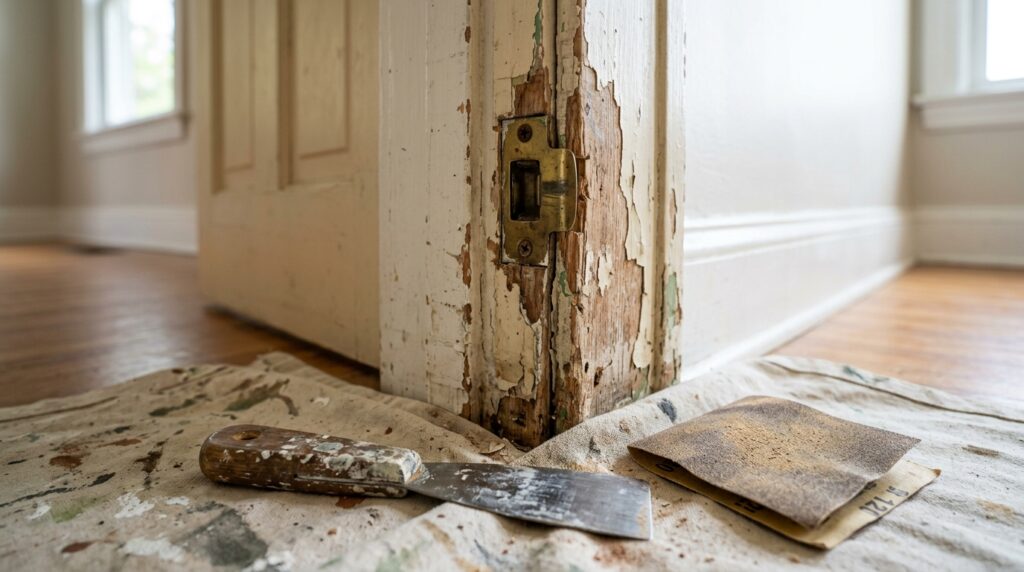
Door frames chip most often near the strike plate, where the door repeatedly opens and closes, and along the bottom where shoes and vacuum cleaners bump into them.
- Scrape any loose or flaking paint away with a putty knife, working in the direction of the wood grain if it’s a wood frame.
- Fill dents and chipped spots with wood filler for a wooden frame, or a paintable caulk where the frame meets the wall for gaps.
- Sand smooth once dry, then wipe away dust with a tack cloth.
- Apply primer to bare wood or filler spots only, then blend in matching paint using a small angled brush for precision around the trim edges.
- Let each coat cure fully. Frames near exterior doors take a beating from weather and repeated slamming, so a slightly more durable, higher-sheen paint (satin or semi-gloss) tends to hold up better than flat finishes here.
If the frame has multiple thick layers of old paint built up over decades, you may be dealing with what painters call “alligatoring,” where the surface cracks in a pattern. In that case, a light overall sanding rather than just chip-filling will give a longer-lasting result.
How to Repair Chipped Paint on a Metal Door Frame
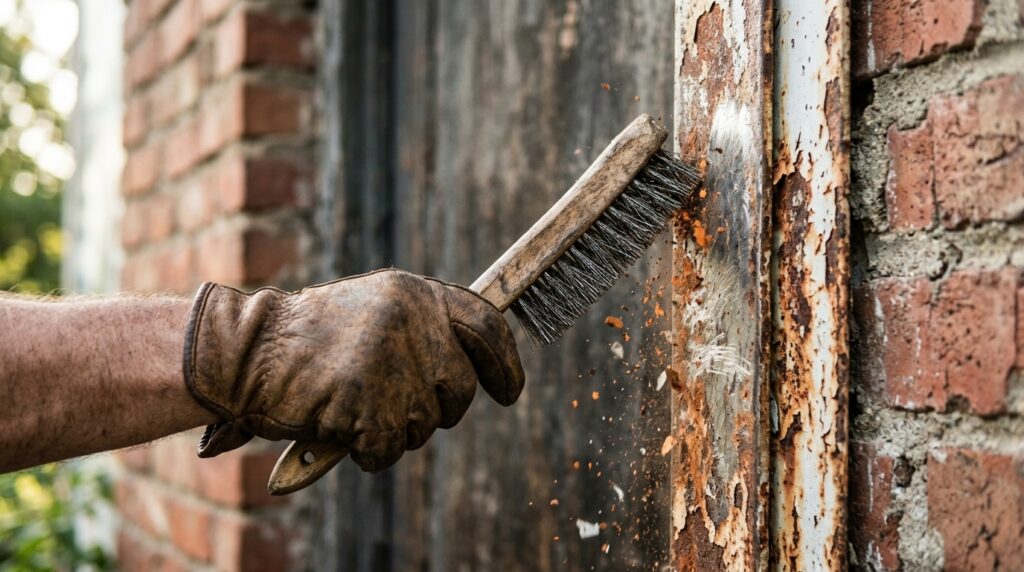
Metal frames, common on exterior and garage doors, chip differently than wood. Once the paint layer breaks, exposed metal can start to rust, so speed matters more here than on wood or drywall.
- Remove rust and loose paint. Use a wire brush or medium grit sandpaper to get down to a stable surface. You don’t need to remove every trace of rust, just anything loose or flaking.
- Clean thoroughly. Wipe with a degreaser to remove oils, dirt, and residue.
- Apply a rust-inhibiting primer. A rusty metal primer designed to bond directly over light rust will stop corrosion from spreading under the new paint.
- Let the primer dry completely before touching it, usually about 24 hours depending on humidity and temperature.
- Paint with a metal-appropriate finish. Oil-based enamels tend to hold up well on metal frames exposed to weather.
Because metal expands and contracts more than wood with temperature changes, avoid painting on extremely hot or freezing days if the frame is outdoors. Mild, dry weather gives the best bond.
How to Repair Chipped Paint on Wood (Trim, Furniture, and Baseboards)
Wood surfaces like baseboards, window sills, banisters, and furniture chip easily because wood naturally expands and contracts with humidity, which stresses the paint layer over time.
- Start by prepping the wood trim properly before adding any new paint. That means cleaning off grime, scraping loose paint, and sanding until the shine disappears so new paint has something to grip.
- For deep chips that have damaged the wood itself, not just the paint, use a wood filler rather than a general spackle. Wood filler is more flexible and bonds better to the grain.
- Apply the filler slightly proud of the surface with a putty knife, let it cure completely, then sand flush.
- Wipe away all dust before priming. Even a small amount of leftover dust can leave the new paint looking rough or uneven.
- Prime bare wood spots, then finish with a paint that matches the sheen of the surrounding trim, since mismatched sheen is one of the most common reasons touch-ups look obvious.
For furniture pieces you want to preserve rather than fully repaint, a color-matched touch-up pen or small artist’s brush works well for pinpoint chips without redoing an entire tabletop or drawer front.
How to Repair Chipped Paint on a Ceiling
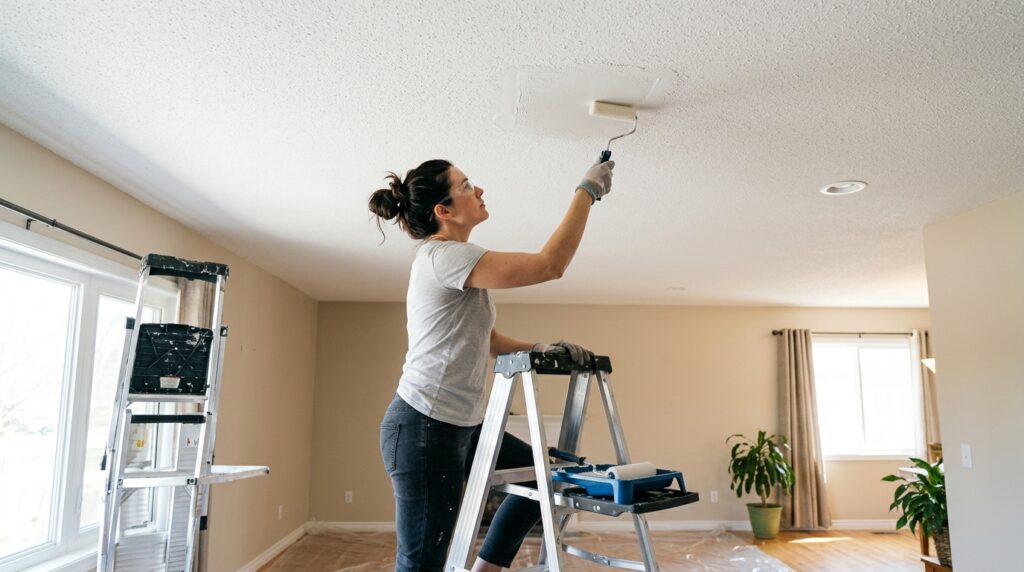
Ceilings chip less often from impact and more often from moisture, especially in bathrooms, laundry rooms, and kitchens where steam collects overhead. A chip on the ceiling can also be an early warning sign of a leak, so it’s worth a quick look in the attic or the room above before repainting.
- Set up a step ladder and lay a drop cloth below to catch dust and drips.
- Scrape away any loose or peeling paint, checking as you go whether the area feels damp or soft, which could point to an active leak rather than old damage.
- If the ceiling is dry and the chip is purely cosmetic, fill it with lightweight spackle, let it dry, then sand smooth.
- Use a stain-blocking primer if there’s any yellowish water staining, since regular paint won’t fully cover a water stain and it will bleed through over time.
- Match the ceiling paint, which is usually flat white but can vary in tone slightly with age, and use a small roller for texture consistency with the rest of the ceiling.
Ceiling repairs are one of the trickier jobs in this list simply because of the angle and the risk of drips, so take your time and use a smaller brush for cutting in around light fixtures or vents.
Expert Tips for a Repair That Actually Blends In
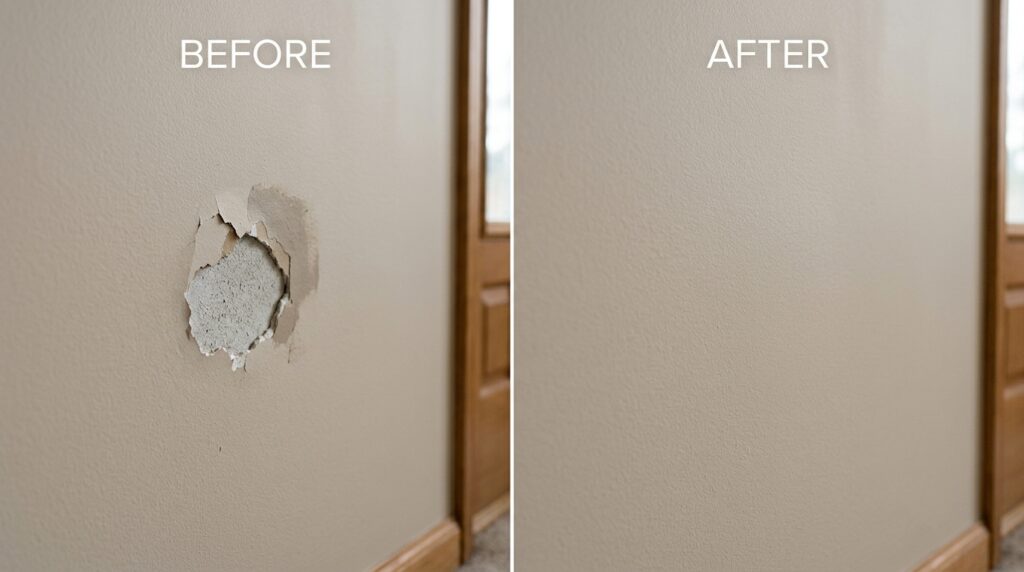
A few small habits separate a repair that disappears from one that just draws more attention to itself:
- Match sheen, not just color. A perfectly color-matched paint in the wrong sheen (say, satin patched into a flat wall) will still catch the light differently and stand out.
- Feather your edges. Instead of painting a hard-edged square over the chip, thin out your brush strokes as you move away from the center so there’s no visible line where old and new paint meet.
- Paint corner to corner when possible. For visible walls, painting from one natural break point (a corner, a window edge) to another blends far better than a small patch in the middle of an open wall.
- Let each layer cure fully. Rushing between primer and paint, or between coats, is the single most common reason repairs peel again within a few months.
- Keep a “repair kit” on hand. A labeled baggie with a small amount of leftover paint, taped to the inside of a closet door, saves you from having to remix or repurchase color-matched paint for the next inevitable chip.
DIY vs. Hiring a Professional
| DIY Repair | Hiring a Professional | |
|---|---|---|
| Best for | Small, isolated chips | Large areas, multiple rooms, pre-1978 homes with lead paint |
| Cost | Low, mostly just materials | Higher, but includes labor and expertise |
| Time | An hour or two per spot | Faster for large jobs due to equipment and experience |
| Color matching | Can be tricky without the right tools | Often has access to computer color matching |
| Lead paint safety | Risky without proper training | Certified renovators follow lead-safe protocols |
If you’re dealing with a handful of small chips in a newer home, doing it yourself is usually the more practical choice. If you’re facing widespread chipping, water damage, or an older home where lead is a concern, it’s worth getting a quote from a licensed painter before starting.
Common Mistakes That Make Chipped Paint Repairs Worse
Even a simple repair can go sideways if you rush a step or skip prep work. Here are the mistakes that show up most often, along with what to do instead:
- Skipping the cleaning step. Dust, grease, and grime under new filler or paint prevent proper adhesion, and the repair often fails again within a few weeks. A quick wipe-down takes two minutes and saves you from redoing the whole job.
- Using too much filler at once. Piling on a thick layer of spackle or wood filler in one pass tends to crack as it dries. Thin, layered applications cure more evenly and sand down more predictably.
- Sanding too aggressively. It’s tempting to sand hard to speed things up, but aggressive sanding can gouge the surrounding surface or thin the paint layer around the chip, creating a bigger repair than you started with. Light, even pressure works better.
- Ignoring the primer step. Painting directly over bare filler or exposed wood without primer often leads to a dull, blotchy patch since raw filler absorbs paint differently than the surrounding surface.
- Rushing dry times. Applying a second coat before the first has fully cured is one of the fastest ways to trap moisture, cause bubbling, or leave brush marks that never quite smooth out.
- Grabbing the wrong sheen. Flat, eggshell, satin, and semi-gloss all reflect light differently. A perfectly color-matched paint in the wrong sheen will still stand out under certain lighting.
- Forgetting to test in a hidden spot first. Especially with older paint that may have faded or yellowed slightly, always test your matched color on an inconspicuous area before committing to the visible repair.
Avoiding these missteps is really what separates a repair that holds up for years from one you’ll be redoing again by next season.
How to Prevent Chipped Paint From Coming Back
Once you’ve put in the work to fix a chip, a little prevention goes a long way toward keeping your walls, doors, and trim looking fresh:
- Add felt pads to the legs and edges of furniture that regularly bumps against walls or corners.
- Install door stoppers to keep handles and hinges from repeatedly striking the wall behind them.
- Use corner guards on high-traffic corners in hallways, stairwells, and entryways.
- Control humidity in bathrooms and kitchens with a working exhaust fan, since moisture is one of the top causes of paint failure over time.
- Address leaks quickly. A small ceiling or wall stain today can turn into repeated chipping and peeling if the underlying moisture source isn’t fixed.
- Choose a durable finish for high-traffic zones. Satin or semi-gloss paints hold up to cleaning and light impact better than flat finishes in busy areas like mudrooms, kitchens, and stairwells.
None of these steps take much effort, but together they can stretch the life of a paint job by years and mean far fewer repairs down the road.
Frequently Asked Questions
How do I match paint color exactly for a small touch-up?
Take a small paint chip from an inconspicuous spot, like inside a closet or behind a light switch plate, to a paint store for color matching. Many stores can scan the chip and mix a close match even if you don’t know the original brand or color name. Test it on a hidden area first before committing to the visible repair.
Can I paint over chipped paint without removing it first?
Not recommended. Painting directly over loose or flaking paint usually means the new coat will fail in the same spot within months, since it has nothing solid to bond to. Always scrape away anything loose before filling and repainting.
How long should I wait between filling a chip and painting over it?
It depends on the filler, but most lightweight spackles are dry enough to sand within 30 minutes to a few hours, while deeper wood filler applications may need several hours or overnight. Always check the product label, since rushing this step is one of the most common reasons repairs don’t hold.
Is chipped paint always a sign of a bigger problem?
Not always. Sometimes it’s simply from an impact or normal wear. But recurring chipping in the same spot, especially with bubbling, discoloration, or a musty smell, can point to moisture intrusion, a leak, or poor original prep work that’s worth investigating before repainting again.
What’s the best filler for chipped paint on different surfaces?
Wood surfaces generally do best with wood filler or wood putty, drywall and plaster respond well to lightweight spackle or basic touch-up techniques using acrylic filler, and metal surfaces need a rust-inhibiting filler or primer rather than standard spackle, which won’t bond or protect against corrosion the same way.
Bringing It All Together
Chipped paint has a way of making an otherwise clean, well-kept space look neglected, but as you’ve seen, most repairs come down to the same core steps: clean, scrape, fill, sand, prime, and paint. The surface changes from wall to wood to metal, but the logic stays consistent.
Start with the smallest, most visible chip in your home this weekend. Once you see how quickly a patch can disappear into the wall, tackling the rest of the list gets a lot less intimidating. And if you ever run into peeling paint in a home built before 1978, pause and test for lead before you scrape a single flake, both for your safety and your family’s.
Small repairs like these add up to a home that simply looks cared for, one patch at a time.

