

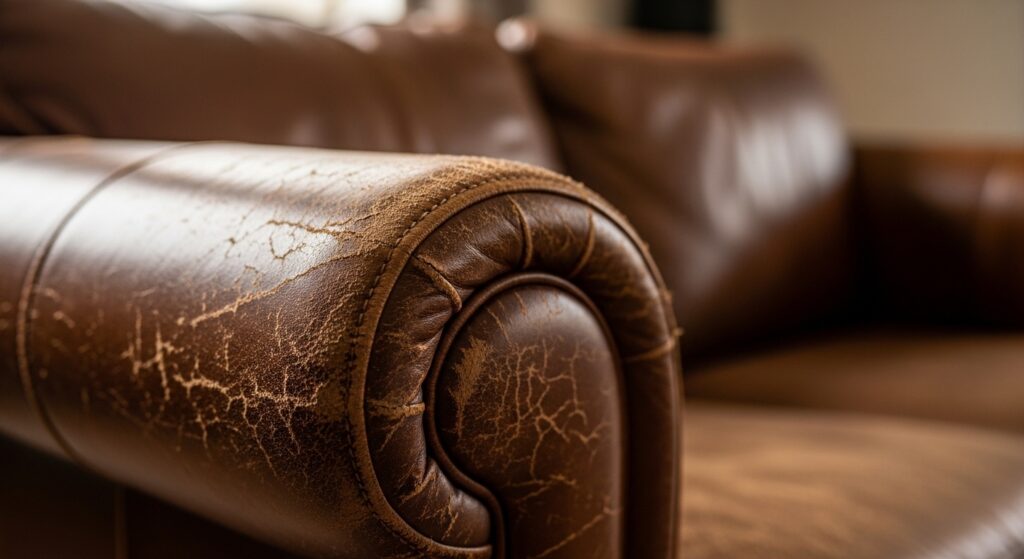
There’s a particular kind of frustration that comes with a leather sofa that’s falling apart on the outside but still perfectly solid underneath. You paid good money for it. The frame hasn’t budged. The cushions still do their job. But the surface tells a different story — cracked in places, patchy in others, armrests scuffed from years of people just living their lives on it.
Most people’s first instinct is to start sofa shopping. But if you’re wondering how to renovate a leather sofa before spending on a replacement — good instinct. The vast majority of leather sofas that look finished aren’t. They’re fixable. And fixing one yourself costs a fraction of what a replacement would — or what a professional would charge to do the same job you can do at home on a Saturday.
First, Figure Out What You’re Actually Dealing With
If you want to know how to renovate a leather sofa properly, it starts here — before you buy a single product. Get close to the sofa and really look at it. Run your hand across the surface. What you find will shape everything that follows.
A few things worth checking:
Is it cracking or peeling? Cracking is just normal wear on real leather — it can be fixed properly. Peeling is a different story. That usually means you’ve got bonded leather, which is a layered material that breaks down from the top down. It can be improved, but managing your expectations matters here — it’s more of a patch job than a full restoration.
Is the damage spread across the whole sofa, or concentrated in specific spots? Armrests, headrest areas, and seat cushions tend to take the most punishment.
Are there any actual tears — damage that goes all the way through the surface? Those need a slightly different approach to surface-level cracks and scuffs.
Getting clear on this before you buy anything means you’ll pick the right products and tackle things in the right order. It also means you won’t be surprised halfway through.
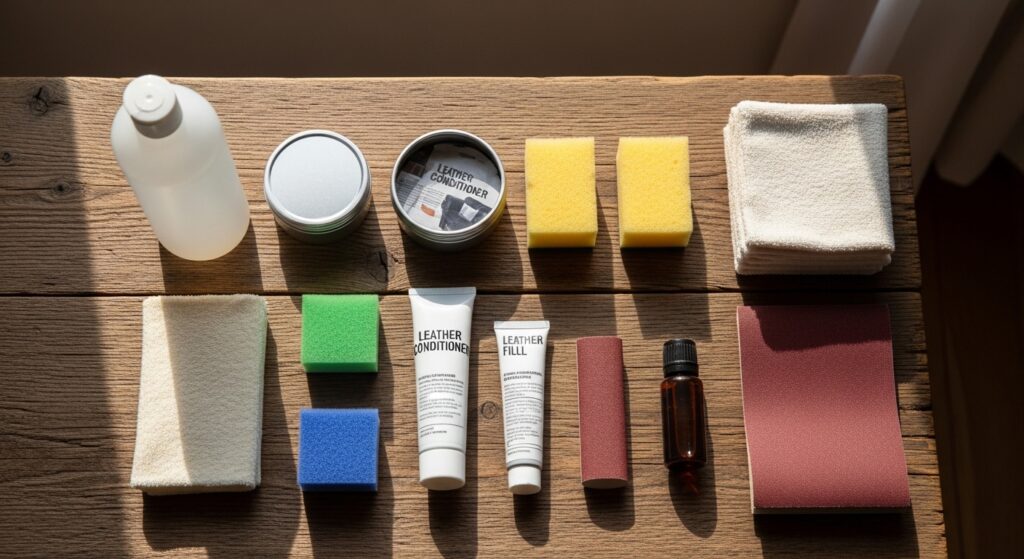
What You’ll Need to Renovate a Leather Sofa
Nothing complicated, and most of it comes in a single kit:
- Leather cleaner — a dedicated one beats soap and water, though diluted gentle soap works fine for a light surface clean
- Leather conditioner — don’t skip this one
- Leather filler — for cracks, scratches, and small tears
- Fine sandpaper — 400 grit is about right, for smoothing filled areas
- Leather dye or colour restorer — matched to your sofa’s original shade as closely as you can get
- Leather top coat or sealer — to lock everything in once you’re done
- Several soft cloths and sponges
A good all-in-one leather repair kit runs somewhere between $15 and $30 and covers most of this. If the colour work is significant, it’s worth buying a separate dye in the right shade rather than relying on whatever comes in the kit.
How Long Does Renovating a Leather Sofa Actually Take?
Worth being straight about this upfront.
David Mesquita, co-owner of Leather Spa in New York City, has said that cleaning leather furniture alone can take anywhere from one to three hours — entirely depending on how well the sofa has been maintained between deep cleans. A regularly wiped-down sofa is a quicker job than one that’s been left to fend for itself for a few years.
Factor in the repair, conditioning, dyeing, and sealing steps, and you’re realistically looking at a full day. Not because the work itself is slow, but because you can’t skip drying time between stages. Start in the morning, let things dry properly at each step, and you’ll have a finished sofa by evening.
Most of that time is just waiting around. The actual hands-on work is probably two to three hours spread through the day.
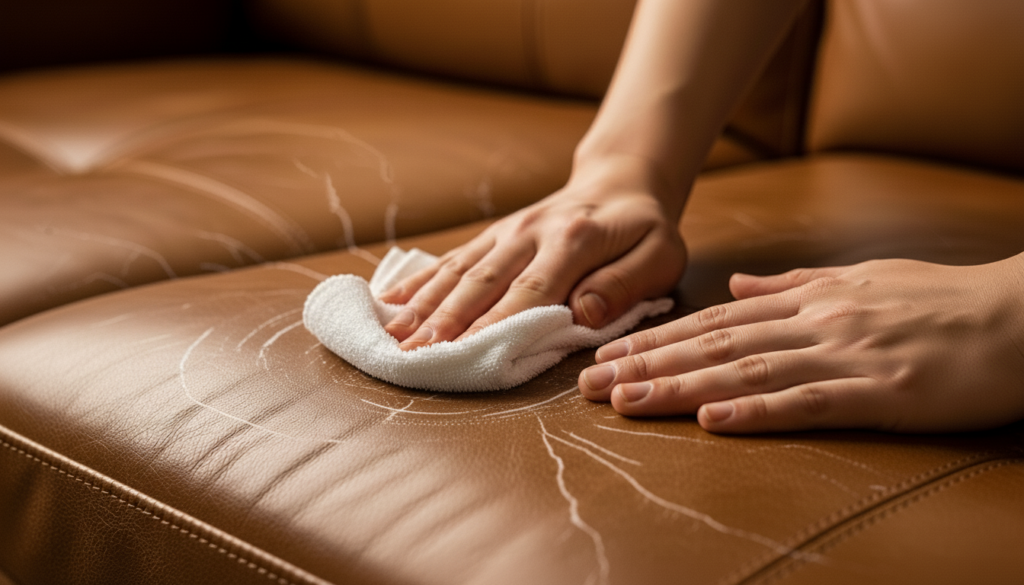
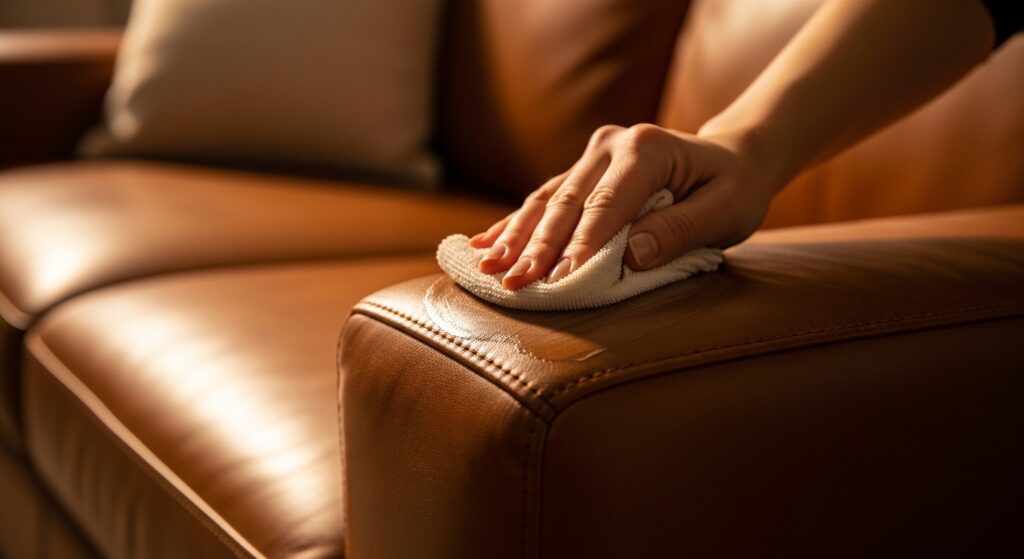
Step One: Clean It — Properly
When learning how to renovate a leather sofa, cleaning is the step most people rush — and it’s the one that makes or breaks everything after it. Every product you apply needs a clean surface to work on. Filler won’t stick to dirty leather. Dye goes on uneven over grease and body oils. Conditioner can’t get into the leather through a layer of built-up grime.
Put your cleaner on a cloth first, then wipe the sofa down. Don’t spray it directly onto the leather. Work in sections, keep the pressure light, and spend extra time on the armrests and headrest area — those carry the most built-up oils. Run the cloth along the seams too, because dirt collects there and it’s easy to overlook.
Then leave it alone. Not until it looks dry — until it actually is dry. A couple of hours minimum. Leather that’s still slightly damp underneath will affect how every product after it performs.
One thing to check on your cleaner before you use it: anything containing alcohol, bleach, or ammonia is off the table. Those strip the natural oils out of leather and leave it worse than before you started. Baby wipes fall into the same category — they seem harmless but dry leather out with regular use.
Step Two: Deal With the Damage
With the sofa clean and dry, now you get into the actual repair work — the heart of how to renovate a leather sofa at home.
Light scratches and scuffs
Before reaching for the filler, try rubbing a small amount of conditioner directly into the scratched area and buffing it out with a soft cloth. A surprising number of light marks respond well to this alone — the conditioner fills the surface just enough to make them much less noticeable.
For anything deeper, apply a thin layer of leather filler with a sponge and let it dry. One coat, check the result, then add a second only if you actually need it. Thin layers are the key — thick ones crack.
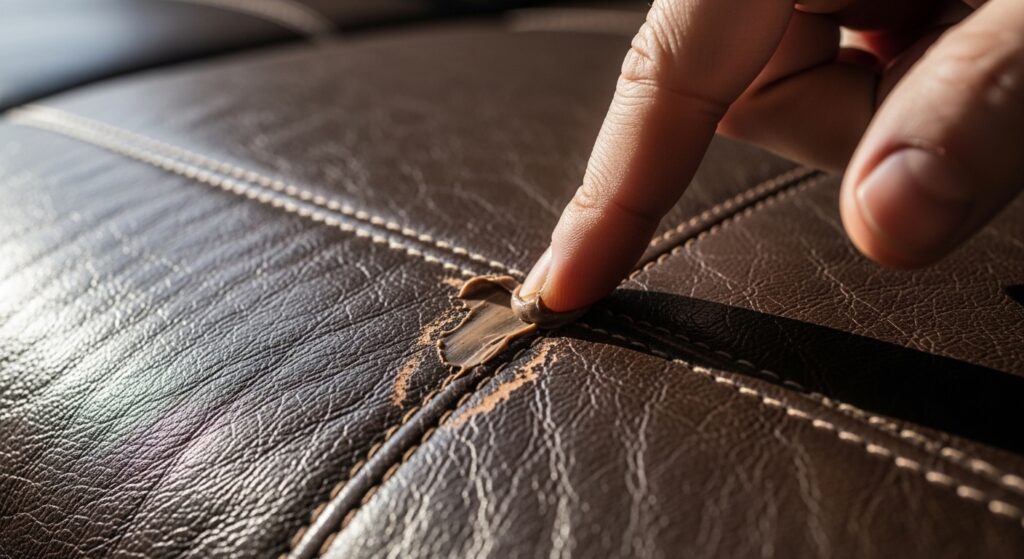
Cracks
Work filler into each crack with your fingertip or a small flat tool, smooth off the excess, and let it dry before adding another layer. Build it up gradually. Once it’s fully dry, sand lightly until the surface feels level and smooth.
The temptation is to rush this part. Don’t — rushing is how you end up with a visible ridge where the crack used to be.
Small tears
Clean the torn edges, then slide a small piece of canvas or thin fabric — a sub-patch — underneath the tear using leather adhesive. Once that’s in place, glue the edges back down over it and hold them firmly together for a few minutes while the adhesive sets. Filled and coloured over, most small tears become hard to spot at all.
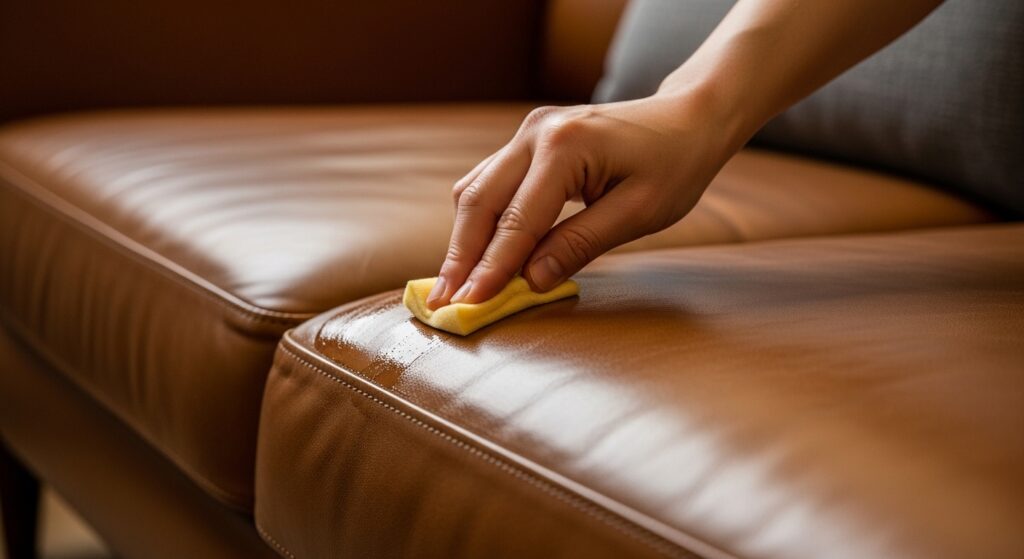
Step Three: Condition the Leather
This is the step that gets skipped most often when people attempt to renovate a leather sofa at home — and it makes a bigger difference than almost anything else in the process.
Leather loses its natural oils over time. When those oils go, the leather stiffens, becomes brittle, and starts cracking. Conditioning puts that moisture back.
Apply conditioner with a soft cloth, working it in using slow circular motions. Cover the whole sofa — not just the areas that look damaged. Even the parts that seem fine will absorb it and benefit from it. Then leave it. A few hours is good. Overnight is genuinely better.
When you come back to it, the difference in how the leather feels under your hand will be clear. Sofas that felt stiff and papery feel genuinely soft again. That change alone is worth the time.
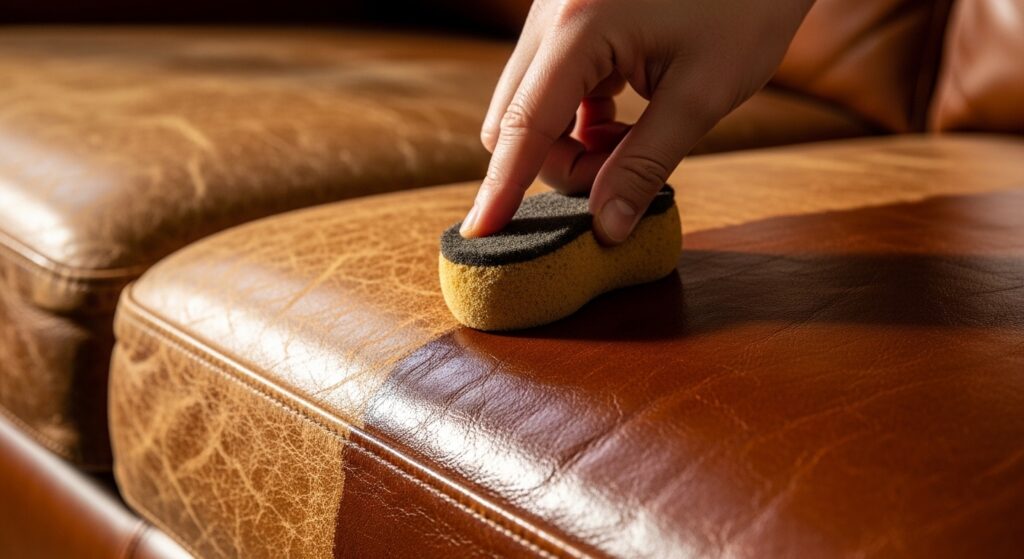
Step Four: Bring the Colour Back
If the sofa has faded, gone patchy, or lost its original depth in the areas that get the most use, this is where you fix that — one of the more satisfying parts of the whole leather sofa renovation process.
Apply dye or colour restorer with a sponge using a dabbing or gentle circular motion — not wiping strokes, which can leave lines. Build the colour up across the whole surface slowly, letting each coat dry before you decide whether another is needed. Adding more colour is easy. Fixing something that’s gone too dark is a pain.
Getting the colour match right is the trickiest part of the whole job. Photograph the sofa in natural daylight before you order anything and compare carefully against swatches. A lot of suppliers will mix a custom shade if you send them a photo or a physical sample — it costs a bit more, but for a clean result it’s usually worth it.
Step Five: Seal and Protect the Finish
Once the colour is right and fully dry, go over the whole sofa with a leather top coat or protective sealer. This is what stops everything you’ve just done from wearing off within a few months — and it’s the final step in knowing how to renovate a leather sofa that actually stays looking good.
Apply it in thin, even layers with a soft sponge, letting each one dry before adding the next. Two coats is typically enough. The sealer gives the surface a slight sheen and a noticeably more uniform look — it’s the finishing step that makes the whole thing look deliberate rather than patched together.
Keeping Your Renovated Leather Sofa in Good Shape
All that work deserves to last. A few habits will keep it looking good:
- Condition it twice a year — spring and autumn is an easy rhythm to stick to
- Blot spills immediately, never rub them
- Keep it away from radiators and out of direct sunlight — heat and UV are the two things that age leather fastest
- Dust it weekly with a dry cloth to stop grime building up between deep cleans
- Rotate the cushions so the wear spreads evenly
- Use proper leather cleaner a few times a year, not just a damp cloth
- Use coasters — drink rings and moisture from cold glasses sitting directly on leather cause staining that’s genuinely difficult to shift
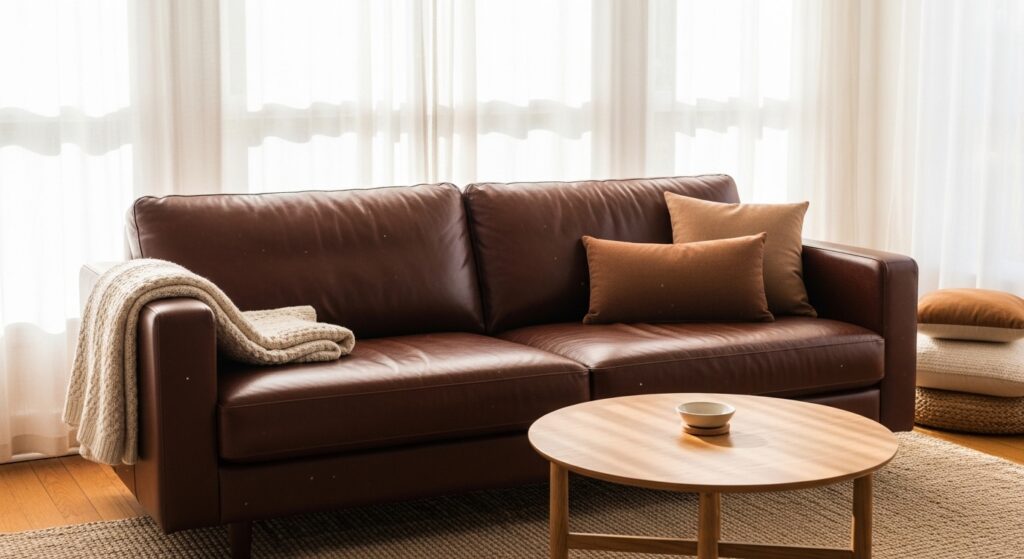
Is It Always Worth Renovating a Leather Sofa Yourself?
For most sofas, yes — without much hesitation. The products are affordable, the process is manageable, and when it’s done with a bit of patience the results hold up well.
The cases where it’s not worth attempting are structural ones: a broken frame, collapsed springs, or leather that’s deteriorated so thoroughly across the whole surface that restoration isn’t realistic. Those are jobs for a professional upholsterer. But a sofa that’s tired, cracked, faded, or scuffed? That’s well within reach at home. It’s less daunting than it looks, and sitting back down on a sofa that looks properly good again — one you nearly threw out — is genuinely satisfying.
Frequently Asked Questions
Can badly damaged leather actually be fixed at home?
Most surface damage — cracks, scuffs, fading, small tears — yes. The limit is structural damage or leather that’s completely broken down across the whole surface. That needs a professional.
What’s the best product for renovating a leather sofa?
An all-in-one leather repair kit is the best starting point — it covers the main bases at a low cost. For colour work, a separate dye matched to your sofa’s shade gives a cleaner finish than whatever comes in the kit.
What does a DIY leather sofa renovation actually cost?
Most people spend between $50 and $70 on everything — kit, conditioner, dye, top coat. That’s a fraction of what a professional service runs, and nowhere near the cost of replacing the sofa.
How do you fix cracked leather without replacing it?
Filler worked into the crack in thin layers, sanded smooth once dry, then coloured over with matching dye and sealed. Done carefully, the crack essentially disappears.
How often does a leather sofa need conditioning?
Twice a year covers most sofas. If yours gets heavy daily use or sits in direct sunlight, every three to four months is better. Regular conditioning is the single most effective way to stop cracking before it starts.
Also Read:
Cheapest Material to Build a House: Your Complete 2026 Guide
How to Clean a Burnt Stainless Steel Pan (Without Losing Your Mind)
Can You Bury Your Pet in Your Backyard? What You Actually Need to Know
