

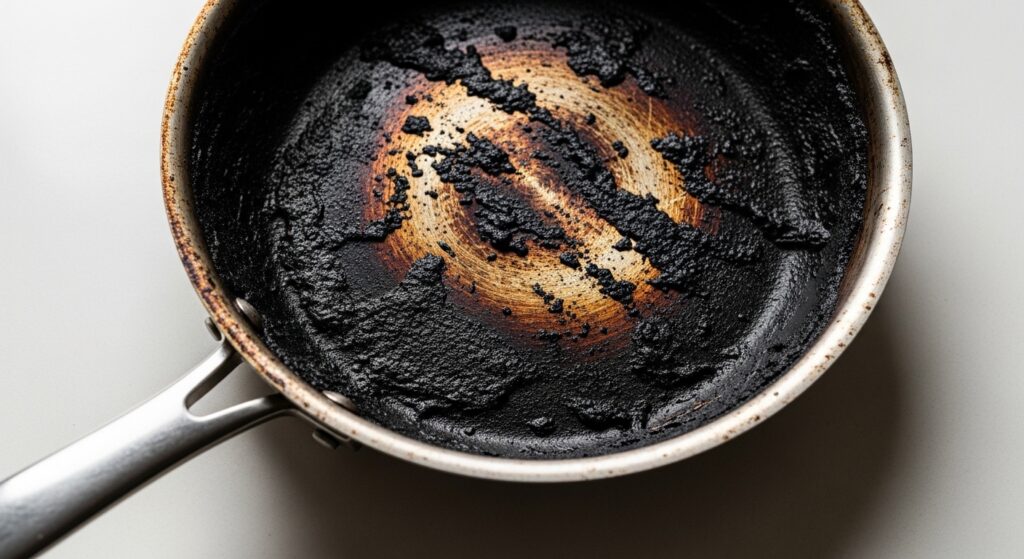
Okay, so it happened. You got distracted — maybe by your phone, maybe by a child, maybe by absolutely nothing at all — and now your stainless steel pan looks like a crime scene. There’s a thick, black, stubborn layer of burnt-on food sitting at the bottom, laughing at you.
Before you do something drastic (like throw it in the bin or pretend you never owned it), here’s the truth: that pan is almost certainly not ruined. Stainless steel is tougher than it looks, and with the right method, you can get it back to looking practically new.
How Often Should You Clean Stainless Steel Pans?
Short answer: after every single use.
Grease buildup is sneaky. It doesn’t look like much the first time, but every time you cook on a pan that hasn’t been properly cleaned, that residue bakes on a little more — and eventually you end up with the kind of mess that takes serious effort to remove. A quick wash with dish soap and a soft sponge after each use takes two minutes and saves you from a thirty-minute scrubbing session down the line.
Before You Start — Things Worth Knowing
There are a few ground rules before you dive in, and they’re worth taking seriously.
Let the Pan Cool First
Never wash a pan while it’s still hot. Submerging a hot stainless steel pan in cold water can cause permanent warping — the base bows out, the pan sits unevenly on the hob, and it heats inconsistently forever after. Give it at least twenty minutes to cool down properly.
As Jacqueline Stein, professional cleaner and owner of Home Reimagined in Austin, Texas, puts it: “Cleaning a hot pan can and will damage it over time.”
Check the Manufacturer’s Instructions
It sounds obvious, but a lot of people skip this. Many pans have specific cleaning recommendations based on their material and manufacturing process. Stein advises always checking these first before reaching for any cleaning product.
Use the Right Tools
This matters more than most people realise. Stainless steel scratches more easily than it looks, and scratches aren’t just cosmetic — they make the surface harder to clean in future.
Safe to use:
- Soft sponges and microfibre cloths
- Nylon scrubbing brushes
- Non-scratch scourers
Never use:
- Steel wool or metal scourers — they leave permanent scratches
- Bleach or oven cleaner — these damage and corrode the surface
- Anything metal that could gouge the finish
Wearing protective gloves is also a smart move, especially when working with hot water or stronger cleaning agents.
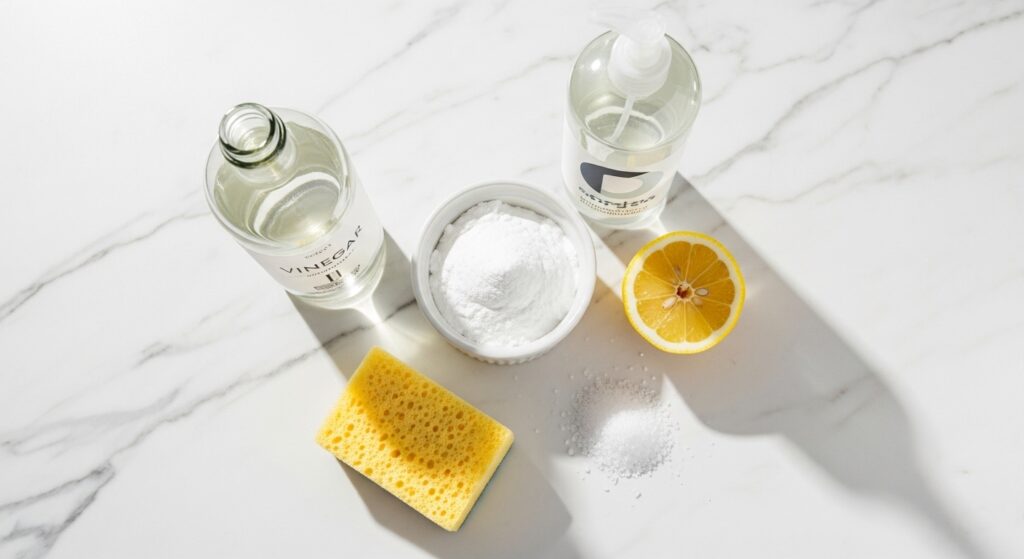
What You’ll Need
Most of this is already in your kitchen:
- Warm water
- Dish soap
- Soft sponge or cloth
- Soft towel for drying
- Baking soda
- White vinegar or lemon juice
- Coarse salt (optional)
- Bar Keepers Friend (optional — for stubborn burns)
- One dishwasher tablet (optional — for extreme cases)
6 Methods For How to Clean a Burnt Stainless Steel Pan
Start with Method 1 and work your way down only if needed. Most burns are sorted by Method 2 or 3.
Method 1: Rinse and Soak — Start Here
This is your first port of call for everyday cleaning and light burns. Simple, quick, and effective for anything that hasn’t fully carbonised.
Steps:
- Rinse the pan with warm water to remove any loose food residue.
- Fill the pan with warm, soapy water and let it soak for 5–15 minutes.
- Scrub with a soft sponge, paying extra attention to stubborn spots.
- Rinse thoroughly with warm water.
- Dry immediately with a soft towel — stainless steel shows water spots easily, so don’t leave it to air dry.
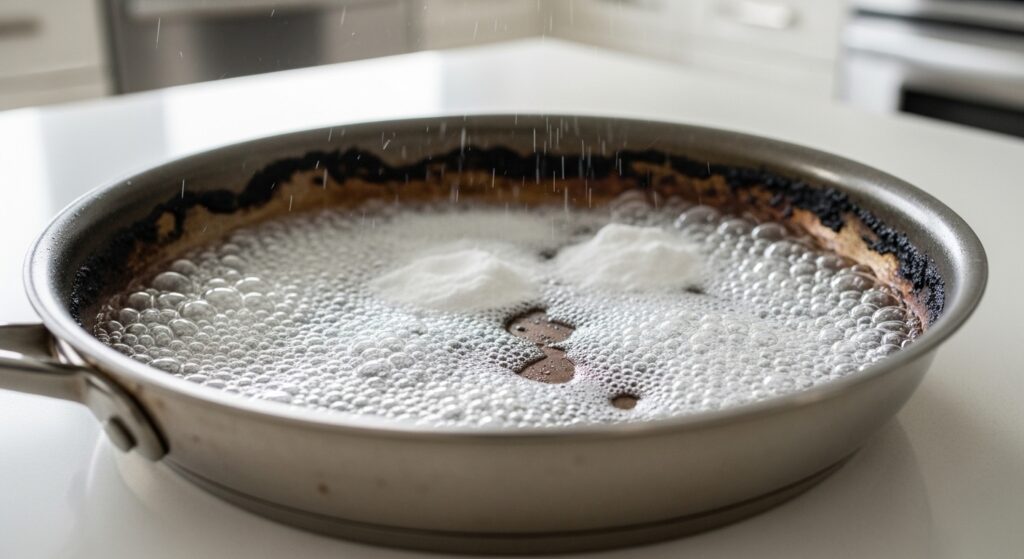
Method 2: Baking Soda and Vinegar — The Reliable Workhorse
If soaking doesn’t shift it, this is your next move. The fizzing reaction between baking soda (a base) and vinegar (an acid) physically lifts burnt food off the surface in a way that scrubbing alone can’t always manage. It’s satisfying to watch and it genuinely works.
Steps:
- Sprinkle a generous layer of baking soda over the burnt area.
- Pour a small amount of white vinegar or lemon juice over the top — it’ll fizz up immediately.
- Let it sit for 5–10 minutes.
- Scrub gently with a soft sponge in circular motions.
- Rinse thoroughly and dry straight away.
Pro tip: For really stubborn burns, try this on the hob. Pour enough vinegar to cover the base, bring it to a gentle simmer, take it off the heat, add two tablespoons of baking soda, and let it cool before scrubbing. The before-and-after difference is remarkable.
Method 3: Boil with Water and Baking Soda — For Tough Stains
This method brings heat into the equation, which helps loosen carbonised food that won’t shift with scrubbing alone. That said, Jacqueline Stein recommends reserving this one for tough stains only — “This is not the recommended regular cleaning technique, as over time this may cause damage to the pan because of abrasive scrubbing and high heat.”
Steps:
- Fill the pan with water and add 2–3 tablespoons of baking soda.
- Bring the water to a boil and let it simmer for 10–15 minutes.
- Turn off the heat and allow the pan to cool completely before touching it.
- Scrub with a soft sponge — most of the burnt bits should lift away easily now.
- Rinse thoroughly and dry immediately.
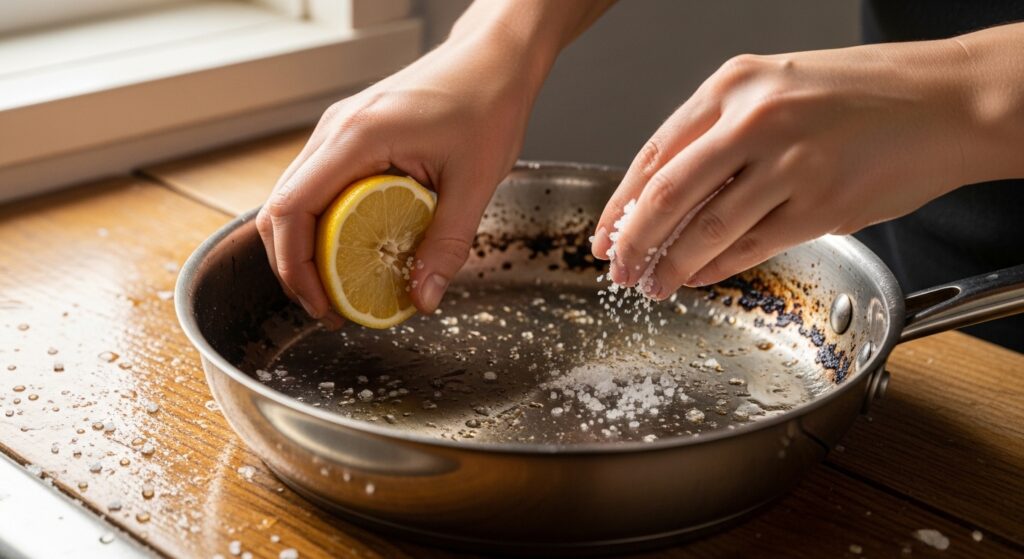
Method 4: Coarse Salt and Lemon — Old School and Underrated
This one doesn’t get nearly enough credit. Coarse salt acts as a natural abrasive, and lemon juice brings just enough acidity to cut through grease and caramelised residue. It also leaves the pan smelling genuinely clean, which is a nice bonus.
Steps:
- Sprinkle coarse sea salt or kosher salt generously over the burnt area.
- Cut a lemon in half and use the cut side to scrub the salt into the pan with firm, circular pressure.
- Keep scrubbing until the burnt layer starts to lift.
- Rinse well and follow up with dish soap.
This works brilliantly on the outside of pans too — the part that often gets completely neglected.
Method 5: Bar Keepers Friend — The Secret Weapon
If you haven’t discovered Bar Keepers Friend yet, consider this your introduction. It’s a powdered cleanser with a near-cult following among cookware enthusiasts, and for good reason. Its active ingredient — oxalic acid — breaks down burnt food, rust, and mineral deposits far more effectively than baking soda alone.
Steps:
- Dampen the pan with water.
- Sprinkle Bar Keepers Friend over the burnt area, or mix it with a little water to form a paste.
- Leave for no more than one minute — the oxalic acid can dull the finish if left too long.
- Scrub in the direction of the grain (the faint lines running across the surface). Going against the grain leaves visible scratches.
- Rinse thoroughly to remove every trace of powder, then wash with dish soap.
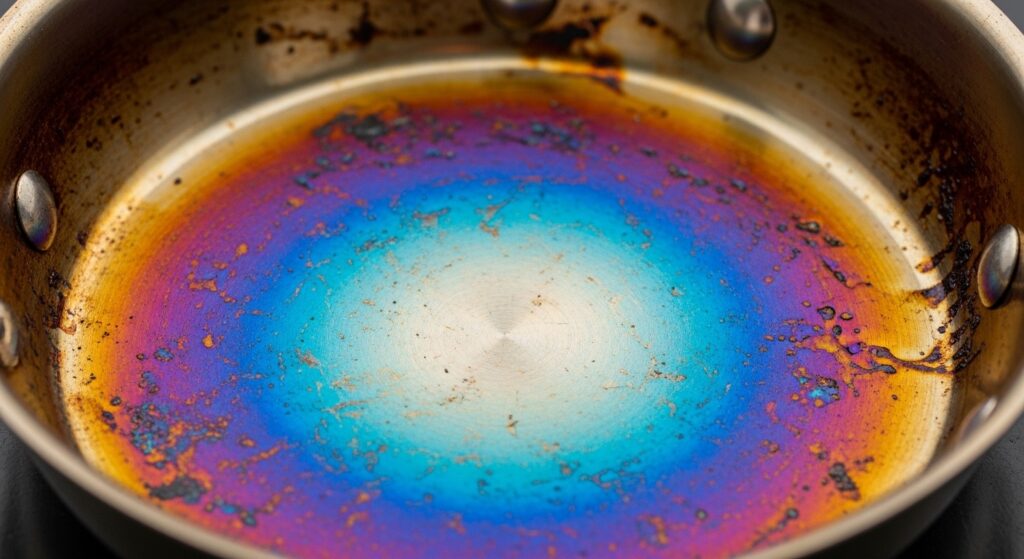
Bar Keepers Friend is also the best thing out there for removing heat tint — that blue, purple, or rainbow discolouration that appears after cooking on very high heat. A minute of scrubbing and it’s gone completely.
Method 6: Dishwasher Tablet Boil — The Nuclear Option
Save this one for pans that seem genuinely beyond saving. It looks ridiculous. It works brilliantly.
Steps:
- Fill the pan with enough water to cover the burnt area.
- Drop in one dishwasher tablet.
- Bring to a boil, reduce to a simmer, and leave for 10 minutes.
- Remove from heat and allow to cool completely.
- The burnt bits should lift with barely any effort — a wooden spoon or light scrub is usually enough.
- Wash with dish soap and rinse thoroughly.
The enzymes in dishwasher tablets break down carbonised food in a way that’s hard to beat. I’ve used this method on pans I was genuinely ready to throw out, and it’s saved them every time.
What About Rainbow Stains?
If you’ve noticed blue, purple, or golden tinting on the inside of your pan — relax. It’s not damage. It’s called heat tint, caused by the chromium in the steel reacting to very high temperatures. It looks alarming but it’s completely harmless and doesn’t affect cooking performance at all.
To remove it:
- Pour a small amount of white vinegar directly onto the stain
- Rub with a soft cloth for a minute or two
- Rinse and wash as normal
It disappears almost instantly. Done.
How to Stop It Happening Again
Cleaning a burnt pan is satisfying, but not having to do it in the first place is better. A few habits make a real difference:
- Use the right heat level. Stainless steel holds heat well, so you rarely need to go above medium. A lot of burning happens simply because people crank the heat up when they don’t need to.
- Preheat the pan properly before adding oil. Heat the empty pan, then add oil, then add food. To test if it’s ready, flick a few drops of water in — if they bead up and skitter around, you’re good to go.
- Deglaze while you cook. A splash of water or stock added right after cooking dissolves any stuck bits before they have a chance to harden. It takes five seconds.
- Clean soon after use. Warm pans are far easier to clean than ones left to sit overnight. The longer burnt residue sits, the more stubborn it becomes.
- Avoid cooking richly coloured foods on very high heat. Tomato-based sauces, spice pastes, and sugary glazes are the most common causes of bad staining.
The Bottom Line
A burnt stainless steel pan is frustrating, but it’s rarely a lost cause. Start with a simple soak, escalate to baking soda and vinegar if needed, and keep Bar Keepers Friend in the cupboard for the serious jobs. With the right approach, even the most charred-looking pan can come out looking better than you’d expect.
Stainless steel is worth looking after. A good pan, cared for properly, can last decades — and that’s a much better outcome than replacing it every few years because of burns that were entirely fixable.
Good luck. And maybe set a timer next time.
For more Interesting tips and tricks wist our blog.
