

You know the feeling before you even check a thermometer. The air feels thick. Your sheets feel damp even though nothing spilled on them. The bathroom mirror won’t clear, and there’s a faint musty smell drifting in from somewhere you can’t quite pinpoint.
If you’ve been searching for how to lower humidity in house fast naturally, you’re probably not looking for a lecture on dew points and psychrometric charts. You want practical steps that actually bring the stickiness down today, using things you likely already have around the house.
The good news is that you don’t need to buy a single gadget to start seeing results. Some of the most effective humidity fixes are habits, not hardware. Others use cheap materials like rock salt or charcoal that pull moisture straight out of the air. And a few are simple adjustments to how you already run your fans, windows, and AC.
This guide walks through the fast fixes first, then moves into the everyday habits that quietly keep your home damp, natural moisture absorbers you can set up in minutes, and the longer-term changes worth making if humidity keeps coming back. Along the way, there’s a disclaimer worth repeating upfront: everything here is shared for general informational purposes, not as a substitute for a professional inspection if you’re dealing with an ongoing moisture or mold problem in your home.
Why Your House Feels So Humid in the First Place
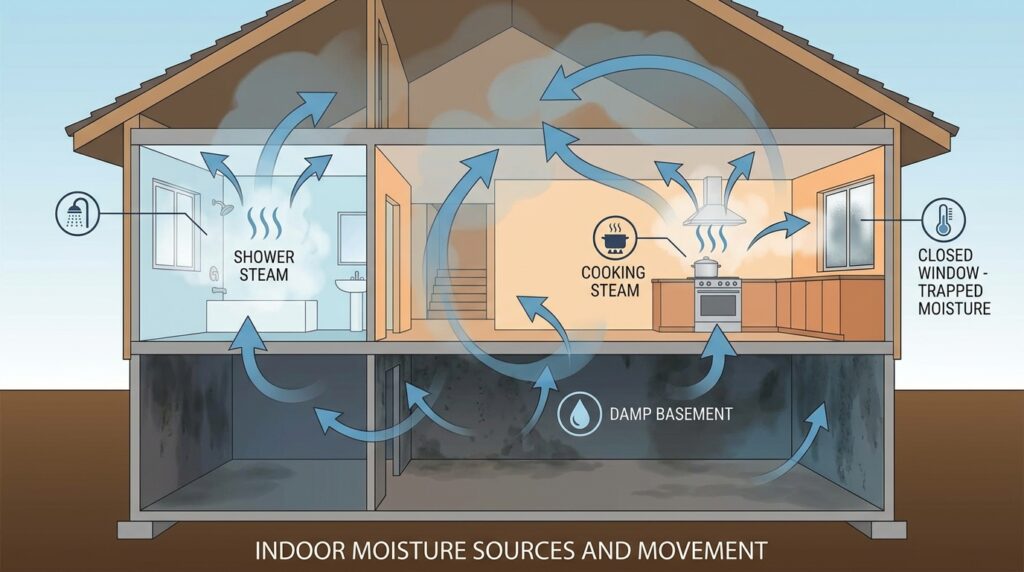
Before chasing fixes, it helps to understand where all that moisture is actually coming from. Most homes don’t have one single culprit. They have a handful of small moisture sources that add up throughout the day.
A single hot shower can release a surprising amount of water vapor into bathroom air in under ten minutes. Boiling pasta, running a load of laundry, breathing while you sleep, and even houseplants all contribute small amounts of moisture that build up over hours. In a tightly sealed, well-insulated home, that moisture has nowhere to go unless you actively move it out.
Climate plays a role too. Homes in coastal or subtropical regions deal with humid outdoor air pushing indoors through doors, windows, and gaps in the building envelope. Homes with poor ventilation in bathrooms, kitchens, basements, or crawl spaces trap moisture instead of letting it escape, which is exactly where problems tend to start.
Understanding your specific sources matters because it changes your strategy. If your humidity spikes right after cooking, the fix is different than if your basement stays damp year-round regardless of what you do upstairs.
What Counts as “High” Humidity, and How to Test It
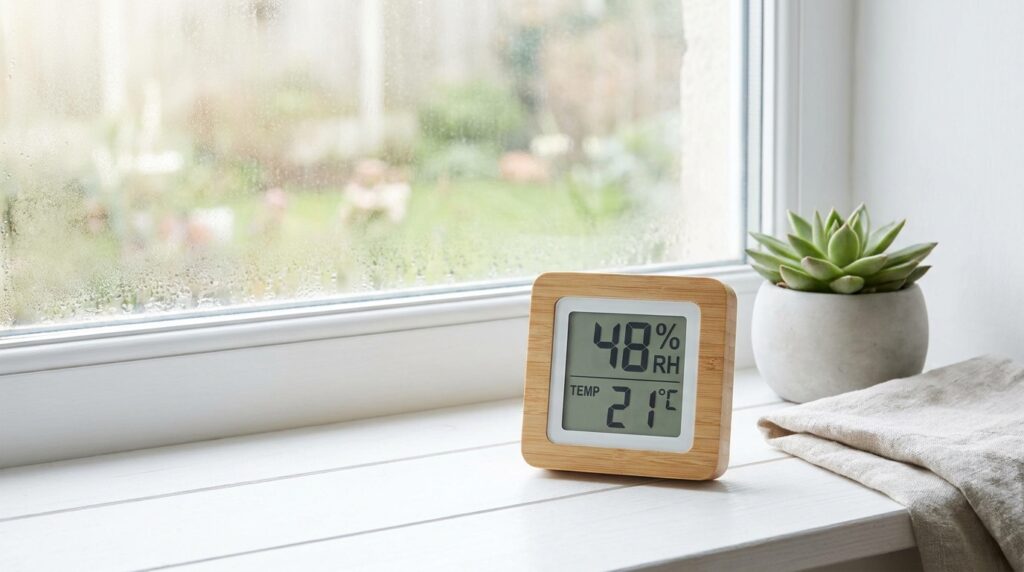
It’s hard to fix a problem you can’t measure. Relative humidity is simply the amount of moisture in the air compared to the maximum it could hold at that temperature, expressed as a percentage.
For most homes, somewhere between 30 and 50 percent relative humidity is the comfortable, healthy target. Once indoor humidity climbs past 60 percent, conditions become favorable for mold and moisture problems to take hold, especially in rooms with poor airflow.
You don’t need anything fancy to check your levels. A basic hygrometer costs very little and gives you a real number instead of a guess. If you don’t have one yet, watch for these physical clues that your home is running too humid:
- Windows fog up or show condensation, especially in the morning
- A musty or “closed-up” smell in closets, basements, or under sinks
- Bathroom mirrors stay foggy long after you’ve left the room
- Bedding, towels, or clothes in drawers feel slightly damp to the touch
- Wood doors or drawers start sticking
If you’re seeing two or more of these regularly, it’s worth treating humidity as an active problem rather than a background annoyance.
Fast Natural Fixes You Can Do in the Next 30 Minutes
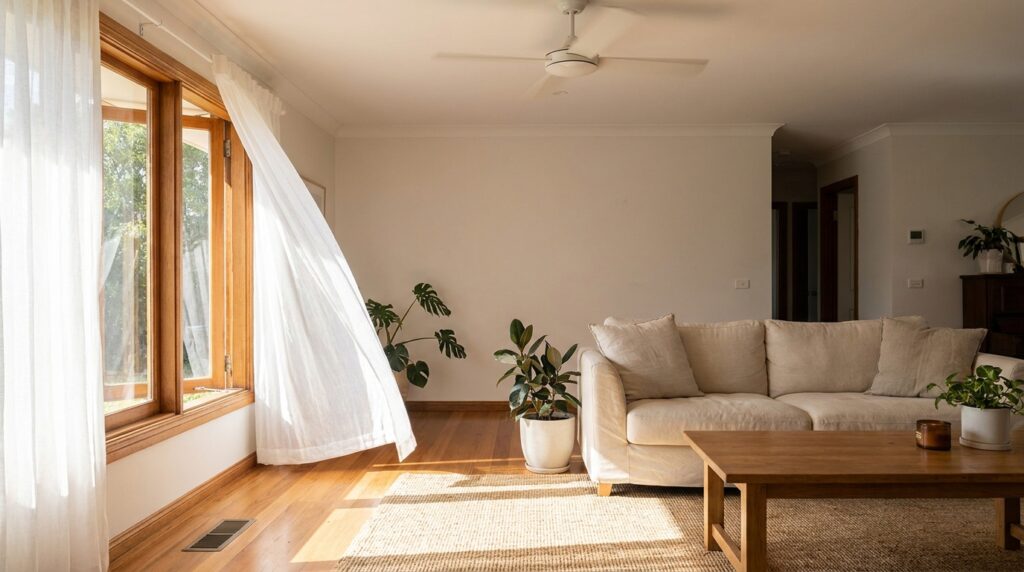
These are the moves that make the biggest dent in the shortest amount of time. None of them require buying anything, and most take less effort than scrolling through this article.
Open Strategic Windows and Cross-Ventilate
If the air outside is drier than the air inside, cracking two windows on opposite sides of the room creates a cross-breeze that pushes damp indoor air out and pulls fresher air in. This works especially well in the early morning or late evening when outdoor humidity tends to dip.
Skip this step if it’s raining, foggy, or unusually humid outside, since you’d just be trading one damp air source for another.
Run Exhaust Fans During and After Cooking or Showers
This one gets overlooked constantly. Most people turn on the bathroom fan while showering and switch it off the second they step out, but moisture keeps evaporating off wet tile and towels for several minutes afterward.
Leave the fan running for 15 to 20 minutes after a shower and the kitchen hood on for a few minutes after boiling water or cooking on the stovetop. This single habit change can noticeably reduce how humid a bathroom or kitchen feels by the next hour.
Turn On Your Air Conditioner or Ceiling Fans
Air conditioners don’t just cool a room, they pull moisture out of the air as a byproduct of the cooling process. If your home has central air or a window unit, running it for even a short stretch during the muggiest part of the day helps lower humidity while you handle other fixes.
Ceiling fans and box fans won’t remove moisture the way an AC does, but they speed up evaporation from damp surfaces and improve how the air actually feels, which matters when you’re trying to get quick relief.
Everyday Habits That Quietly Add Moisture to Your Air
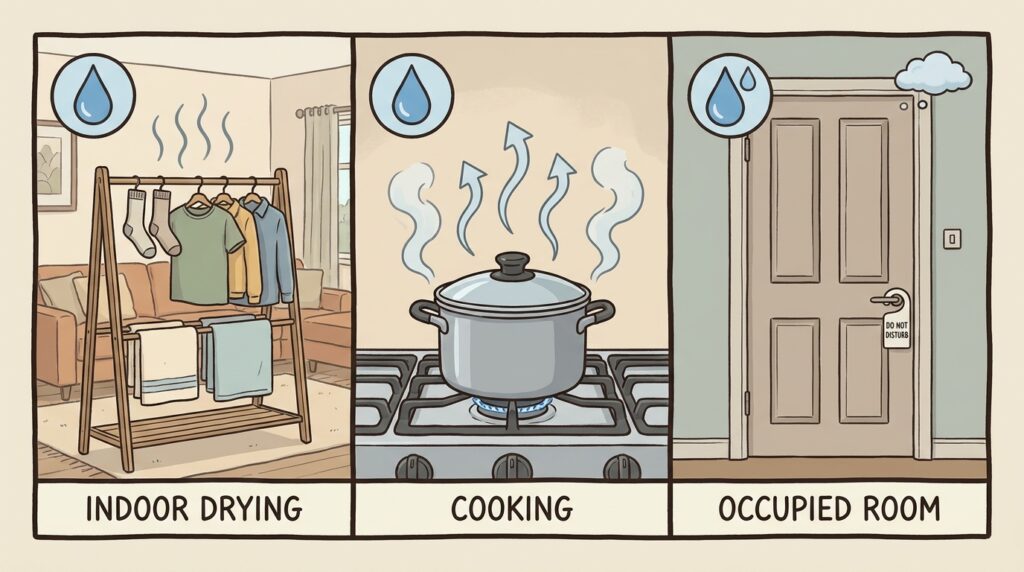
Some of the biggest humidity contributors aren’t dramatic leaks or weather events. They’re small daily habits that quietly pump moisture into the air without anyone noticing.
| Habit | Why It Adds Moisture | Simple Swap |
|---|---|---|
| Air-drying laundry indoors | Wet fabric releases moisture as it dries | Dry outside or vent the dryer properly |
| Long, hot showers | Steam saturates bathroom air quickly | Shorter showers, cooler water, fan running |
| Boiling water uncovered | Steam escapes directly into the kitchen | Use lids, run the range hood |
| Overwatering houseplants | Excess soil moisture evaporates into the room | Water less frequently, use well-draining pots |
| Storing firewood indoors | Damp wood releases moisture as it warms | Keep firewood outside or in a garage |
| Closed-off rooms | Stagnant air traps humidity with nowhere to go | Crack doors, use a small fan to circulate air |
None of these habits are wrong on their own. The point is awareness. If you’re already running natural moisture absorbers and fans but humidity still won’t budge, one of these background habits is probably working against you.
Natural Materials That Absorb Excess Moisture
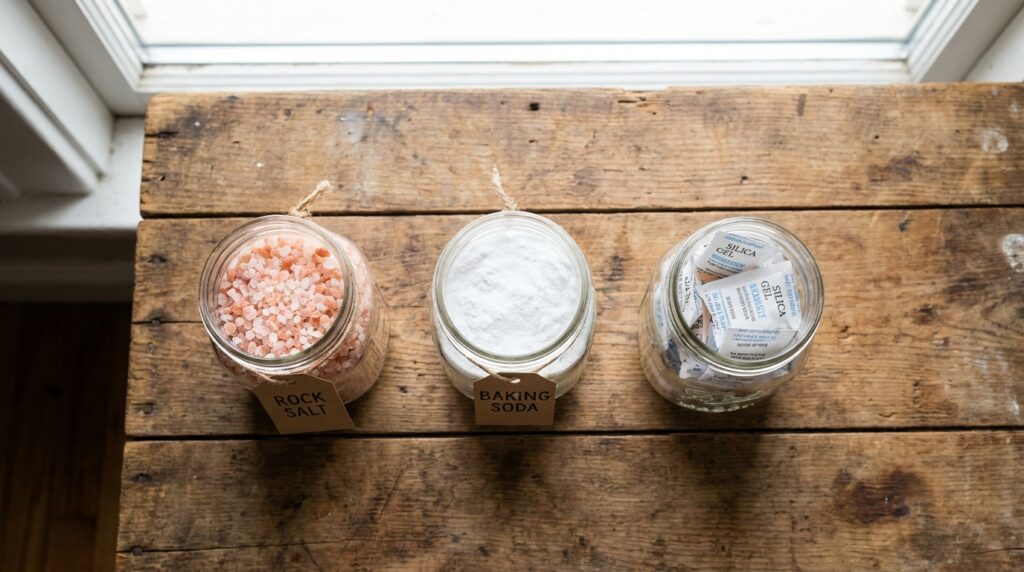
This is where “natural” really earns its place in the conversation. A handful of inexpensive, widely available materials pull moisture directly out of the air through absorption, no electricity required.
Rock Salt and Calcium Chloride Buckets
Rock salt and calcium chloride are both hygroscopic, meaning they naturally attract and hold water molecules from the surrounding air. A simple homemade moisture absorber setup looks like this:
- Take a plastic bucket and drill or poke several small holes about a third of the way up from the bottom.
- Set a second, smaller container or a layer of gravel in the bottom to catch collected water without the salt sitting directly in it.
- Fill the upper section with rock salt or calcium chloride pellets.
- Place it in a musty closet, basement corner, or bathroom.
Check it every few days. As it absorbs moisture, the salt will clump and slowly dissolve into the collection layer below, which you’ll need to empty periodically.
Baking Soda and Activated Charcoal
Baking soda and activated charcoal are milder options, better suited to small enclosed spaces like closets, cabinets, gym bags, or cars rather than an entire room. Fill an open bowl or a breathable fabric bag with either material and tuck it into the damp spot. Both also help with musty odors, which is a nice side benefit when moisture and smell tend to show up together.
Silica Gel Packets
Those little packets that come inside shoe boxes and vitamin bottles aren’t just packaging filler. Silica gel is genuinely effective at pulling moisture out of small, enclosed spaces. Save the packets you already get and group several together in a drawer, a camera bag, or a document box where dampness tends to collect.
Houseplants: Do They Really Help Lower Humidity?
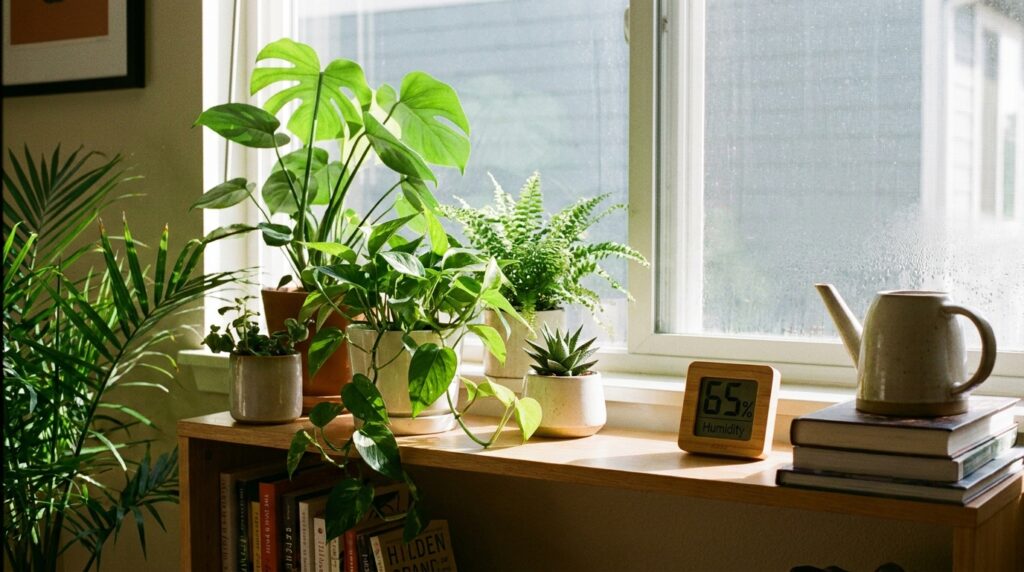
Houseplants get a lot of credit online for controlling indoor humidity, and the truth is a little more nuanced than the trend suggests.
Most common houseplants actually release moisture into the air through a process called transpiration, which means they tend to raise humidity slightly rather than lower it. If your home already runs humid, filling it with more plants isn’t going to help and could make a damp room feel muggier.
Where plants genuinely help is with air quality and comfort in homes that run too dry, not too wet. If your issue is specifically excess humidity, your energy is better spent on ventilation, fans, and moisture absorbers rather than rearranging your plant collection.
Long-Term Natural Strategies for a Drier Home
Fast fixes handle today’s stickiness. These changes address why the problem keeps coming back in the first place.
Improve Insulation and Fix Leaks
Gaps around windows, doors, and pipes let humid outdoor air sneak indoors, especially during warmer months. Weatherstripping, caulking, and pipe insulation are inexpensive, DIY-friendly projects that reduce how much outside moisture makes it into your living space in the first place.
Leaky plumbing is another quiet contributor. A slow drip under a sink or a sweating pipe adds a steady trickle of moisture into the air over time, which is easy to miss until you notice a musty smell in that cabinet.
Grade Landscaping Away From the Foundation
If soil around your foundation slopes toward the house instead of away from it, rainwater pools against the walls and seeps into basements and crawl spaces. Regrading the soil so it slopes away from the foundation, along with making sure gutters and downspouts direct water well clear of the house, cuts off one of the most common sources of chronic basement dampness.
Add Ventilation to Problem Rooms
Rooms without windows, like some bathrooms and interior closets, rely entirely on mechanical ventilation to move moist air out. If a room consistently runs damp no matter what else you try, it may simply need a properly sized exhaust fan vented to the outside, not back into the attic.
Standard guidance on controlling indoor moisture points to ventilation and source control as the two most reliable long-term strategies, and that lines up with what tends to work in practice: stop the moisture at the source, then give whatever remains a way out.
When Natural Methods Aren’t Enough: Dehumidifiers
There’s no shame in reaching for a dehumidifier once natural methods have done what they can. Some climates and some rooms, especially basements, simply produce more moisture than absorption and ventilation alone can handle.
If you do go this route, look for a certified energy-efficient dehumidifier, which removes the same amount of moisture as a standard unit while using meaningfully less electricity. Sizing matters too: a unit that’s too small will run constantly without keeping up, while an oversized one cycles on and off without properly drying the air.
Think of a dehumidifier as the tool you bring in after you’ve already fixed the leaks, improved ventilation, and adjusted the habits feeding the problem, not as a replacement for those steps.
How Humidity Shifts Between Seasons
Humidity isn’t a fixed problem you solve once. It shifts with the seasons, and the fix that works in July might do nothing in January.
Summer humidity is usually the outdoor-air problem. Warm air holds more moisture than cool air, so when you open windows on a muggy afternoon, you’re inviting more humidity in rather than letting it out. This is the season where air conditioning does double duty, cooling the room while pulling moisture out as a side effect. It’s also when cross-ventilation only helps during the cooler, drier parts of the day, typically early morning.
Winter humidity tells a different story indoors. Heating systems dry out the air, but poorly ventilated bathrooms and kitchens can still trap pockets of dampness, especially if windows stay sealed shut for months at a time. Condensation on cold window glass is a classic winter sign that indoor humidity is running higher than the glass temperature can handle, even if the rest of the house feels dry.
Shoulder seasons, spring and fall, tend to be the easiest windows for natural ventilation. Outdoor humidity is often lower and temperatures are mild enough that opening windows for a few hours doesn’t strain your heating or cooling system.
Knowing which season you’re in changes the priority. In summer, lean harder on AC and moisture absorbers. In winter, lean harder on exhaust fans and source control, since you can’t rely on open windows the way you can in April or October.
How Long It Takes to See Results
One of the most common frustrations with natural humidity control is expecting instant results. It helps to know what a realistic timeline actually looks like.
Fast fixes like running an exhaust fan longer or cracking a window show up almost immediately in how a room feels, though your hygrometer reading may take an hour or two to reflect the change. Moisture absorbers like rock salt or silica gel work more gradually. You’ll typically notice a difference in a small closet or bathroom within two to three days, and the material itself will visibly start collecting moisture or clumping as proof it’s working.
Habit changes, like shortening showers or always using lids while cooking, compound over one to two weeks. The effect isn’t dramatic on any single day, but the cumulative drop in ambient moisture becomes noticeable by the end of the first week.
Structural fixes, such as regrading soil, sealing leaks, or adding ventilation to a problem room, tend to show their full benefit over a full season, particularly if the issue was tied to rainfall or seasonal groundwater. Don’t judge these changes based on the first week alone.
If you’ve given a method two full weeks with no change at all, that’s usually a sign the moisture source is bigger than what natural methods alone can handle, and it’s time to consider a dehumidifier or a professional inspection.
Common Mistakes That Slow Down Your Progress
A few missteps quietly undo the effort people put into lowering humidity naturally:
- Opening windows on humid days. If the outdoor air is more humid than your indoor air, opening a window makes the problem worse, not better. Check the outdoor humidity before assuming fresh air will help.
- Placing moisture absorbers in the wrong spot. A bucket of rock salt in an open living room does far less than the same bucket tucked into a small, enclosed closet or bathroom where the moisture is concentrated.
- Ignoring the exhaust fan’s actual vent path. Some bathroom fans vent into the attic instead of outside, which just relocates moisture instead of removing it. Confirm your fan vents outdoors.
- Running a dehumidifier in a sealed room without checking the bucket. A dehumidifier that shuts off because its tank is full stops working entirely, and it’s easy not to notice for days.
- Treating houseplants as a humidity solution. As covered earlier, most common houseplants add moisture rather than remove it, so leaning on them in an already-damp room works against you.
Avoiding these five mistakes alone often makes the difference between humidity that keeps creeping back and humidity that actually stays down.
Room-by-Room Humidity Trouble Spots
Humidity rarely spreads evenly through a house. It pools in specific rooms based on airflow, plumbing, and how the space gets used. Here’s what tends to work best in each one.
Bathroom
Run the exhaust fan during and after every shower, squeegee excess water off tile and glass, and leave the door cracked when the room isn’t in use so trapped steam has somewhere to go.
Kitchen
Use the range hood whenever you’re boiling or steaming food, keep lids on pots when possible, and avoid letting dishes air dry directly next to a wall or in a poorly ventilated corner.
Basement and Crawl Space
These spaces are especially prone to dampness because they sit closer to the ground and often have limited airflow. A moisture absorber bucket, a vapor barrier over bare soil, and proper foundation grading make the biggest difference here.
Bedroom
Avoid drying laundry on an indoor rack in the bedroom, keep houseplants to a minimum if humidity is already an issue, and crack a window briefly in the morning if outdoor air is drier than indoor air.
Signs You’re Making Progress (and Signs You’re Not)
Give any of these methods a few days before judging whether they’re working. Humidity doesn’t usually drop instantly, but you should notice gradual shifts.
Signs you’re on the right track:
- Windows stay clear instead of fogging up each morning
- Musty smells fade from closets and basements
- Your hygrometer reading trends down over several days
- Bedding and towels feel dry to the touch again
Signs it’s time to escalate:
- Humidity stays above 60 percent despite consistent ventilation and absorbers
- Visible mold or mildew appears on walls, ceilings, or window frames
- Wood floors or trim show warping or swelling
- The musty smell persists no matter how often you clean
If you’re seeing the second list, it’s worth bringing in a dehumidifier, and in more serious or persistent cases, a professional moisture or mold inspection rather than continuing to rely on natural methods alone.
Pros and Cons of Natural Humidity Control Methods
It helps to go in with realistic expectations. Natural methods are affordable and low-effort, but they do have limits.
Pros:
- Little to no cost, especially for habit changes and ventilation
- No electricity use, unlike running a dehumidifier around the clock
- Materials like rock salt and silica gel are reusable or easily replaced
- Works well as prevention, not just a reaction to existing dampness
Cons:
- Slower results compared to a dehumidifier in a severely humid room
- Limited effectiveness in consistently damp spaces like basements in humid climates
- Requires ongoing maintenance, such as emptying moisture absorber buckets
- Won’t fix underlying structural issues like leaks or poor grading on its own
Expert Tips for Keeping Humidity Down Long-Term
A few habits separate people who fix humidity once from people who keep it under control permanently:
- Check your hygrometer weekly, not just when the air already feels sticky
- Service your HVAC system regularly, since a dirty or poorly maintained system removes less moisture from the air as it cools
- Address small leaks the week you notice them, not the month you get around to it
- Keep gutters clear so water is actually diverted away from the foundation
- Reassess room by room each season, since humidity sources shift between summer cooking and holiday laundry loads
A Simple Checklist to Get Started Today
If everything above feels like a lot to absorb at once, here’s a condensed version you can actually act on this afternoon.
Right now (0–30 minutes):
- Check outdoor humidity before deciding whether to open windows
- Turn on the exhaust fan in whichever room feels most humid
- If you have AC, run it for at least an hour during the muggiest part of the day
Today (under an hour of setup):
- Build a rock salt or calcium chloride moisture absorber bucket for your basement or worst closet
- Group any spare silica gel packets into drawers or storage boxes that tend to feel damp
- Move firewood, damp towels, or air-drying laundry out of enclosed rooms
This week:
- Buy or place a basic hygrometer so you’re tracking real numbers instead of guessing
- Check under sinks and around window frames for small leaks
- Adjust habits: shorter showers, lids on pots, leaving exhaust fans running a few extra minutes
This season:
- Inspect gutters and downspouts to confirm water is directed away from the foundation
- Add weatherstripping or caulk around drafty windows and doors
- Reassess whether a problem room needs added ventilation or a dedicated dehumidifier
Working through this list in order, rather than trying to do everything simultaneously, tends to produce faster and more noticeable results, since you can actually tell which change made the difference.
Frequently Asked Questions
How can I lower humidity in my house fast without a dehumidifier?
Run exhaust fans during and after showers or cooking, open windows for cross-ventilation when outdoor air is drier, and set up a rock salt or charcoal moisture absorber in the most humid room. These combined steps typically bring noticeable relief within a day or two.
What is considered high humidity inside a house?
Relative humidity above 60 percent is generally considered too high and creates conditions where mold and dust mites thrive. The comfortable, healthy range for most homes falls between 30 and 50 percent.
Does putting salt in a bowl actually reduce humidity?
Yes, to a meaningful degree in small spaces. Rock salt is hygroscopic and pulls moisture directly out of the surrounding air, though it works best in enclosed areas like closets or small rooms rather than an entire large open space.
Why is my basement always more humid than the rest of the house?
Basements sit closer to the ground, often have less airflow, and are more exposed to moisture seeping through foundation walls or bare soil. Proper grading, a vapor barrier, and a moisture absorber or small dehumidifier usually address this directly.
Can houseplants make humidity worse instead of better?
In a home that’s already humid, yes. Most common houseplants release moisture into the air through transpiration, which can add to an existing humidity problem rather than solve it.
Bringing It All Together
Lowering humidity naturally isn’t about one dramatic fix. It’s a combination of small, consistent habits: running fans a little longer, cracking windows at the right time of day, tucking a moisture absorber into the room that needs it most, and addressing the small leaks or grading issues that keep feeding the problem.
Start with the fast fixes today, layer in the natural absorbers this week, and tackle the longer-term changes over the next month. If you’re weighing whether your current humidity monitor for home setup is even giving you accurate readings, it’s worth checking before you assume a fix isn’t working when the real issue is a faulty gauge.
This article is for general informational purposes only and is not a substitute for professional inspection or remediation advice if you’re dealing with a persistent moisture, mold, or structural issue in your home.

