
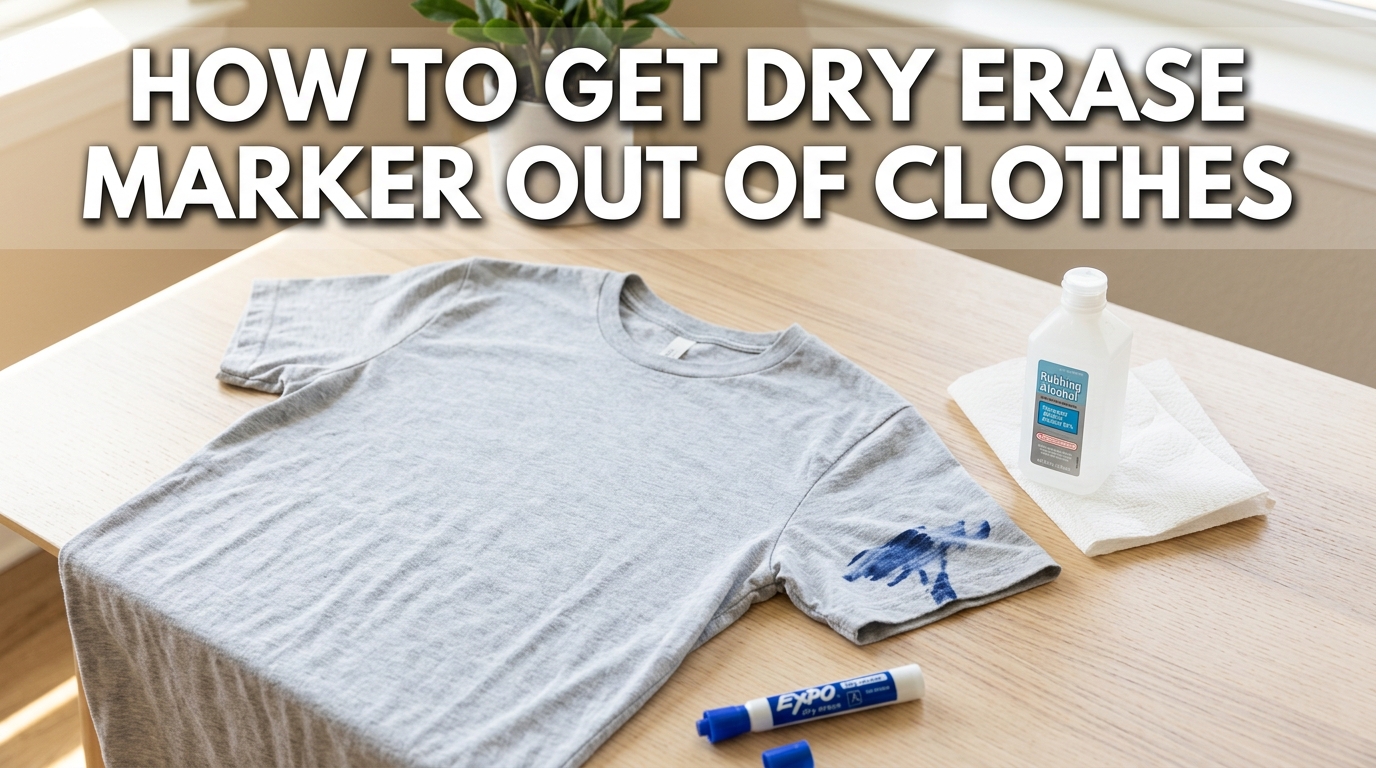
A kid leans against the whiteboard mid-lesson. A teacher caps a marker and swipes their sleeve across the tray by accident. A sticky note gets written on the wrong side, right on top of a good sweater. However it happens, the result is the same: a smudge of color on fabric that wasn’t supposed to be there, and a small wave of panic about whether it’s coming out.
Here’s the reassuring part. If you’re trying to figure out how to get dry erase marker out of clothes, you’re dealing with one of the more forgiving marker stains out there, as long as you catch it before it goes through a hot dryer cycle. This isn’t permanent marker. It behaves differently, and once you understand why, the removal process gets a lot less stressful.
Why Dry Erase Marker Stains Are Trickier Than They Look
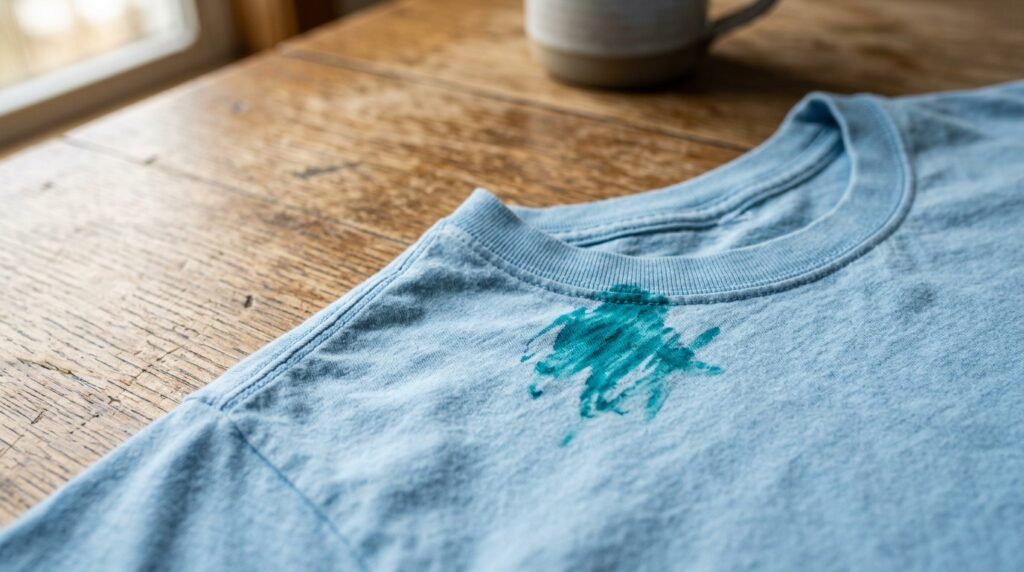
Dry erase ink is built to sit on top of slick, non-porous surfaces like whiteboards and glass. That’s exactly why it wipes off a board with almost no effort. The ink contains pigment along with a silicone-based release agent, which is the same ingredient that keeps it from bonding to the board surface.
Fabric is a completely different story. Cloth is porous, made of woven fibers with tiny gaps between them. When dry erase ink lands on fabric, those pigment particles slip into the gaps and get physically trapped. There’s no smooth surface for the release agent to do its job, so the stain behaves more like a dye than a simple smudge.
The good news: because the ink isn’t truly permanent and isn’t water-based like some other markers, it usually responds well to alcohol-based solvents. The bad news: heat is the enemy. If a garment with this stain goes into the dryer, the heat can set the pigment into the fibers, turning an easy fix into a much harder one.
What You’ll Need Before You Start
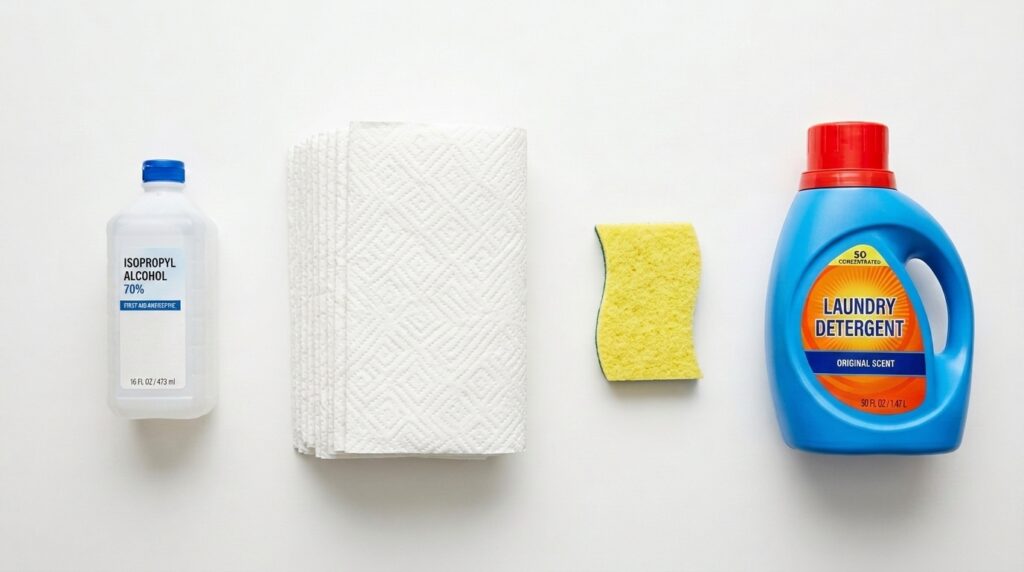
You probably already own everything required for this. There’s no need for a specialty stain-removal kit.
- Rubbing alcohol (isopropyl alcohol, 70% or higher works well)
- A few clean white paper towels or a soft cotton cloth
- A small sponge or cotton ball
- Cold water
- Regular liquid laundry detergent
- A soft-bristled toothbrush (optional, for stubborn spots)
Skip bleach for this particular job. It doesn’t target the pigment in dry erase ink effectively, and on colored fabric it can leave a faded patch that’s arguably worse than the original stain.
Step-by-Step: How to Get Dry Erase Marker Out of Clothes
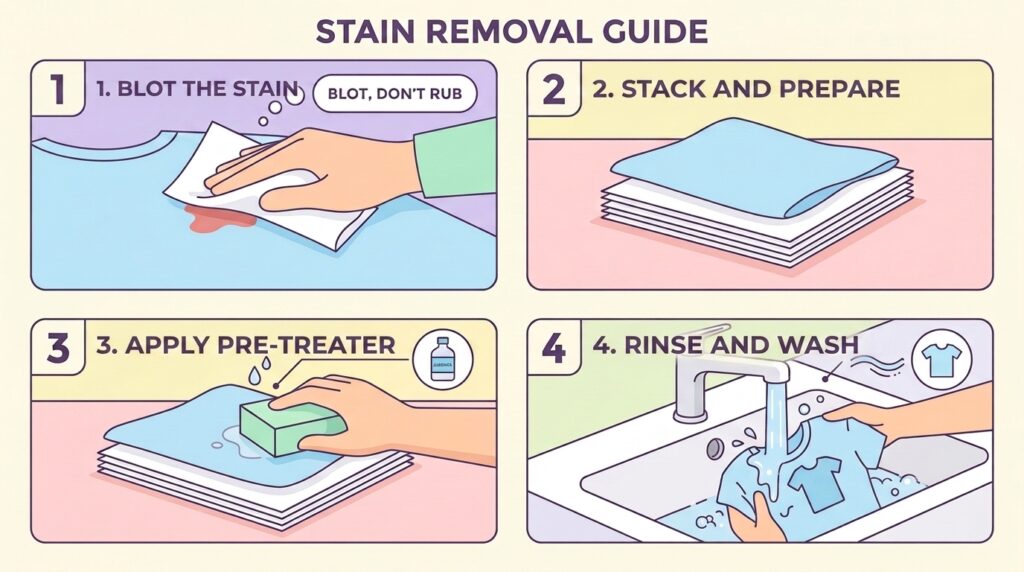
This method works on fresh and lightly set-in stains, and it lines up with the standard technique for removing dry erase marker from fabric that cleaning professionals rely on. Work through it in order, and don’t skip the “test first” step if the garment is delicate or dark-colored.
Step 1: Act Fast and Blot the Stain
Time matters here. The longer dry erase ink sits on fabric, especially against body heat, the deeper it settles into the fibers. As soon as you notice the mark, grab a dry paper towel and blot, don’t rub, to lift off any excess ink still sitting on the surface.
Rubbing at this stage just pushes the pigment further into the weave, so resist the urge to scrub.
Step 2: Set Up the Garment for Treatment
Lay a few clean paper towels flat on a table or counter. Place the stained clothing stain-side down on top of them, so the mark is facing the paper towels rather than facing up. This positioning matters because it lets the alcohol push the ink out of the fabric and onto the towel below, instead of pushing it deeper in.
Step 3: Apply Rubbing Alcohol From the Back
Dampen a sponge or cotton ball with rubbing alcohol. Working from the back of the fabric (the side now facing up, opposite the stain), dab the alcohol around the stained area first, then directly onto the mark itself.
You’ll notice the pigment starting to transfer onto the paper towel underneath almost immediately. Keep switching to a clean section of paper towel as the used portion gets saturated with color, and continue dabbing until no more ink is transferring.
Step 4: Check the Front and Repeat if Needed
Flip the garment over and check the stain from the front. If a faint mark remains, repeat the alcohol application. Most fresh dry erase stains lift completely within two or three rounds of this process.
Step 5: Rinse, Pretreat, and Wash as Usual
Once the stain is gone or significantly faded, rinse the area thoroughly with cool water to remove alcohol residue. Apply a small amount of liquid laundry detergent directly to the spot, or use a dedicated pretreatment stain remover, and let it sit for a few minutes before laundering the item normally according to its care label.
Important: Air-dry the garment and inspect it closely before running it through a dryer. If any trace of the stain is still visible, treat it again rather than drying it. Heat will lock in whatever pigment remains.
Alternative Household Methods That Actually Work
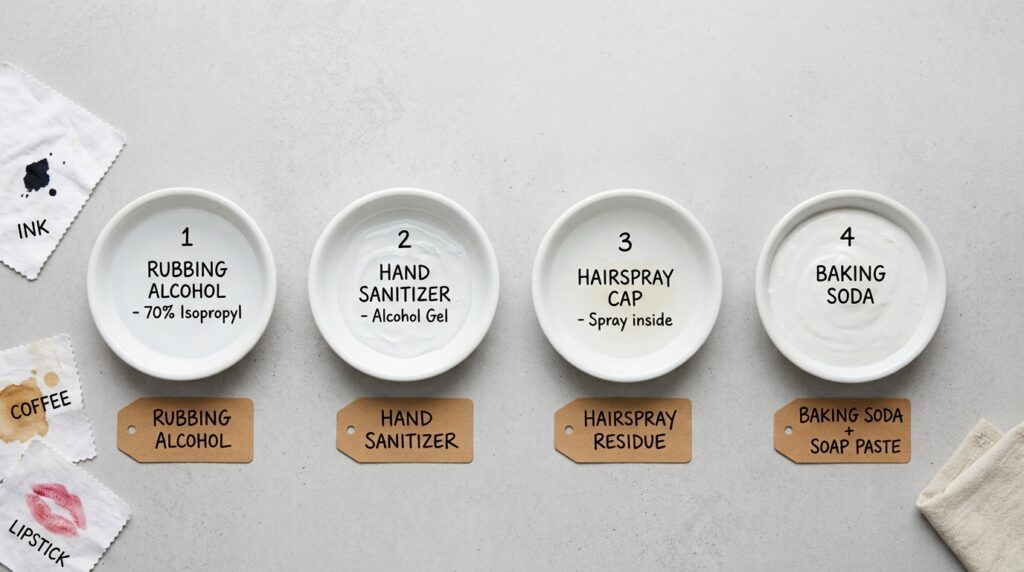
Rubbing alcohol is the most reliable option, but it’s not the only one. If you’re out of it, or dealing with a fabric that reacts poorly to alcohol, these alternatives are worth trying.
Hand Sanitizer
Most gel hand sanitizers are alcohol-based, usually somewhere around 60–70%, which makes them a workable substitute in a pinch. Apply a small amount directly to the stain, let it sit for a minute, then blot with a clean cloth the same way you would with rubbing alcohol. It’s not quite as strong, so expect to repeat the process a few extra times.
Hairspray
Older cans of aerosol hairspray often contain enough alcohol content to help break down dry erase pigment, though many modern formulas have reduced alcohol levels, so results vary by brand. Spray a small amount onto the stain, blot, and rinse.
Dish Soap and Baking Soda Paste
For fabrics where alcohol feels too harsh, mix a small amount of dish soap with baking soda to form a thick paste. Work it gently into the stain with a soft toothbrush, let it sit for 10–15 minutes, then rinse and launder. This method is gentler but usually needs more patience and repetition.
| Method | Best For | Effectiveness |
|---|---|---|
| Rubbing alcohol | Fresh or lightly set stains, most fabrics | High |
| Hand sanitizer | Quick fixes away from home | Moderate |
| Hairspray (older formulas) | Backup when alcohol isn’t available | Moderate |
| Dish soap + baking soda paste | Delicate or reactive fabrics | Moderate to Low |
What to Do If the Stain Has Already Dried
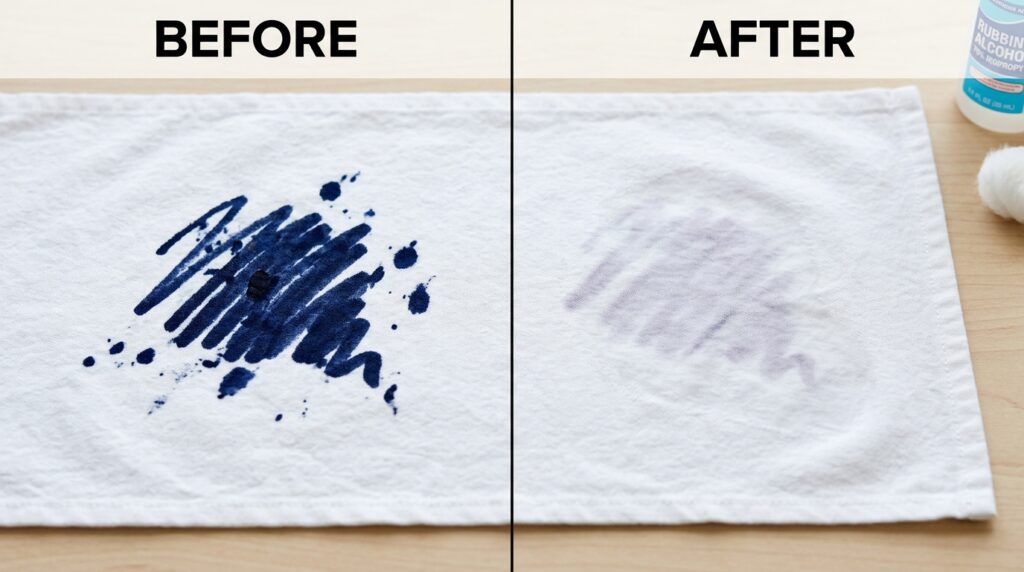
A dried stain is more stubborn but far from hopeless. The core method stays the same, just plan on more repetitions and a little extra patience.
Start by soaking a cotton ball generously with rubbing alcohol and pressing it directly onto the dried mark for 30 to 60 seconds before you begin blotting. This gives the alcohol time to soften the pigment before you try to lift it. Then follow the same stain-side-down, dab-from-the-back process described earlier.
If the garment has already been through a warm or hot dryer cycle, be realistic about expectations. Heat-set stains can sometimes fade to a light shadow rather than disappear entirely, particularly on white or light-colored fabric. It’s still worth trying the alcohol method two or three times before giving up on the piece.
Removing Dry Erase Marker From Different Fabric Types
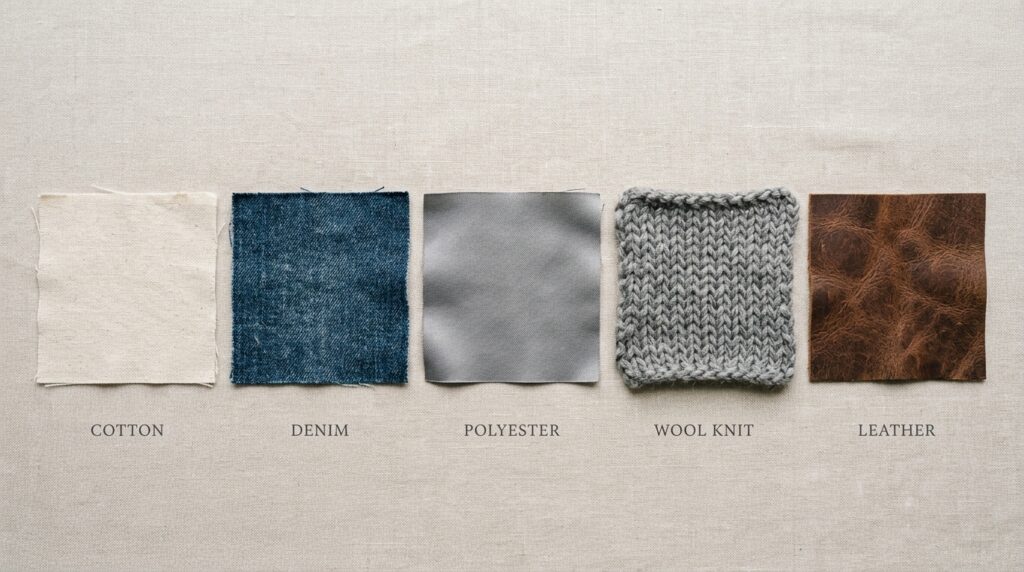
Not every fabric reacts to alcohol the same way, so it helps to adjust your approach slightly depending on what you’re working with.
| Fabric Type | Recommended Approach | Notes |
|---|---|---|
| Cotton / cotton-blend | Rubbing alcohol, standard method | Most forgiving fabric for this process |
| Denim | Rubbing alcohol, may need more repetitions | Dark denim hides residual shadow well |
| Polyester / synthetic blends | Alcohol in smaller amounts, test first | Some synthetics can be sensitive to alcohol; always spot-test |
| Wool or delicate knits | Dish soap paste preferred over alcohol | Alcohol can dry out or damage delicate fibers |
| Leather or suede | Skip alcohol; use a leather-safe cleaner | Alcohol can dry and crack leather |
A quick spot test on an inside seam or hidden hem before treating the visible stain takes 30 seconds and can save you from an unwanted second problem, like a faded patch on a favorite garment. This is especially true for durable, everyday pieces like utility-style work clothing, which often use blended or treated fabrics that can respond differently to solvents than plain cotton does.
Mistakes That Make Dry Erase Stains Worse
A few common missteps turn an easy fix into a lingering problem.
- Rubbing instead of blotting. Rubbing spreads pigment across a wider area and pushes it deeper into the weave.
- Drying the garment before the stain is fully gone. Heat sets pigment permanently in many cases.
- Using bleach. It’s not effective against this type of pigment and can damage or discolor fabric unnecessarily.
- Skipping the spot test. Some fabrics react to alcohol with fading or texture changes, particularly certain dyes and synthetic blends.
- Waiting too long. A stain treated within the first hour comes out far more easily than one left to sit overnight.
Expert Tips for Preventing Future Marker Mishaps
A little prevention goes a long way, especially in classrooms, offices, and homes where whiteboards get daily use.
- Keep a small bottle of rubbing alcohol or alcohol wipes near the whiteboard for quick treatment the moment a stain happens.
- Encourage kids and coworkers to roll sleeves up or wear an apron during messy marker sessions like group brainstorming or art projects.
- Store markers cap-side down when not in use. This keeps the tip saturated and reduces sudden ink blobs when the cap comes off.
- Choose low-odor, water-resistant marker brands for shared spaces if staining has been a recurring issue, since ink formulations vary in how aggressively they bond to fabric.
- Treat any accidental mark immediately rather than waiting until laundry day. Even a quick blot-and-rinse in a bathroom sink dramatically improves your odds later.
Pros and Cons of Common Removal Methods
| Method | Pros | Cons |
|---|---|---|
| Rubbing alcohol | Fast, widely effective, inexpensive | Can be too harsh for delicate fabrics without testing |
| Hand sanitizer | Convenient, portable | Lower alcohol content means more repetitions needed |
| Hairspray | Useful backup option | Modern formulas often less effective |
| Dish soap + baking soda | Gentle, safe for delicates | Slower, requires more patience |
| Commercial stain remover | Pretreats well before washing | Works best combined with, not instead of, alcohol treatment |
When to Call It Quits and Try a Professional Cleaner
Most dry erase marker stains respond to home treatment within a few rounds of the alcohol method. But there are situations where a professional cleaner is worth the cost:
- The stain has already been through a hot dryer cycle and remains visible after two or three home treatment attempts.
- The garment is a delicate or structured fabric, like silk, suede, or a tailored blazer, where a DIY method risks further damage.
- It’s a sentimental or expensive item where the cost of professional cleaning is easily justified against the risk of ruining it further.
A dry cleaner familiar with solvent-based treatments can often pull out a stain that’s resisted home remedies, particularly on fabrics that don’t tolerate alcohol well.
Frequently Asked Questions
Does dry erase marker come out of clothes permanently once it dries?
Not necessarily. A dried stain is harder to remove than a fresh one, but it’s rarely a lost cause. Soaking the area with rubbing alcohol for a minute before blotting, then repeating the process a few times, still lifts most dried stains, especially if the garment hasn’t been through a hot dryer yet.
Can I use nail polish remover instead of rubbing alcohol?
Acetone-based nail polish remover can work on sturdier fabrics like denim, but it’s more aggressive than rubbing alcohol and can damage certain synthetic fibers or fabric finishes. Spot-test on a hidden area first, and stick with rubbing alcohol as the safer default choice.
Is dry erase marker stain removal different from removing permanent marker?
Yes. Dry erase ink contains a release agent that makes it inherently less “sticky” to fibers than permanent marker ink, which is formulated specifically to resist removal. That’s part of why dry erase stains generally respond faster and more reliably to simple alcohol treatment.
Will rubbing alcohol damage colored or dark clothing?
Usually not, but it’s not guaranteed across every dye and fabric combination. Always test a small, hidden area, like an inside seam, before treating the visible stain. If the color holds up after a minute of contact, it’s safe to proceed on the rest of the garment.
What if the stain is still visible after washing the clothing?
Don’t put it in the dryer. Repeat the rubbing alcohol treatment on the damp garment, rinse, and rewash. Heat is what locks a stain in permanently, so as long as the item stays out of the dryer, you still have a good chance of fully removing it on a later attempt.
Final Thoughts
Dry erase marker stains look alarming the moment they happen, but they’re genuinely one of the more manageable messes fabric can pick up. A little rubbing alcohol, some patience, and keeping the garment away from the dryer until the mark is fully gone will resolve the vast majority of these situations without needing to toss the clothing or pay for professional cleaning.
Keep a small stash of rubbing alcohol wherever whiteboards get regular use, and the next accidental smudge becomes a two-minute fix instead of a wardrobe casualty.

