

You checked the mirror, admired your bronzed glow, and then looked down. Your palms are three shades darker than the rest of you, and your knuckles look like they belong to someone else entirely.
If you’re searching for how to get self tanner off hands right now, the good news is that this is one of the most common and most fixable self-tanning mishaps out there. Hands pick up more color than any other body part because the skin there is thinner, drier, and creased in all the places tanner loves to settle. The fix depends mostly on one thing: how long ago you applied the product.
This piece walks through what actually works, what dermatologists recommend, what to avoid, and how to stop it from happening again next time.
Why Hands Absorb So Much Color in the First Place
Self-tanners work by reacting with dead skin cells on the surface layer of your skin. Palms, knuckles, and the sides of your fingers naturally shed more of these cells and tend to be drier than areas like your arms or legs. Dry, rough skin has more surface area for the tanning agent (usually dihydroxyacetone, or DHA) to grip onto, which is why hands so often end up looking darker and blotchier than everywhere else.
Add in the fact that your hands are doing all the applying, meaning they touch the product constantly, and it’s easy to see why this is one of the most common tanning complaints out there. Even people who use a mitt often forget to wipe down the creases between their fingers or the sides of their palms.
Act Fast: Removing Self Tanner Within the First Few Hours
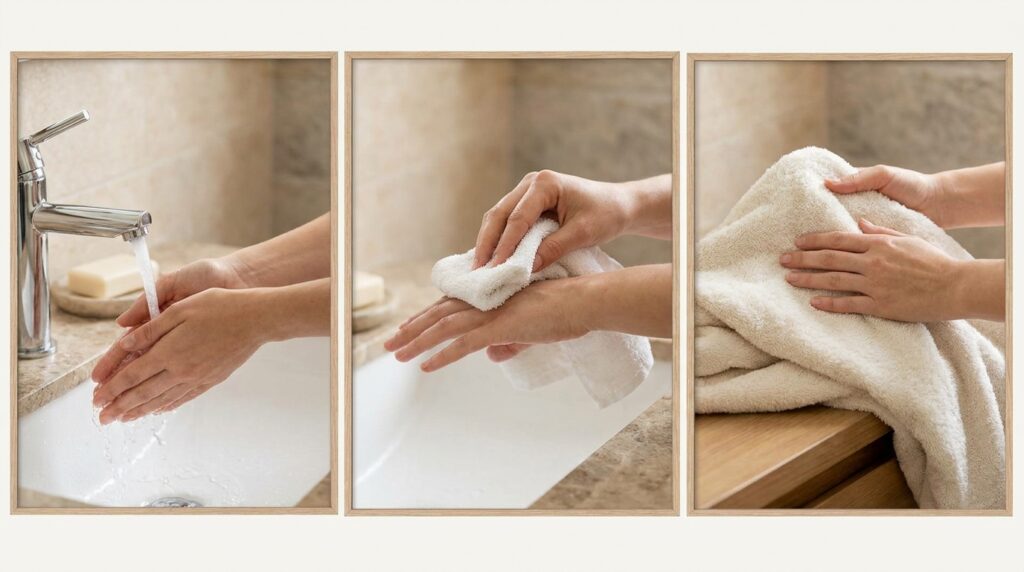
Timing changes everything. If you catch the stain within an hour or two of applying, before the DHA has fully developed, you have a much easier job ahead of you.
- Rinse your hands under lukewarm water with a mild soap right away. It is a lot easier to remove excess tanner before it dries on your skin, so don’t wait.
- Use a washcloth or a makeup-removing wipe to gently go over your palms and the underside of each finger. This step is especially useful for catching missed spots between fingers, where skin tends to be drier.
- Avoid scrubbing hard at this stage. The goal is to lift off product sitting on the surface, not to strip your skin.
If you wash your hands immediately after applying, you’ll remove most of the excess pigment before it has a chance to set into your skin, which is the single most effective habit for avoiding this problem altogether.
How to Remove Self Tanner That Has Already Set
Once tanner has developed for four or more hours, plain soap and water won’t do much. At this point, you’re working against a pigment that has already bonded with the top layer of your skin, so you need something that gently exfoliates or breaks down that layer.
The Baking Soda Paste Method
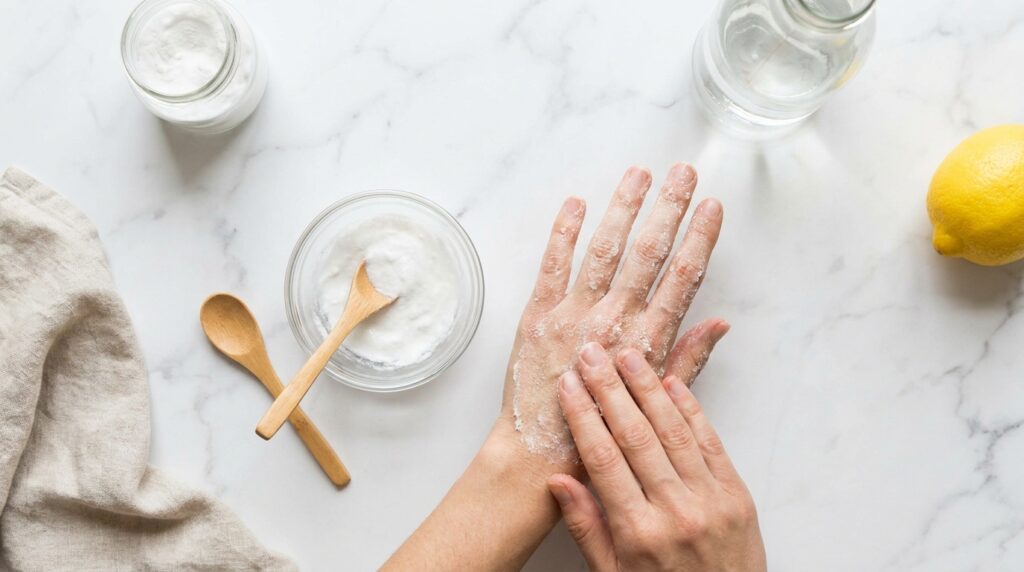
Baking soda is mildly abrasive and works well on stubborn palm stains without being harsh.
- Mix two tablespoons of baking soda with just enough water (or a few drops of olive oil) to form a thick paste.
- Massage the paste into your palms and knuckles in small circles for two to three minutes.
- Rinse with warm water and follow up with a moisturizer, since baking soda can be drying.
The Lemon Juice or Toner Method
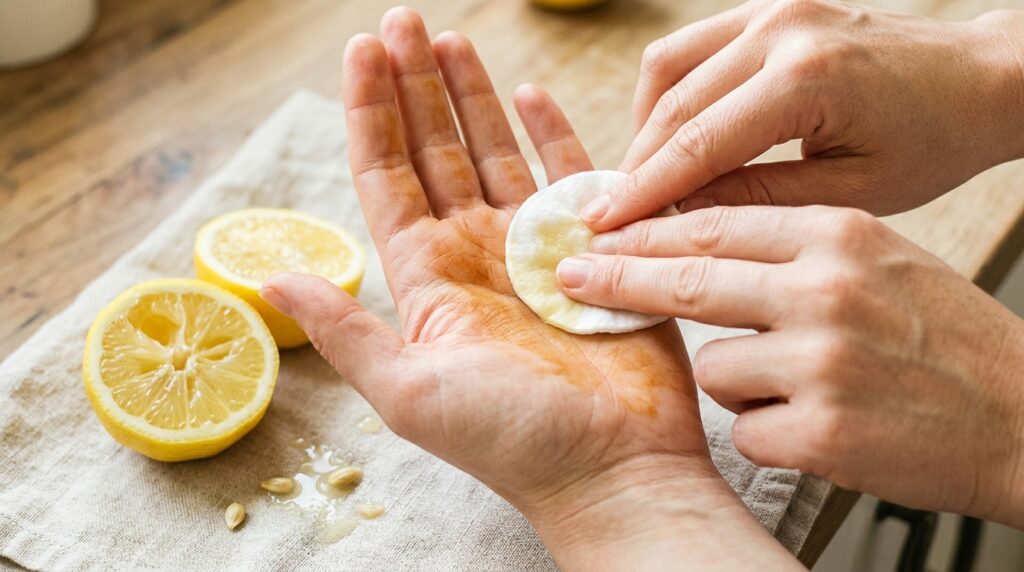
Citric acid is a natural mild exfoliant, and it happens to work well on tanner too. A board-certified dermatologist has pointed out that soaking your hands in warm water for about 15 minutes before adding an acid-based treatment softens the skin and makes the stain easier to lift.
- Squeeze fresh lemon juice onto a cotton pad and rub it over the darkest areas.
- Leave it on for five minutes, then rinse.
- If you have a toner with AHAs or BHAs already in your skincare routine, that works as a substitute and tends to be gentler on sensitive skin.
Skip this method if you have any cuts, cracked skin, or recent hair removal on your hands, since the acidity can sting.
Exfoliating Scrubs and Pumice Stones
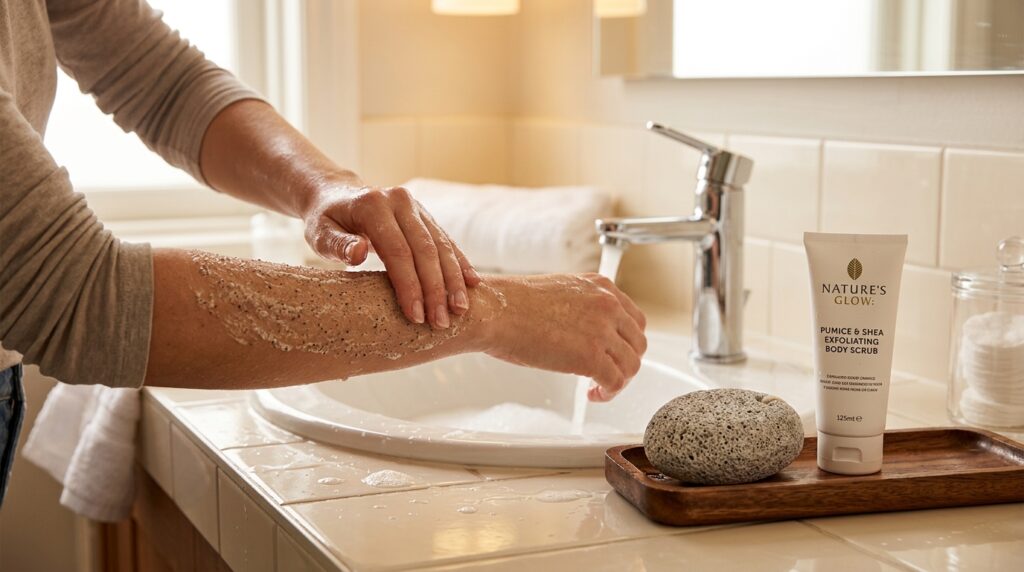
Physical exfoliation is often the most reliable option for hands because the skin there is tougher than on your face.
Gently massaging a body scrub over damp skin for about five minutes, focusing on darker patches, is enough to gently massage an exfoliator into the top layer of tanned cells and reveal more even skin underneath. A pumice stone paired with antibacterial soap works similarly, and some tanning brand founders recommend combining the two for tougher spots on palms and cuticles using a pumice stone and gentle circular motion.
Go slowly here. Pumice stones are effective, but pressing too hard can leave your skin raw.
Spot Treatment with Nail Polish Remover

For small, stubborn patches, particularly around nails and cuticles, a cotton swab dipped in nail polish remover can lift concentrated color without affecting the rest of your hand. Whitening toothpaste rubbed in a circular motion is another kitchen-cabinet option that works on light discoloration.
Use this method sparingly and only on small areas, since nail polish remover can dry out skin quickly.
Removal Methods Compared
| Method | Best For | Time Needed | Skin Sensitivity |
|---|---|---|---|
| Soap and water rinse | Fresh tanner, under 2 hours | 1–2 minutes | Very low |
| Baking soda paste | Set tanner on palms | 2–3 minutes | Low to moderate |
| Lemon juice or AHA toner | Stubborn patches | 5–10 minutes | Moderate (avoid on broken skin) |
| Exfoliating scrub | General fading, whole hand | 5 minutes | Low |
| Pumice stone | Thick, callused areas | 3–5 minutes | Moderate, go gently |
| Nail polish remover | Small spots, cuticles | Under 1 minute | Higher, spot use only |
What Not to Do When Removing Self Tanner
A few instincts can make the problem worse instead of better.
- Don’t scrub with a dry pumice stone or rough tool on undampened skin. This can cause irritation without actually lifting much color.
- Don’t use undiluted bleach or harsh household cleaners on your skin. It’s not worth the risk of a chemical burn for a cosmetic issue.
- Don’t over-wash. Repeatedly scrubbing several times a day can strip your skin’s natural barrier and leave hands dry, cracked, and paradoxically more likely to absorb tanner unevenly next time.
- Don’t panic and pick at peeling or flaking skin, which can lead to irritation or an uneven texture once the tan fully fades.
Preventing Orange Hands Before They Happen
Removal works, but avoiding the problem in the first place saves a lot of time. A few small habits make a noticeable difference.
- Use a tanning mitt. Applying product directly with bare hands is the number one reason palms end up stained.
- Moisturize your hands first. Dab a little moisturizer on your palms, knuckles, and cuticles before you start. This creates a light barrier that keeps the tanner from bonding as strongly to your skin.
- Wipe down immediately after application. Even with a mitt, a quick pass with a damp cloth or wipe technique along the crevices between your fingers catches spots that are easy to miss.
- Apply in good lighting. Dim bathroom lighting makes it hard to see exactly where product has landed until it’s too late.
- Save hands for last. Tanning your hands after everything else, using a very light layer, gives you more control and less product buildup.
Expert Tips for a Streak-Free Result
Beyond just cleanup, a few small adjustments can make your entire application look more natural.
- Exfoliate your whole body, hands included, a day before tanning so the product has an even surface to work with.
- Apply a thin layer to the backs of your hands only, working outward from the wrist, rather than covering your palms at all.
- Let each layer dry for a few minutes before adding another if you’re building a deeper color, since rushing this step is a common cause of blotching.
- If a patch develops darker than the rest, wait 24 to 48 hours before attempting to fix or reapply, since actively developing tanner is harder to remove evenly.
Pros and Cons of Common Removal Methods
Kitchen staples (baking soda, lemon juice) Pros: Inexpensive, gentle, already in most homes. Cons: Can take a few attempts for stubborn stains; lemon juice may irritate sensitive skin.
Physical exfoliation (scrubs, pumice stones) Pros: Reliable on tough areas like knuckles; works well for general fading. Cons: Requires a gentle hand to avoid over-exfoliating.
Spot treatments (nail polish remover, swabs) Pros: Fast for small, targeted areas like cuticles. Cons: Drying if used too often or over large areas.
Frequently Asked Questions
How long does self tanner usually stay on hands?
Self-tanner typically fades from hands within three to seven days. Hands often clear up faster than the rest of the body because of frequent washing and everyday friction from daily tasks.
Can toothpaste really remove self tanner stains?
Whitening toothpaste can help lighten mild discoloration when rubbed gently in circular motions, though it works best on lighter stains rather than deeply set, dark patches.
Is it safe to use bleach on self-tanner stains?
No. Bleach and other harsh household chemicals are not meant for skin contact and can cause burns or irritation. Stick to gentle, skin-safe options like exfoliants or diluted lemon juice.
Why do my palms turn orange even when I’m careful?
Palms and knuckles are naturally drier and shed skin cells faster than other areas, which means they absorb more tanning pigment even with careful application. Moisturizing beforehand and wiping down immediately after applying helps reduce this.
Should I wash my hands right after applying self tanner?
Yes, in most cases. Washing right away removes excess product sitting on the surface before it develops, which is one of the simplest ways to avoid stained palms altogether.
Bringing It All Together
Stained hands are one of the most common self-tanning slip-ups, but they’re also one of the easiest to fix once you know the timing matters more than the tool. Fresh tanner responds well to a quick wash, while set-in stains need a bit of gentle exfoliation, whether that’s baking soda, lemon juice, or a pumice stone. Going forward, a mitt, a thin layer of moisturizer, and a habit of wiping down right after application will save you the cleanup altogether.
Try one of these methods next time you spot orange palms in the mirror, and keep a mitt on hand before your next application so you don’t need to.
This content is for informational purposes only and is not a substitute for professional dermatological advice. If you experience irritation, redness, or an allergic reaction after using any of these methods, discontinue use and consult a dermatologist.

