
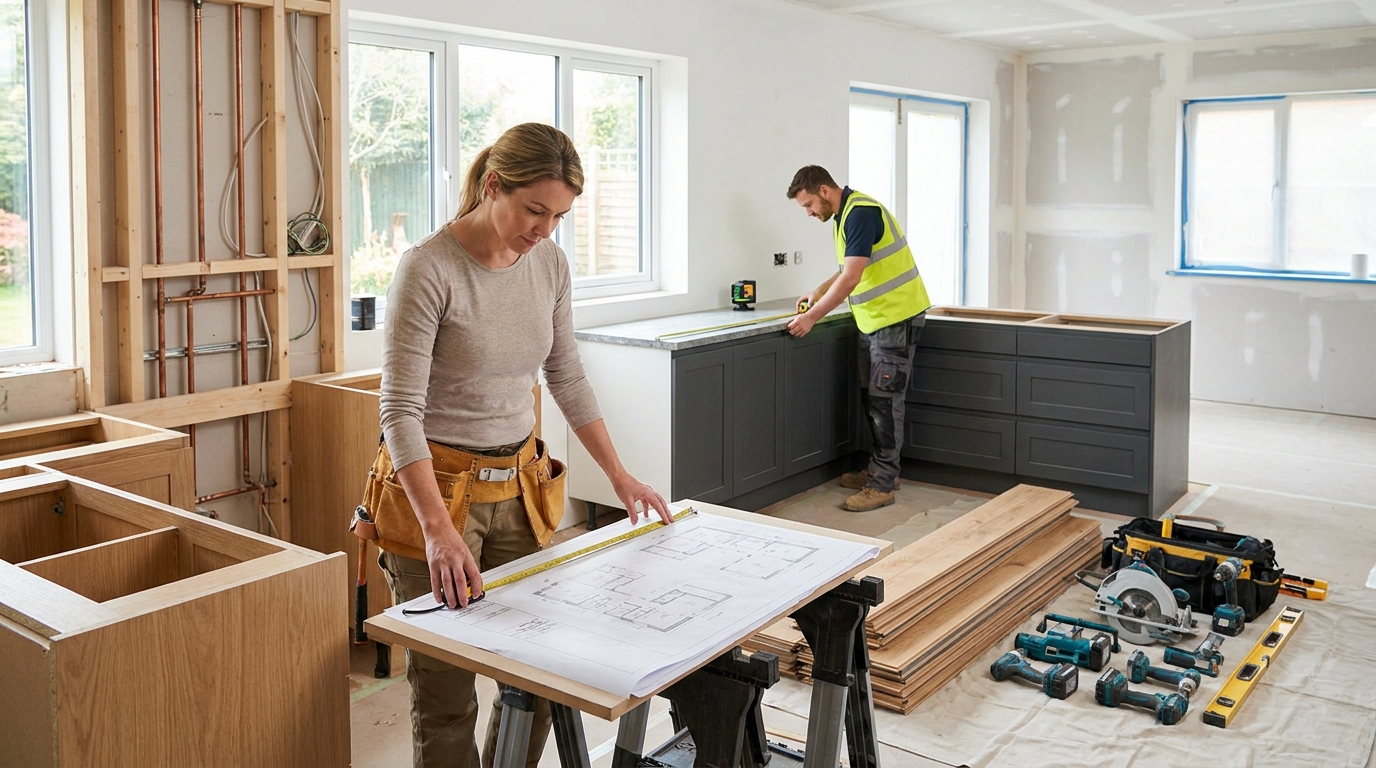
If you’re planning a full kitchen reno and you’re the type who likes to do as much as you can yourself, the thing that’ll make or break your timeline is the order you do things in, not your skill with a drill. Get the sequence right and every trade shows up to a space that’s ready for them. Get it wrong and you’re paying someone to come back a second time, or you’re staring at a benchtop gap for three weeks wondering how you got there.
I’ve watched a few of these go sideways (a couple of them mine), so here’s the actual phase order, plain and honest, plus where a keen DIYer can genuinely own the work and where it’s worth handing over.
Start with a plan on paper, not a sledgehammer
The temptation is to rip the old kitchen out on day one because demolition feels like progress. Resist it. Before anything comes off the wall, you want your full layout locked: where the sink lands, where the stove goes, whether you’re moving the fridge, and every appliance you’re buying with its exact dimensions.
This matters because plumbing and electrical positions are decided by that layout, and those get roughed in early. If you demo first and design as you go, you’ll end up chasing your own decisions with a jackhammer. Measure the room and draw it to scale, then confirm your appliances are ordered before a single cupboard door comes off. This whole phase is DIY-friendly. It just takes patience.
Demolition, then the rough-in
Once the plan’s set, demo is the fun bit and honestly the most DIY-able part of the job. Cabinets, old benchtop, old splashback, flooring if it’s coming up. Cap off the water and turn off power at the board before you touch anything near a pipe or a wire. Skip bin, dust sheets, a mate for the heavy lifts.
Then comes the part where the DIY line usually gets drawn: plumbing and electrical rough-in. This is running new pipework and wiring inside the walls and floor before anything closes back up. New power points for the benchtop, wiring for the oven and cooktop, moving the sink plumbing, adding under-cabinet lighting circuits. In most of Australia this work has to be done by a licensed plumber and electrician, full stop, and it has to happen now while the walls are open. This isn’t a “have a crack” phase. Book the trades, get it inspected where required, and don’t let anyone talk you into closing walls up before it’s signed off.
Flooring or cabinets first? It depends on your floor
This one causes more arguments than it should. The short version: it depends on the flooring type.
If you’re laying a continuous floor like floating timber or vinyl planks, put the flooring down first and run it wall to wall, then set the cabinets on top. It looks cleaner and it means you’re not boxed in if you ever swap a cabinet out. If you’re doing tiles, a lot of people set the cabinets first and tile up to the kickboards to save on tile and grout under units nobody will ever see. Both are defensible. What you can’t do is decide halfway through, because the cabinet height sits differently depending on which you chose, and your benchtop and appliance gaps are measured off that height.
Basic floor prep and even some floating floor installs are within reach for a confident DIYer. Tiling a whole kitchen floor level and true is harder than the YouTube clips make it look, so be honest with yourself there.
Benchtops and the timing squeeze
Here’s the phase where the schedule gets genuinely tight, and where most DIY plans wobble.
Benchtops can’t be measured until the cabinets are set and level, and once the fabricator templates the stone you’re usually looking at one to two weeks before it’s cut and fitted, with the splashback going in only after that. Miss that order and you get gaps behind the benchtop or a splashback that has to come off and go back on. This is the stretch where DIY schedules tend to slip, so if the coordination starts to feel like a second job, there’s a strong case for letting a full-service team handle the renovation sequence and keep the trades booked in the right order. A design-and-install outfit like Action Kitchens builds the plumbing and electrical rough-in, cabinet install, templating window and splashback around each other from the start, so no phase is waiting on one that hasn’t happened yet.
The reason this bites people is the lead time is invisible until you hit it. You install your cabinets on a Saturday feeling great, then discover the fabricator can’t template until Wednesday and can’t fit until the following week, and suddenly your “two week kitchen” is a month with no working sink. Building that gap into your plan from the start is the difference between a smooth run and a fortnight of takeaways.
Splashback goes in last, and there’s a reason
The splashback is one of the final things installed, after the benchtop is fitted, because it sits on top of the benchtop and often gets scribed to it. Tile it or install a stone or glass panel too early and you’ll either be cutting around a benchtop that isn’t there yet, or ripping it back off when the benchtop arrives. Same logic applies to the final plumbing and electrical fit-off: taps, the cooktop, power point faces, the range hood all go in near the end, once the surfaces they mount to or sit against are in place.
Tiling a splashback is one of the more achievable finishing jobs for a DIYer if you’ve got a steady hand and a decent tile cutter. Just don’t start it until the benchtop’s down.
Where to draw your own line
If you want a rule of thumb: own the phases where a mistake costs you time, not safety or a re-do of someone else’s expensive work. Planning, demolition, painting, and often the splashback tiling are fair game. Plumbing and electrical rough-in belong to licensed trades. Cabinet install and benchtop templating are where precision and lead-time coordination matter most, and they’re the parts that most often justify bringing in help.
The single biggest thing DIYers underestimate isn’t the physical work. It’s the scheduling. Every phase waits on the one before it, and one slipped booking can stall the whole job for a fortnight. Know the order, book the trades in that same order, and be realistic about which weekends you can actually give it. That’s the whole game.

