
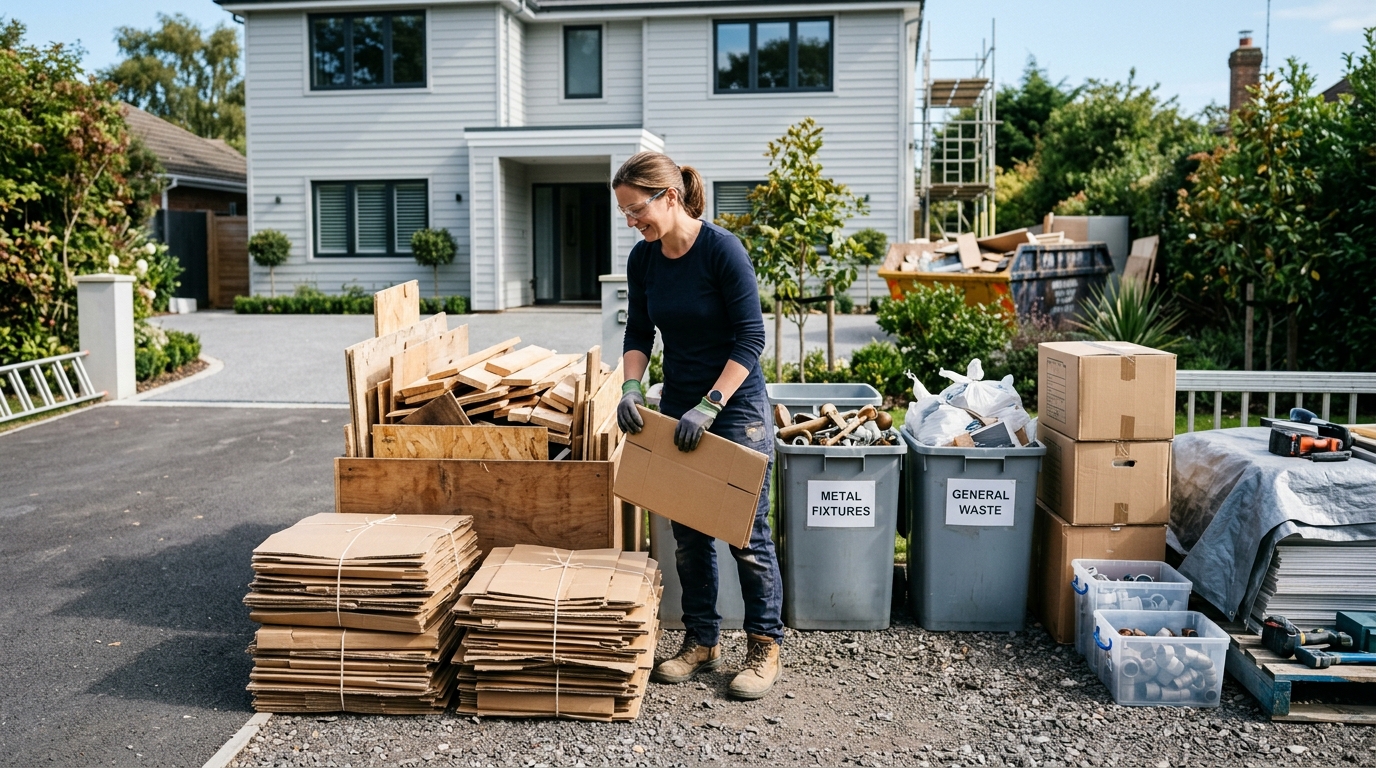
How to plan waste removal for a home project starts with making cleanup part of the project plan from the beginning, whether you are clearing a garage, updating an office, remodeling a kitchen, or managing a construction site. Arranging residential dumpster bin rentals or another appropriate removal method early can help contain debris rather than allowing it to take over work areas, driveways, or sidewalks.
A practical waste plan does more than create a cleaner space. It helps people identify materials that require special handling, estimate the required capacity, and set aside items that may be reused, donated, or recycled. The result is a more organized project with fewer last-minute decisions.
Why Waste Removal Planning Matters
Waste can build up faster than expected once a project starts, especially during a garage renovation or other home improvement project. Boxes, packaging, broken fixtures, lumber cutoffs, old flooring, and loose demolition debris can block access routes and make a workspace harder to manage. Planning provides a designated place for materials and makes it easier to keep pathways, entrances, and loading areas clear.
Consider a kitchen renovation. The project may produce cabinets, drywall, flooring, cardboard, insulation, fixtures, and an old appliance. Those materials do not always belong in the same disposal stream, and some may be worth salvaging. Listing them before work begins reduces confusion as the removal area fills up.
Identify the Waste Before Work Begins
Create a basic material list before demolition, landscaping, remodeling, or a property cleanout so you know what materials are likely to require removal. It does not need to be complicated. The goal is to recognize what is likely to be generated and determine whether any items have separate disposal requirements.
Common Waste Categories
- General household items: Clothing, boxes, damaged furniture, toys, and miscellaneous clutter.
- Construction debris: Wood, drywall, flooring, shingles, bricks, concrete, and fixtures.
- Yard materials: Leaves, brush, branches, roots, soil, and stumps.
- Bulky items: Mattresses, appliances, cabinets, toilets, and large furniture.
- Special waste: Paint, fuels, batteries, solvents, chemicals, and pressurized containers.
Local rules can differ by municipality and disposal facility, particularly for appliances, electronics, tires, soil, and regulated materials. Confirm what is accepted before loading a mixed pile or container.
Estimate the Amount of Waste
Accurate measurements are helpful, but a useful estimate is usually enough to choose a removal option. Walk through the project area and group materials by type. Measure the approximate length, width, and height of major piles, then leave room for uneven shapes and the empty spaces created by bulky items.
Do not focus on volume alone. Concrete, brick, roofing, dirt, and other dense materials may reach a weight limit before a container appears full. If a project includes a large quantity of heavy debris, separating it from lighter materials can make loading and transportation more manageable.
Choose the Right Removal Method
The right approach depends on the size of the job, the materials involved, available access, and how long the cleanup will take. Small decluttering jobs may work with bagged collection or a compact container. A room renovation may need short-term debris capacity, while a major cleanout or demolition project may require a larger, dedicated solution.
- Small cleanouts: Sort donations, recyclable materials, and ordinary discards before arranging collection.
- Renovations: Plan for drywall, flooring, cabinets, packaging, and fixtures.
- Landscaping work: Ask whether branches, soil, stumps, and brush need separate handling.
- Construction projects: Keep dense debris and reusable building components in clearly marked areas.
Construction and demolition debris can include concrete, wood, asphalt, gypsum, metal, brick, glass, plastic, and salvaged components. The materials generated during construction, renovation, and demolition can often be reduced, salvaged, reused, or recycled when they are planned for separately.
Sort Materials for Reuse and Recycling
Sorting works best before materials become mixed, wet, broken, or contaminated. Set aside clean cardboard, scrap metal, usable hardware, intact doors, cabinets, fixtures, and lumber that may be useful for another project. Working appliances and furniture may also be suitable for donation when local organizations accept them.
Use labeled piles, bins, or designated areas for each category. This simple step helps prevent reusable or recyclable material from disappearing into a general debris pile. It can also speed up the final cleanup because workers know where each item belongs.
Handle Hazardous Items with Care
Some household and project materials should not be placed with ordinary debris. Paint, cleaners, pesticides, motor oil, batteries, solvents, fuels, and compressed gas cylinders can require special handling. Product labels may identify hazards such as flammability, corrosiveness, toxicity, or pressure.
Keep these items in their original labeled containers whenever possible. Do not mix chemicals, pour them into drains, or transfer them into food and drink containers. The safe handling of leftover household products with hazardous ingredients includes checking with local environmental, health, or solid waste agencies for available disposal options.
If an unknown substance is leaking, damaged, or unlabeled, stop work in that area and seek guidance from an appropriate local authority or qualified professional.
Prepare the Home or Worksite
Choose a stable placement area with a clear approach for loading and pickup. Keep the location away from low branches, overhead wires, blocked gates, and heavily traveled walkways. If heavy equipment may be involved, consider how driveways, landscaping, and other surfaces will be protected.
- Keep vehicles, tools, and loose materials out of the access path.
- Do not block sidewalks, fire routes, drainage areas, or neighbor access.
- Check whether placement on a street or public area requires permission.
- Keep children and pets away from loading zones.
- Secure lightweight debris during windy conditions.
Avoid Common Waste Removal Mistakes
Common problems are usually preventable. Choosing too little capacity can lead to overflow or an additional pickup. Loading debris above the rim can create transportation hazards. Waiting until the final day to arrange removal can also disrupt the rest of the schedule.
Other mistakes include mixing restricted materials with ordinary debris, overlooking weight limits, and starting demolition without checking for potential hazards in older structures. When in doubt, pause before loading questionable materials and verify the correct disposal path.
Use a Simple Project Checklist
- List the materials the project is expected to produce.
- Identify hazardous, restricted, or unusually heavy items.
- Estimate both waste volume and weight.
- Decide which materials can be reused, donated, or recycled.
- Choose a safe placement and loading area.
- Confirm access, timing, and any local requirements.
- Assign responsibility for sorting and final inspection.
Final Thoughts
Good waste removal starts before the first box is moved or the first wall is opened. A clear material list, realistic estimate, safe loading area, and separate plan for hazardous items can make cleanup more efficient from start to finish. Thoughtful planning also helps keep useful materials in circulation instead of treating every item as waste.

