
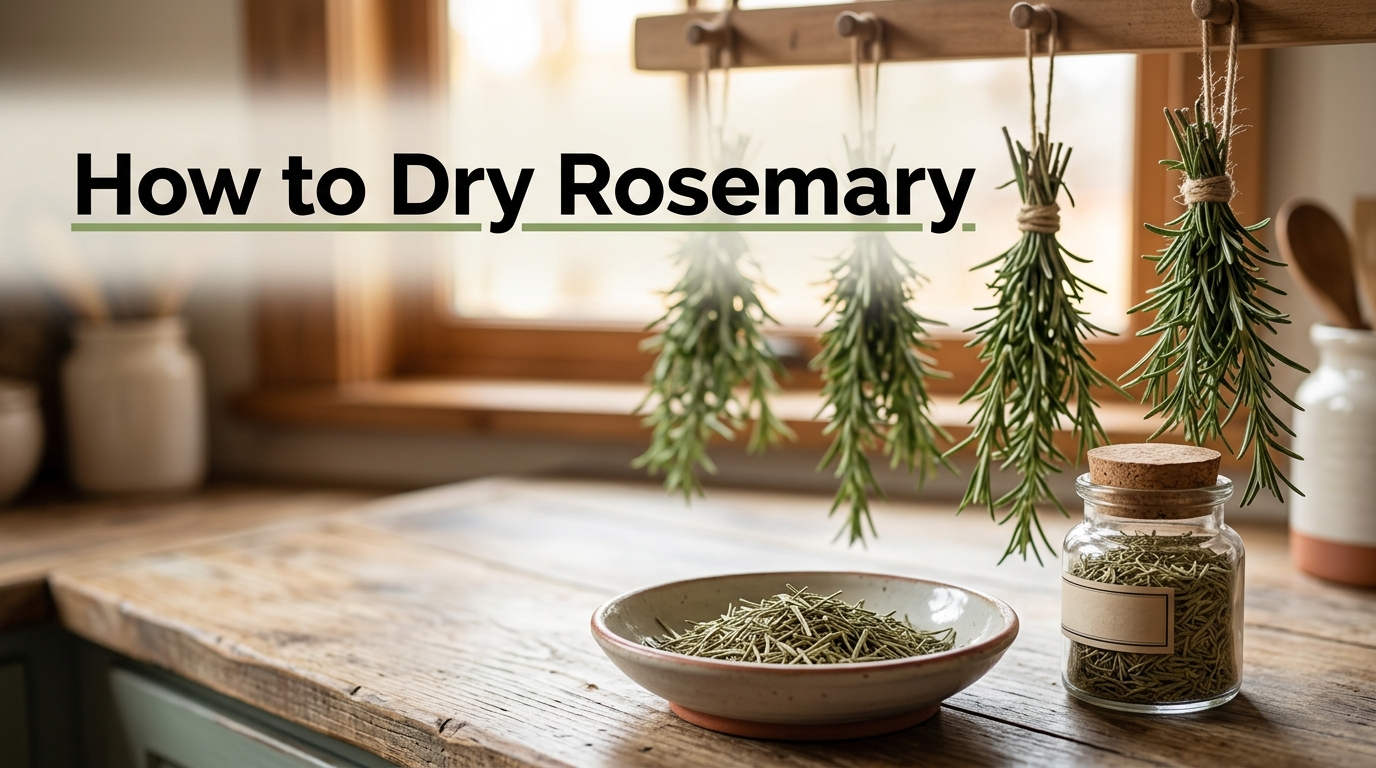
If you’ve ever grown a rosemary bush, you already know the problem: one healthy plant produces far more than any kitchen can use fresh. The good news is that learning how to dry rosemary is one of the simplest herb-preservation skills a home cook can pick up, and it takes almost no special equipment.
Dried rosemary holds onto its piney, slightly peppery flavor far longer than most other herbs because of its tough, waxy leaves. Once you know the right timing and technique, a single harvest can stock your spice rack for the better part of a year. This guide walks through every reliable method, from the old-fashioned hanging bundle to a countertop dehydrator, so you can pick whichever fits your kitchen and schedule.
Unlike softer, leafier herbs such as basil or cilantro, rosemary’s structure makes it almost tailor-made for preservation. The needle-like leaves already carry less internal moisture than broad-leafed herbs, which means there’s less water to remove and less risk of the mushy, moldy outcomes that sometimes plague other dried herbs. That’s part of why rosemary has been dried and stored in Mediterranean kitchens for centuries, long before refrigeration or food dehydrators existed.
Whether you’re clearing out an overgrown backyard shrub, working through a farmers market bundle, or simply trying to stretch a grocery-store package a little further, the same core steps apply. Get the timing right, remove surface moisture, choose a drying method that matches how much time you have, and store the finished product carefully. The rest of this guide breaks each of those steps down in detail.
Why Bother Drying Rosemary at All?
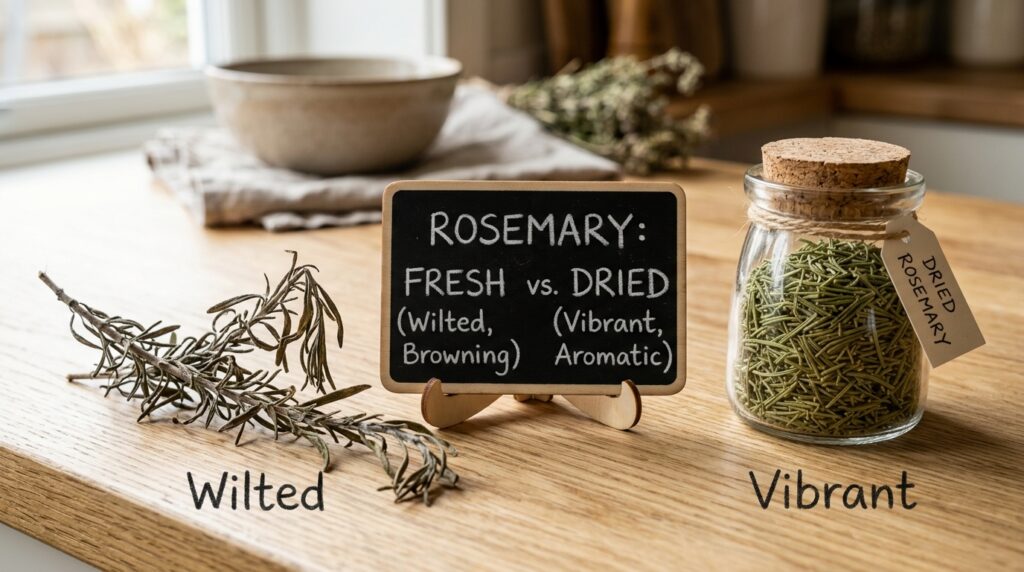
Fresh rosemary is wonderful, but it doesn’t last. Left in the refrigerator, sprigs turn woody and lose their fragrance within a week or two. Drying solves that problem in three ways.
First, it concentrates the flavor. Removing the water from the leaves intensifies the essential oils that give rosemary its scent, so dried rosemary is actually stronger, spoonful for spoonful, than fresh.
Second, it extends shelf life dramatically. Properly dried and stored rosemary can stay flavorful for close to a year, compared to a week or so for fresh sprigs in the fridge.
Third, it reduces waste. Herb gardens tend to produce in bursts, and drying is the easiest way to capture a big harvest before it goes to waste on the plant.
When to Harvest Rosemary for Drying
Timing matters more than most people expect. Rosemary’s essential oil content, the thing responsible for its scent and flavor, peaks right before the plant flowers. Harvesting too late, after blooming, tends to give you a slightly more bitter, less aromatic result.
A few practical pointers:
- Harvest in the mid-morning, once the dew has dried off but before the midday heat.
- Choose stems that are healthy, green, and free of pests or brown spots.
- Cut just above a leaf node so the plant can branch out and keep producing.
- Avoid harvesting right after rain or watering, since wet stems take longer to dry and are more prone to mold.
Rosemary is a woody Mediterranean shrub that tolerates dry conditions well, which is part of why its leaves are naturally low in moisture compared to softer herbs like basil or cilantro. That built-in dryness is exactly what makes it such a forgiving herb to preserve at home.
Does the Rosemary Variety Matter for Drying?

Not all rosemary plants are identical, and if you’re growing your own, it’s worth knowing which type is in your garden.
- Upright varieties, such as the common culinary type sold at most garden centers, tend to have thicker stems and slightly stronger flavor, which makes them well suited for drying.
- Trailing or creeping varieties, often grown as ornamental groundcover, are still edible but generally have a milder flavor and thinner stems, so they dry a bit faster and can turn brittle sooner than expected.
- Hardier winter cultivars developed for colder climates sometimes have a slightly more resinous, piney taste that holds up particularly well once dried.
For drying purposes, the differences between varieties are minor compared to the impact of harvest timing and technique, but it’s still useful to know what you’re working with, especially if you’re deciding how long to leave sprigs on the tray or in the oven.
Preparing Rosemary Before You Dry It
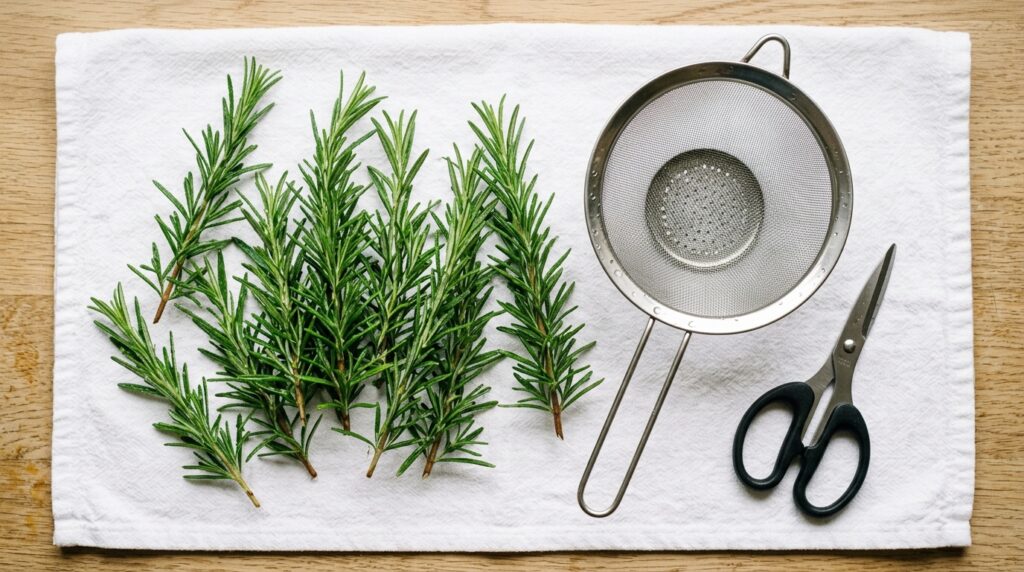
A little prep work now prevents mold and off-flavors later.
- Rinse gently. Run the stems under cool water to remove dust, garden debris, or any hiding insects.
- Pat dry thoroughly. Lay the sprigs on a clean towel and blot them, or use a salad spinner. Any leftover surface moisture slows the drying process and invites mold.
- Remove damaged leaves. Pull off any yellowed, bruised, or blackened leaves before you start.
- Sort by stem length. Grouping similar-sized sprigs together helps them dry at roughly the same rate, which matters most for the bundle-hanging method.
If you’re short on time, some cooks skip the rinse entirely for garden-grown rosemary that looks clean, but a quick rinse is generally worth the extra five minutes for peace of mind.
Method 1: Air-Drying Rosemary (The Classic Approach)

Air-drying is the oldest and lowest-effort way to dry rosemary, and it works especially well because rosemary’s naturally low moisture content means it rarely molds the way softer, sturdier herbs suited for air-drying can.
How to Air-Dry Rosemary
- Gather 4 to 6 stems into a small bundle and secure the ends with kitchen twine or a rubber band.
- Hang the bundle upside down in a warm, dry, well-ventilated spot out of direct sunlight, such as a pantry, closet, or covered porch.
- Leave enough space between bundles for air to circulate.
- Check on the bundles every few days. Depending on humidity, air-drying typically takes anywhere from one to four weeks.
Direct sunlight will fade the color and burn off some of the aromatic oils, so a shaded, airy spot works far better than a sunny windowsill for this particular method.
Air-Drying in a Paper Bag
For a slightly faster, dust-free variation, punch a few holes in a paper bag, place the rosemary bundle inside stem-side up, and cinch the bag loosely around the stems before hanging it as usual. The bag catches any leaves that fall off and shields the herbs from light.
Why Air-Drying Still Holds Up
It’s tempting to assume that a modern appliance always beats an old-fashioned method, but air-drying has a genuine advantage for rosemary specifically. Because no external heat is applied, the volatile aromatic compounds that give rosemary its characteristic scent are less likely to break down during the process. Cooks who’ve compared batches side by side often report that air-dried rosemary smells slightly more vibrant when the jar is first opened, even though the difference fades within a few months of storage.
The main tradeoff is patience. If your climate runs humid, air-drying can stretch out closer to a month, and there’s a slightly higher chance of a stray moldy stem if bundles are packed too tightly or hung somewhere with poor airflow. Checking bundles every few days and spacing them apart solves most of that risk.
Method 2: Oven-Drying Rosemary
When you need dried rosemary in a hurry, the oven is the fastest low-tech option.
Steps
- Preheat your oven to its lowest setting, ideally between 170°F and 180°F.
- Line a baking sheet with parchment paper.
- Spread the rosemary sprigs in a single layer, making sure they don’t overlap.
- Prop the oven door open slightly with a wooden spoon to let moisture escape.
- Check every 15 to 20 minutes, rotating the tray for even drying.
- Total time usually runs 1 to 3 hours, depending on your oven and sprig thickness.
The leaves are ready when they crumble easily between your fingers instead of bending. Keep a close eye near the end, since rosemary can go from perfectly dry to scorched within a few minutes at higher heat.
Method 3: Dehydrator Drying (The Most Consistent Method)
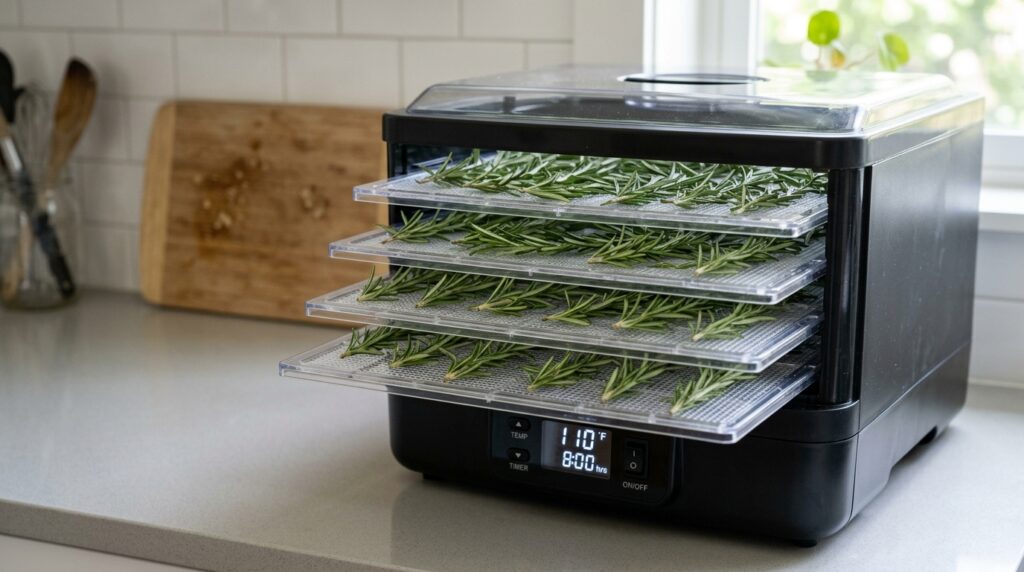
If you dry herbs often, a food dehydrator gives the most predictable, evenly dried results with the least guesswork.
Steps
- Wash and thoroughly dry the rosemary sprigs.
- Arrange them in a single layer on the dehydrator trays, leaving space between sprigs for airflow.
- Set the temperature to around 95°F to 115°F, which is the typical low-heat range recommended for herbs.
- Dry for roughly 1 to 4 hours, checking periodically.
- Remove the sprigs once the needles snap cleanly instead of bending.
Because a dehydrator controls both temperature and airflow, it’s the method least likely to scorch the leaves or leave them under-dried, which makes it a solid choice if you’re preserving a large harvest at once.
Method 4: Microwave Drying (Fastest, Best for Small Batches)
Microwave drying isn’t the most traditional method, but it’s genuinely useful when you only need a small amount of dried rosemary right away.
Steps
- Place a single layer of rosemary sprigs between two paper towels.
- Microwave in 30-second bursts on medium power.
- Check after each burst, since microwaves vary widely in strength.
- Most small batches finish in 1 to 3 minutes total.
Because this method works fast and unevenly if you’re not careful, it’s best reserved for smaller quantities rather than an entire harvest. Watch closely, since herbs can scorch or even catch fire if left too long in a microwave.
How to Tell When Rosemary Is Fully Dry
Regardless of method, the test is the same: fully dried rosemary needles should feel brittle and snap or crumble easily when rolled between your fingers. If the needles bend rather than break, they still hold moisture and need more time.
A few more checkpoints:
- The color should be a dusty, muted green rather than bright green.
- The stems should feel dry and slightly brittle, not springy.
- There should be no cool or damp sensation when you touch the underside of a leaf.
Rushing this step is the single most common reason dried herbs mold in storage, so it’s worth being patient here even if the rest of the process went quickly.
How to Store Dried Rosemary Properly
Storage is where a lot of home cooks lose the flavor they worked to preserve. A few rules make a big difference.
- Strip the leaves off the stems once they’re fully dry. The stems add bulk without flavor.
- Use an airtight container, such as a small glass jar with a tight lid, rather than a plastic bag that lets air in and out.
- Keep it away from heat and light. A cabinet or drawer works better than an open shelf near the stove.
- Label with the drying date so you know when to refresh your supply.
- Store leaves whole rather than crushed if possible, since crushing the needles releases oils faster and shortens shelf life.
If your kitchen setup doesn’t have much dedicated pantry space, working dried herb storage into your overall layout can make this a lot easier to keep up with; a well-organized kitchen makes it simpler to store more than just spices efficiently, and browsing through some green kitchen design ideas can offer inspiration for building in a proper spot for jars and herb racks.
How Long Does Dried Rosemary Last?
Stored correctly in an airtight container away from heat and sunlight, dried rosemary generally keeps its best flavor for about 1 to 3 years, though it stays technically safe to use even longer. It won’t spoil in a way that makes you sick, but it will gradually lose potency, smell fainter, and taste flatter over time.
A simple freshness test: rub a pinch of the dried rosemary between your fingers. If you can still smell that sharp, piney aroma, it’s good to use. If there’s little to no scent, it’s time to replace it, even if it still looks fine.
| Storage Condition | Approximate Shelf Life |
|---|---|
| Airtight jar, cool dark cabinet | 1 to 3 years |
| Airtight jar, near stove or window | 6 to 12 months |
| Loosely covered container | 3 to 6 months |
| Freezer (dried, sealed) | Up to 3 years |
Drying Store-Bought Rosemary vs. Garden-Grown
Not everyone has a rosemary bush growing outside. If you picked up a plastic-wrapped bundle from the grocery store, you can still dry it successfully, though there are a couple of small differences worth knowing about.
Store-bought rosemary has usually been sitting in cold storage and transit for days before it reaches the shelf, so it may already have lost a bit of its aromatic punch compared to something snipped straight from the garden. It’s still worth drying, but don’t expect quite the same intensity in the final product.
Store-bought bunches are also more likely to have a few bruised or slightly wilted stems mixed in, so it’s worth sorting through the bundle and setting aside anything that looks discolored before you start. The rinsing and patting-dry step matters even more here, since grocery store herbs sometimes carry surface moisture from the misting systems used to keep produce sections looking fresh.
Aside from those small considerations, every method described in this guide, air-drying, oven-drying, dehydrator, or microwave, works exactly the same whether the rosemary came from a backyard shrub or a plastic clamshell package.
How Climate and Humidity Affect Drying Time
The single biggest variable in how long rosemary takes to dry isn’t the method you choose, it’s the air around you. Herbs release moisture into the surrounding environment, and that process slows dramatically in humid conditions.
- Dry, arid climates can cut air-drying time down to a week or less, since the surrounding air is already pulling moisture out efficiently.
- Humid, coastal, or tropical climates may stretch air-drying out to three or four weeks, and bundles need extra spacing and airflow to avoid mold.
- Rainy seasons are generally a poor time for open-air drying methods altogether. An oven or dehydrator becomes the more reliable choice when ambient humidity is consistently high.
- Indoor heating or air conditioning can actually help by lowering indoor humidity, so a spot near, but not directly under, an HVAC vent can speed things along.
If you’re not sure how humid your drying space is, a simple test works well: hang one test bundle and check it after three days. If the outer leaves already feel noticeably drier than the inner ones, your environment is on the humid side, and you may want to switch to oven or dehydrator drying for more consistent results.
Common Mistakes to Avoid When Drying Rosemary
Even a forgiving herb like rosemary can go wrong if you skip a few basics.
- Drying in direct sunlight. This fades color and cooks off aromatic oils, leaving a dull, less flavorful herb.
- Overcrowding the tray or bundle. Poor airflow leads to uneven drying and pockets of trapped moisture.
- Storing before it’s fully dry. Any leftover moisture invites mold inside a sealed jar.
- Using too high an oven temperature. Rosemary can go from dry to burnt quickly once the oils start to smoke.
- Skipping the rinse. Garden herbs can carry dust, pollen, or small insects that you don’t want ending up in your spice jar.
Pros and Cons of Each Drying Method
| Method | Time Needed | Best For | Downsides |
|---|---|---|---|
| Air-drying | 1 to 4 weeks | Large batches, hands-off preservation | Slowest method, needs a dedicated dry space |
| Oven-drying | 1 to 3 hours | Medium batches, faster turnaround | Risk of scorching if unattended |
| Dehydrator | 1 to 4 hours | Consistent results, bulk drying | Requires owning the appliance |
| Microwave | 1 to 3 minutes | Small, quick batches | Uneven drying, fire risk if left too long |
What to Do With Dried Rosemary Once It’s Ready
Once you’ve got a jar of dried rosemary on hand, the uses go well beyond seasoning a roast chicken.
- Infused oils. Adding a few dried sprigs to a bottle of olive oil creates a simple, long-lasting infusion for cooking or dipping bread. Use dried rather than fresh rosemary for infusions meant to sit at room temperature, since fresh herbs carry moisture that can encourage bacterial growth in oil.
- Homemade seasoning blends. Crushed dried rosemary pairs naturally with garlic powder, dried thyme, and sea salt for an all-purpose blend that works on potatoes, meats, and roasted vegetables.
- Herbal teas. A small pinch of dried rosemary steeped in hot water makes a fragrant, slightly earthy tea, often combined with mint or lemon peel.
- Fire starters and grilling. Dried rosemary stems and sprigs can be tossed onto hot coals or added to a smoker box to perfume grilled meats and vegetables with a subtle herbal aroma.
- Simple home fragrance. A small dish of dried rosemary needles, sometimes combined with dried citrus peel, works as a natural, low-effort potpourri for a kitchen or entryway.
Expert Tips for Better Results
- Rosemary dries best in low humidity. If your climate is naturally damp, an oven or dehydrator will outperform open-air hanging.
- Save a few whole dried sprigs instead of stripping every leaf. Whole sprigs work well for infusing oils, roasts, or homemade wreaths.
- Don’t throw out the stems. Dried rosemary stems can be tossed on a grill or added to a smoker for a subtle herbal aroma.
- If you grow rosemary indoors, rotate the pot periodically so all sides get even light before harvesting, which helps produce more uniform, oil-rich stems.
- Consider drying in smaller, more frequent batches rather than one giant harvest. Smaller batches dry faster and more evenly.
Frequently Asked Questions
Can you dry rosemary in the refrigerator?
Not really. Refrigerators are humid environments, which is the opposite of what herbs need to dry properly. The fridge is fine for keeping fresh rosemary usable for a week or two, but it isn’t a drying method on its own.
Is air-dried rosemary better than oven-dried rosemary?
Both work well, and the difference in final flavor is minor. Air-drying tends to preserve slightly more of the delicate aromatic compounds since it uses no heat, while oven-drying is faster and more convenient for smaller kitchens without a spare hanging space.
How much dried rosemary equals fresh rosemary in a recipe?
A general rule is to use about one-third the amount of dried rosemary compared to fresh, since drying concentrates the flavor. For example, if a recipe calls for 1 tablespoon of fresh rosemary, roughly 1 teaspoon of dried rosemary is a good substitute.
Why did my dried rosemary turn brown instead of staying green?
Brown or dull coloring is usually a sign of drying in direct sunlight or at too high a temperature. It’s still safe to use, but the flavor won’t be as strong as herbs dried in a shaded, low-heat environment.
Can you dry rosemary that’s already starting to flower?
Yes, but the flavor will be milder and slightly more bitter than rosemary harvested just before flowering. It’s still usable for drying, just not the peak-quality harvest window.
Do you need to remove the needles from the stem before drying?
No, it’s actually easier to dry rosemary while the needles are still attached to the stem. Stripping the leaves beforehand exposes more surface area to air, which can cause them to curl unevenly and lose more of their essential oils during the process. Wait until after drying to remove the needles for storage.
Final Thoughts
Drying rosemary is one of the easiest ways to make sure a single healthy plant keeps your kitchen stocked well beyond its growing season. Whether you hang bundles in a quiet closet, run a tray through a low oven, or invest in a dehydrator for bigger harvests, the core principles stay the same: harvest at the right time, remove excess moisture before you start, dry until brittle, and store in an airtight jar away from heat and light.
Once you’ve got a jar of properly dried rosemary on the shelf, you’ll likely notice how much more concentrated and fragrant it is compared to store-bought versions that have been sitting on a warehouse shelf for months. Give one of these methods a try with your next harvest, and see which fits your kitchen routine best.

