
That bouquet on your kitchen counter has maybe ten days left in it. Ten days, and then it’s compost. Which feels like a waste when you consider that with the right technique, the same flowers could sit on a shelf looking beautiful two years from now.
Learning how to dry out flowers isn’t complicated, and you don’t need a florist’s toolkit to do it. Most methods use things already sitting in a kitchen drawer or a craft closet, like silica gel, table salt, or a stack of old paperbacks. What changes is the result: some methods keep petals soft and bendable, others lock in vivid color, and a couple work in minutes instead of weeks.
This guide walks through every practical way to dry flowers at home, which flowers respond best to each one, and what to do with the finished blooms once they’re ready.
Why Bother Drying Flowers in the First Place
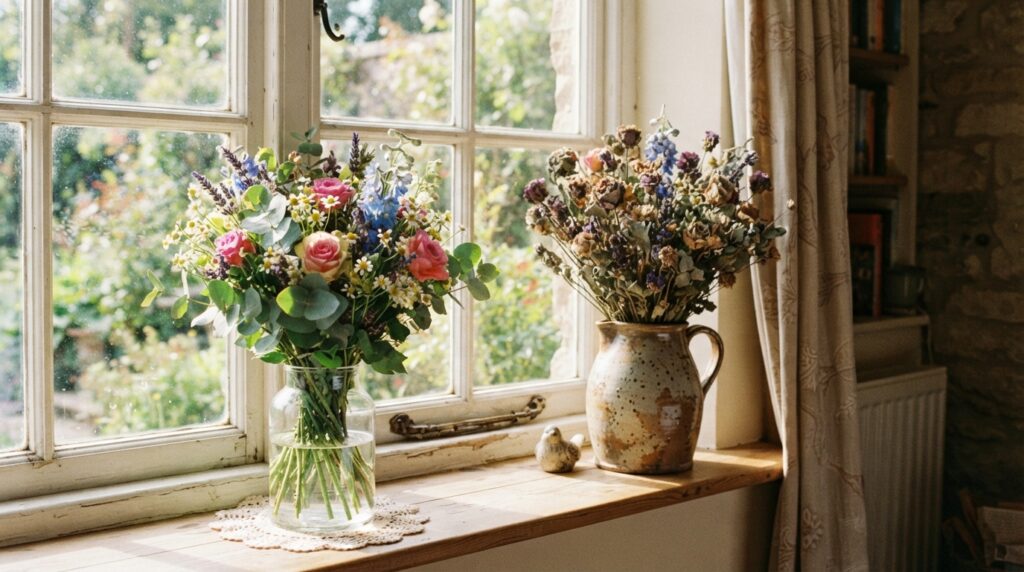
Fresh flowers are a short-term pleasure by design. Once cut, a stem stops receiving water and nutrients from the plant, and the clock starts ticking the moment shears touch stem.
Drying interrupts that decline by removing the moisture that bacteria and mold need to break the flower down. Preserving flowers and foliage can be fun year-round, and several common methods are used to achieve it. Once the water is gone, what’s left is a stable, lightweight structure that can sit on a shelf for years with almost no upkeep.
There’s also a sentimental angle that a lot of guides skip over. Wedding bouquets, flowers from a memorial service, the first bunch a partner ever brought home, a corsage from a school dance. Drying gives those moments a shelf life that fresh flowers simply can’t offer.
Picking Flowers That Will Actually Dry Well
Not every bloom is a good candidate. Before committing time to any method, it helps to know which flowers cooperate and which ones fight back.
Good candidates tend to have:
- Low water content in their petals
- Sturdy, non-fleshy petal structure
- A single layer or moderate number of petals
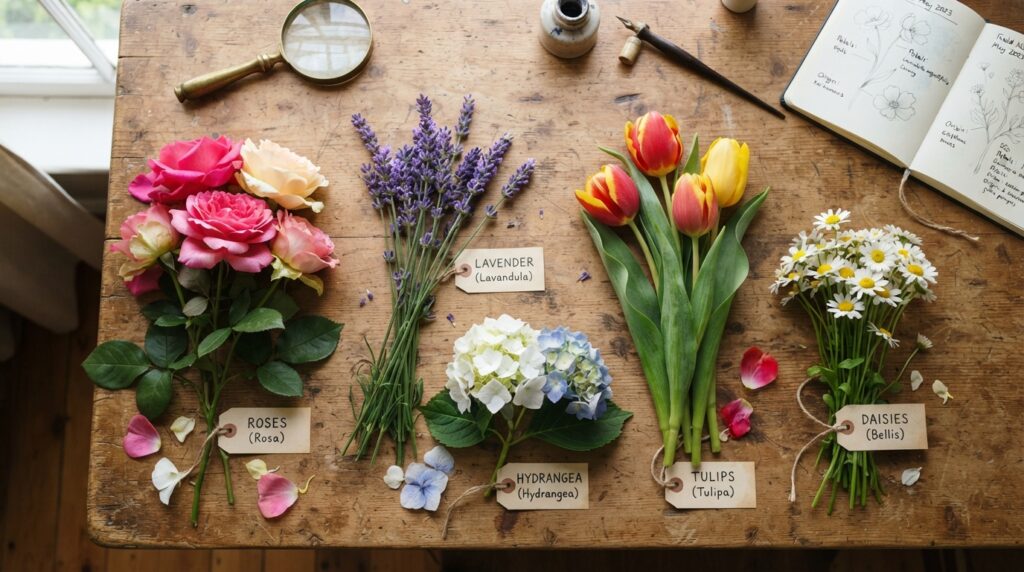
Flowers and plants with a high water content generally don’t dry well, which includes dahlias, succulents, tulips, and daffodils. Thin-petaled blooms are tricky too. Flowers with very thin petals often don’t dry well because the petals become extremely fragile and lose their color, examples being daisies, asters, columbine, and sunflowers.
On the other hand, some flowers were basically made for this. Roses, hydrangeas, gypsophila, larkspur, ammobium, celosia, and lavender retain their shape and color well when dried, making them useful for arrangements and craft projects. Strawflowers, statice, yarrow, and globe amaranth belong on that shortlist too, and they’re common in bouquets from farmers markets and grocery stores alike.
A quick comparison table makes the decision easier:
| Flower Type | Dries Well? | Best Method |
|---|---|---|
| Roses | Yes | Silica gel, air-dry, book pressing |
| Lavender | Yes | Air-dry |
| Hydrangea | Yes | Air-dry, silica gel |
| Baby’s breath | Yes | Air-dry, book pressing |
| Strawflower | Yes | Air-dry |
| Tulips | Difficult | Silica gel only |
| Daisies | Difficult | Silica gel, book pressing |
| Sunflowers | Difficult | Silica gel (heads only) |
| Succulent-type blooms | Not recommended | None reliable |
Method 1: Air-Drying, the Classic Hands-Off Approach
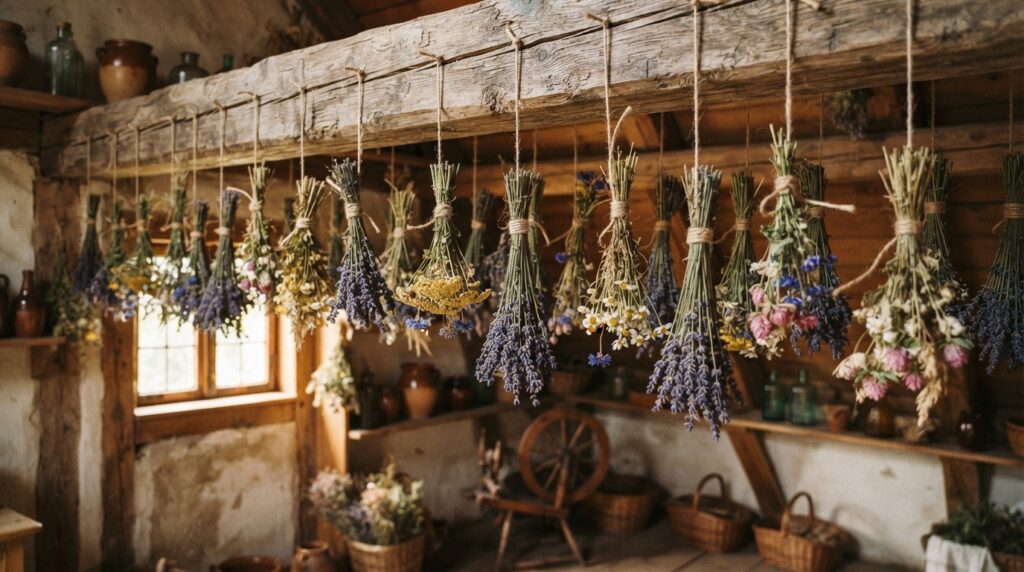
Air-drying is where most people start, and for good reason. It costs nothing, needs no equipment, and works on more flower types than people expect.
How to do it:
- Strip the lower leaves from each stem so nothing is left to rot.
- Gather 5 to 10 stems into a small bundle and secure with a rubber band (rubber bands tighten as stems shrink, unlike string).
- Hang the bundle upside down from a hook, nail, or drying rack.
- Choose a spot that’s dark, dry, and has decent air circulation, like a closet or an attic corner.
- Wait 2 to 4 weeks, checking periodically for brittleness.
The most common method is air-drying, which requires the flower to be hung upside down in a cool, dark area for several weeks until all moisture has evaporated. Hanging the stems upside down matters because it keeps the flower heads from drooping into a curved, unnatural shape as they lose rigidity.
Darkness isn’t optional if color retention matters. Sunlight bleaches pigment out of petals fast, which is why a closet beats a sunny windowsill for this particular job. For a broader rundown of drying materials and their trade-offs, the guide to drying flowers is a solid reference point.
Expert tip: Group flowers by drying time rather than by bouquet. Lavender and statice finish faster than dense hydrangea heads, so mixing them on one string means pulling some down early and leaving others to overdry.
How to Dry Out Flowers Quickly at Home When You Don’t Want to Wait Weeks
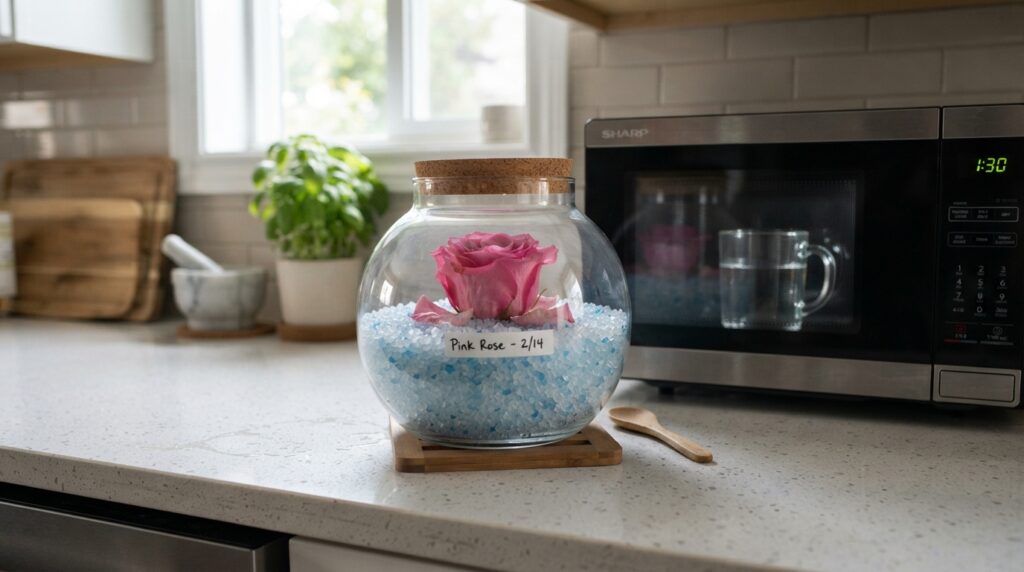
Air-drying works, but a month is a long time if there’s a specific project waiting. For anyone searching for how to dry out flowers quickly at home, three methods stand out: silica gel, the microwave, and a warm oven.
The Silica Gel Method
Silica gel crystals pull moisture out of petals far faster than open air does, and they preserve color and shape better than almost any other technique.
How to do it:
- Pour about 1.5 inches of silica gel into an airtight container.
- Trim stems to about 1 to 2 inches and set the flower face-up on the gel.
- Gently pour more gel around and between the petals until the flower is fully covered.
- Seal the container and store it somewhere dry.
- Wait 2 to 7 days depending on the flower’s density.
Support material such as silica gel must surround and support the flowers during drying, and drying times vary depending on flower thickness. As the crystals absorb water, most silica products shift from blue to pink, giving a visual cue that the job is done.
This is the go-to method for people wondering how to dry out flowers to keep forever, since it preserves the most natural color and shape of any technique on this list. Wedding bouquets, funeral flowers, and other keepsakes are usually good candidates for silica gel because the finished result looks closest to the living flower.
The Microwave Method
Combine silica gel with a microwave and drying time shrinks from days to minutes. If someone is short on patience, this is the answer for how to dry out flowers in the microwave.
How to do it:
- Place 1 to 1.5 inches of silica gel in a microwave-safe, uncovered container.
- Nestle the flower into the gel and cover it completely, just like the standard method.
- Set a small glass of water inside the microwave alongside the container.
- Microwave on medium power in 1-minute bursts, checking after each round.
- Let the container cool undisturbed for 12 to 24 hours before removing the flower.
Microwave-drying takes only a few minutes and provides dried flowers that look fresher and more colorful than those obtained by other methods, and a cup of water placed in the oven helps prevent excessive drying. After treatment, flowers should sit in the silica gel for 12 to 24 hours to finish cooling, and since microwave-dried flowers tend to reabsorb moisture from the air, a light coat of hairspray or lacquer afterward helps.
Thicker flowers take longer than delicate ones. Simply placing the open container in the microwave with a glass of water and heating on medium power in one-minute increments usually dries flowers within 1 to 3 minutes.
Pro tip: Watch flowers closely during the first attempt with any new microwave, since wattage varies a lot between models and burnt petals happen fast once the timing is off. The guide to drying flowers and foliage covers additional timing charts for specific flower types if more precision is needed.
The Oven Method
An oven does roughly the same job as a microwave but at a gentler pace, which suits people who don’t own silica gel or don’t trust the microwave with something delicate.
Set the oven to its lowest possible temperature, arrange flowers face-up on a wire rack or parchment-lined tray, and leave the door slightly ajar to let moisture escape. Check every 15 to 20 minutes. Most single-layer flowers finish in under an hour, though thicker blooms can take longer.
How to Dry Out Flowers with Salt
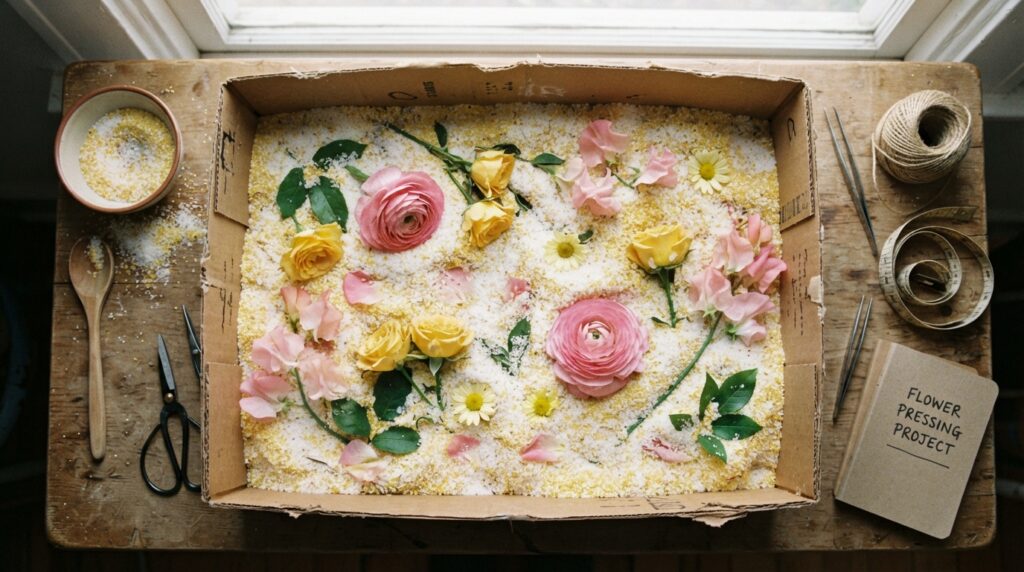
Salt-based drying is an old-fashioned technique that predates silica gel, and it’s still worth knowing because the ingredients are cheap and easy to find.
How to dry flowers with salt:
- Mix equal parts borax and fine cornmeal in a bowl.
- Add non-iodized salt, roughly 1 to 2 tablespoons per quart of mix.
- Pour about an inch of the mixture into a container.
- Set the flower face-up on top and gently pour more mixture around and over the petals.
- Leave the container uncovered in a warm, dry spot.
Drying time for borax mixtures runs about 1 to 2 weeks, and adding uniodized salt to the mix helps flowers retain their color better during the process. Once finished, tip the container gently to pour the mixture away from the flowers rather than pulling the blooms out, which reduces breakage.
This method suits flowers with a flatter, more open shape, like roses, pansies, and zinnias, since the granular texture supports petals without crushing them the way a heavy book would.
How to Dry Out Flowers in a Book
For flat, decorative results like bookmarks, greeting cards, or resin jewelry, pressing beats every other method on this list. This is the classic answer to how to dry out flowers in a book.
How to do it:
- Pick flowers that have just bloomed and aren’t damp or bruised.
- Trim excess stem and remove any bulky centers that won’t flatten evenly.
- Open a heavy book to a middle section and lay down a sheet of absorbent paper, like parchment or plain printer paper.
- Arrange the flower face-down on the paper without letting petals overlap.
- Cover with another sheet of paper, close the book, and stack extra weight on top.
- Wait one to four weeks depending on the flower’s thickness.
One simple technique places flowers between two layers of absorbent paper with heavy books on top, or between the pages of the book itself, leaving at least one-eighth inch between multiple pressings. Since pigments in petals, stems, and leaves can stain paper, valuable books should be protected with a layer of paper on each side of the plants being pressed.
Some flowers press beautifully; others don’t hold up. The book pressing method works best for smaller flowers such as thin wildflowers, daisies, violas, and baby’s breath, while roses, lilies, and sunflowers generally don’t pair well with book pressing. For those trickier, bulkier blooms, a dedicated flower press or the silica gel method usually gives a cleaner result.
If a faster version is needed, an iron on low heat can press thin flowers in a few minutes instead of weeks, though the color tends to be less vibrant than a slow book press.
How to Dry Flowers Without Hanging Them
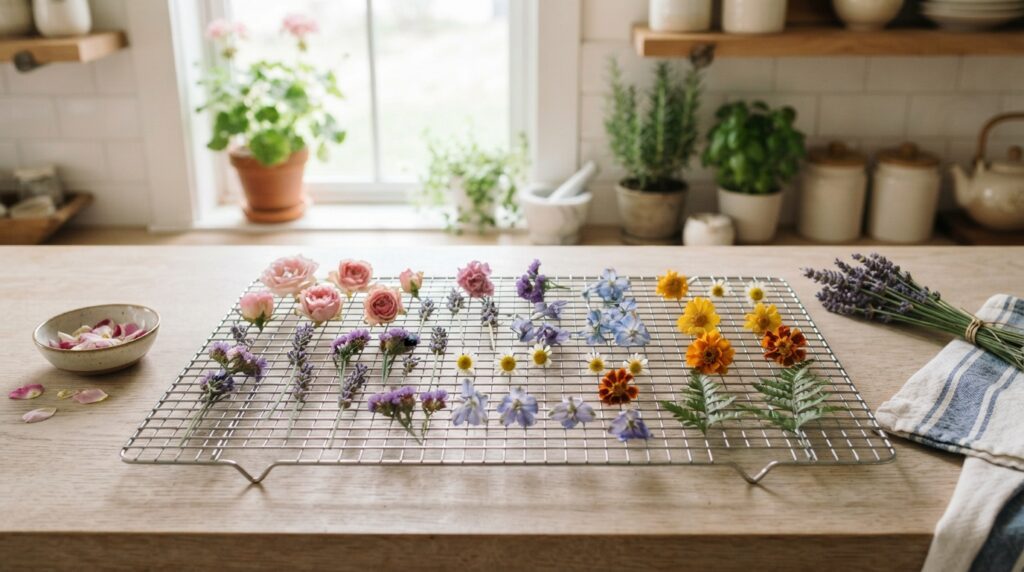
Not everyone has ceiling space, hooks, or the patience for a month-long hang-dry. Anyone looking for how to dry flowers without hanging has several solid alternatives already covered here: silica gel, the microwave, the oven, salt mixtures, and book pressing all skip the upside-down bundle entirely.
There’s also a flat-drying option that works well for flowers with sturdy, single-layer petals. Lay the flower face-up on a wire cooling rack or a mesh screen, somewhere warm and well-ventilated, and let it air-dry horizontally over one to two weeks. It’s slower than silica gel but requires zero special materials, just space and patience.
A silica gel-lined shoebox tucked into a closet shelf is another no-hanging option that fits into small apartments where hook space is scarce.
How to Dry Out Flowers to Preserve Them for Special Keepsakes
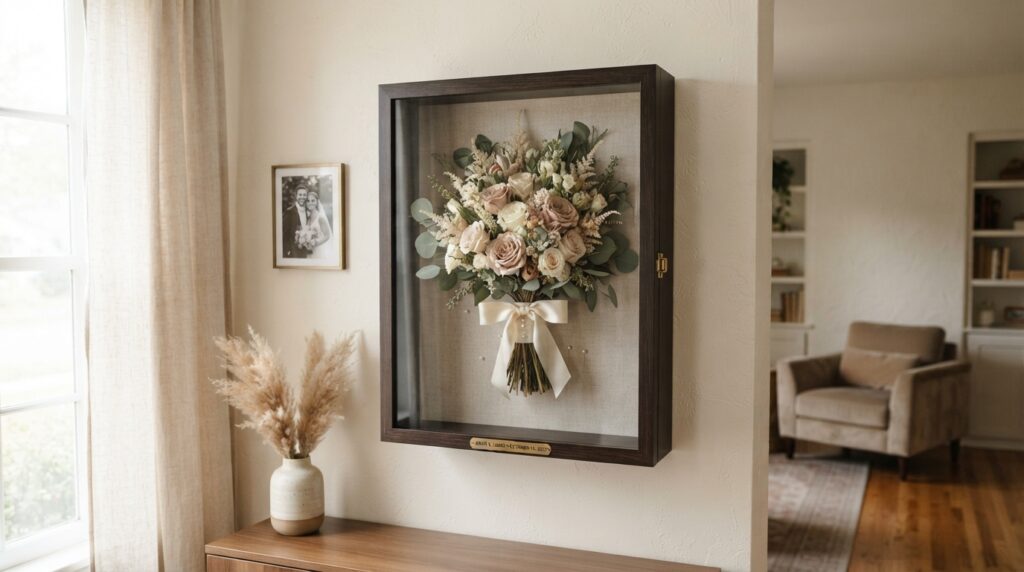
When the goal is preserving a specific, sentimental bouquet rather than making general craft supplies, the approach shifts slightly. This is the difference between how to dry out flowers to preserve them and just drying whatever’s on hand.
For wedding bouquets, funeral arrangements, or a first-date bouquet, silica gel gives the truest color and shape retention of any household method. A few extra steps help specifically with keepsakes:
- Photograph the bouquet before drying, since some color shift is unavoidable no matter the method.
- Dry individual stems separately rather than as one bundle, then reassemble afterward for a fuller, less flattened final look.
- Store finished flowers in a shadow box or a sealed glass display case away from direct sunlight and humidity, both of which cause fading and mold over time.
- Add a small silica gel packet inside any display case to absorb ambient humidity long after the initial drying is finished.
A finished coat of unscented hairspray or clear craft sealant adds a layer of protection against humidity reabsorption, which matters more for keepsakes than for flowers destined for a quick craft project.
How to Dry Flowers with Hairspray
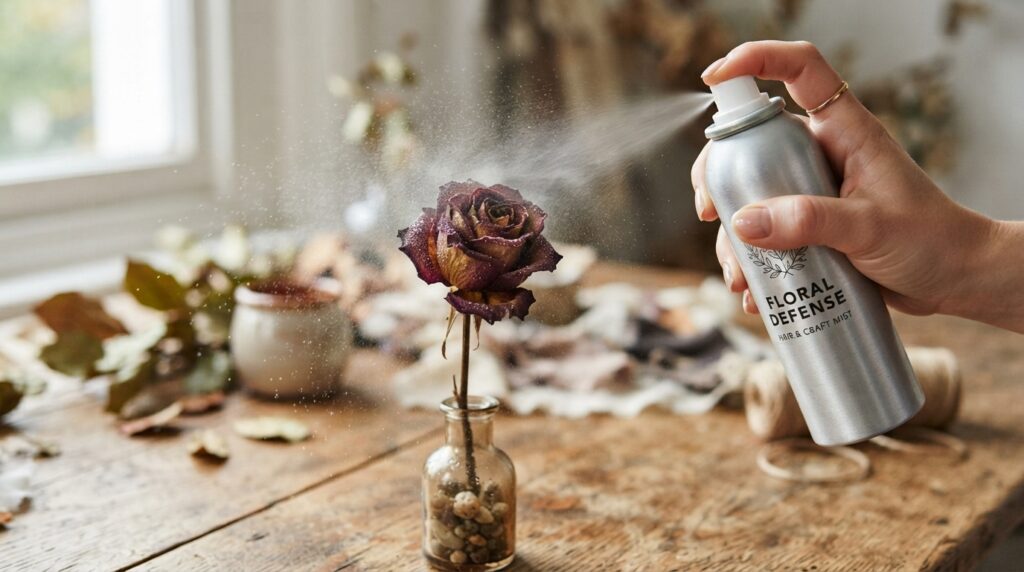
Hairspray isn’t really a primary drying method on its own, it’s a finishing step that locks in results from another technique. Still, plenty of people specifically search how to dry flowers with hairspray, so here’s how it fits in.
How to use it correctly:
- Fully dry the flower first using air-drying, silica gel, or the microwave method.
- Hold an unscented hairspray can about 10 to 12 inches from the flower.
- Apply a light, even mist, rotating the flower to cover every angle.
- Let it dry completely, then repeat with a second light coat if needed.
This step matters most after microwave drying, since those flowers tend to pull moisture back out of the air faster than air-dried ones. As mentioned earlier, spraying petals with hairspray or lacquer after microwave drying helps counteract that moisture reabsorption.
A word of caution: heavy spraying can leave a sticky or matte film that dulls petal texture, so less is genuinely more here. One or two light coats beats one heavy soak every time.
How to Dry Out Flowers for Resin Projects
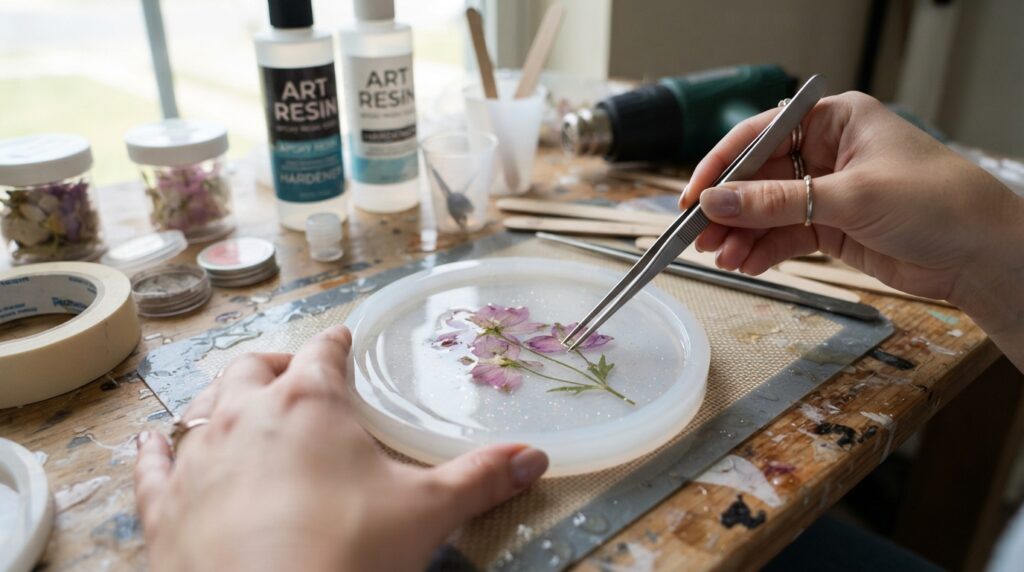
Resin jewelry, coasters, and paperweights have made pressed and dried flowers a popular craft material, and getting them ready properly makes a real difference in the final piece. This is the process for how to dry out flowers for resin.
Key requirements for resin-ready flowers:
- The flower must be completely, bone-dry. Even trace moisture trapped in resin causes cloudiness or mold inside the cured piece.
- Flat, pressed flowers work far better than bulky, three-dimensional ones, since resin layers are usually thin.
- Silica gel-dried flowers that have been gently flattened, or book-pressed flowers, are the two best starting points.
Steps:
- Press or silica-dry the flower using the methods above, then flatten gently under a book for another day or two if it isn’t already flat.
- Check thoroughly for any remaining moisture by pressing petals between fingers; they should feel papery, not cool or damp.
- Seal each flower with a very thin coat of Mod Podge or a dedicated resin sealant before embedding it, which prevents the resin from wicking color out of the petals.
- Let the sealant dry fully before pouring resin.
Skipping the sealant step is the most common mistake in resin flower crafts. Without it, some flowers, especially anything with deep red, purple, or blue pigment, will bleed color into the surrounding resin as it cures.
How to Dry Out Flowers for Confetti
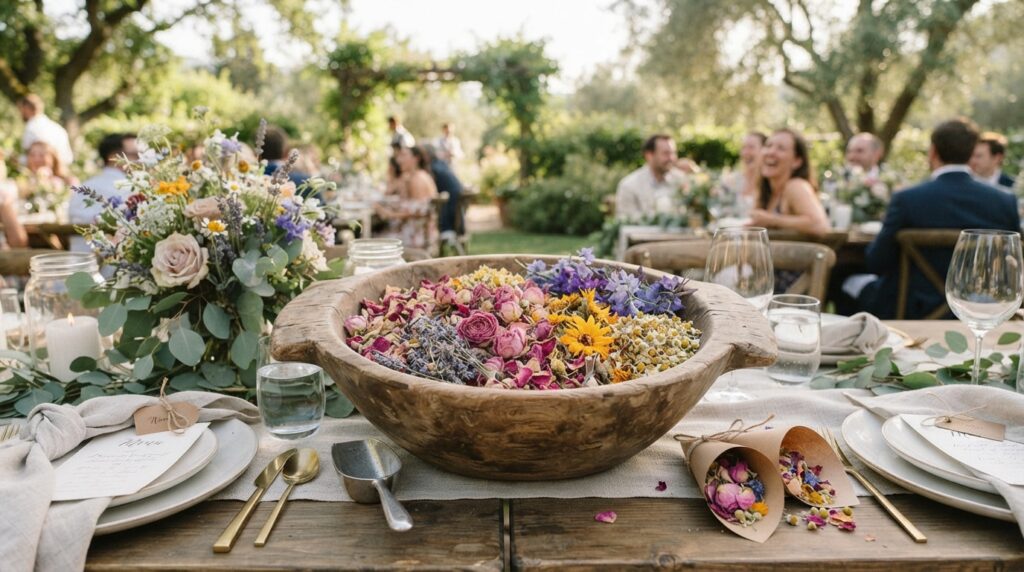
Biodegradable flower confetti has become a popular, eco-friendly alternative to paper confetti at weddings and celebrations. Here’s how to dry out flowers for confetti without the petals turning to dust in the bag.
Steps:
- Choose flowers with sturdy, flat petals that hold their shape when dry, like roses, delphinium, larkspur, or cornflower.
- Separate individual petals from the flower head rather than drying the whole bloom.
- Spread petals in a single layer on a baking sheet lined with parchment paper.
- Air-dry at room temperature for 3 to 5 days, or use a very low oven (under 200°F) with the door cracked for a faster result, checking every 10 minutes.
- Store dried petals in a paper bag or breathable fabric pouch, never plastic, since trapped humidity leads to mold.
Petals dried this way are naturally light enough to toss and biodegrade far faster than dyed paper confetti, which makes them a common request for outdoor venues that restrict traditional confetti for cleanup reasons.
If sturdier confetti is the goal, small whole flower heads like statice or baby’s breath clusters, dried via the standard air-drying method described earlier, also work and add texture variety to a confetti mix.
Storing Dried Flowers So They Actually Last
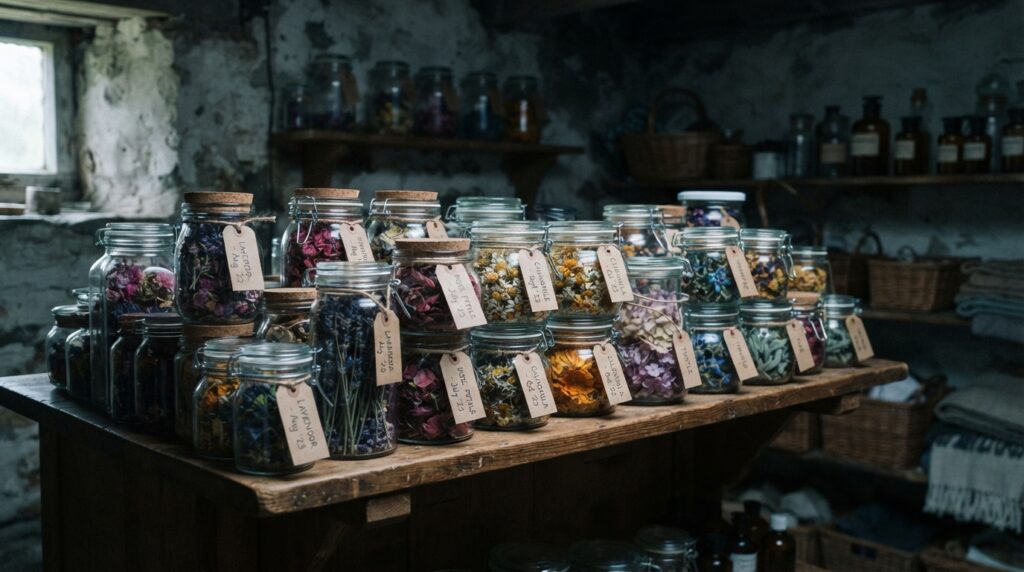
Drying the flowers correctly is only half the job. Storage determines whether they last six months or six years.
- Keep them out of direct sunlight. UV exposure fades color faster than almost anything else, even on flowers that survived drying perfectly.
- Control humidity. Dried flowers should be stored in tupperware-style containers that won’t allow moisture in, or in a cardboard box in a very dry location, keeping them dry, cool, and away from sunlight.
- Handle gently. Dried petals are brittle and snap easily, so lifting arrangements by the base rather than the flower heads prevents accidental breakage.
- Watch for pests. Dried botanicals can occasionally attract small insects looking for shelter, so an occasional check, especially in humid climates, is worth the two minutes it takes.
For anyone building a display around darker, moodier dried arrangements, spray-painting a few stems is a popular finishing touch, and it pairs naturally with a broader gothic flower palette for anyone drawn to deep, dramatic color schemes in their home decor.
Pros and Cons of Each Drying Method
| Method | Speed | Color Retention | Best For |
|---|---|---|---|
| Air-drying | Slow (2-4 weeks) | Moderate | Lavender, statice, large bundles |
| Silica gel | Medium (2-7 days) | Excellent | Keepsakes, roses, delicate blooms |
| Microwave | Fast (minutes) | Very good | Small batches, quick projects |
| Oven | Medium (under 1 hour) | Good | No silica gel on hand |
| Salt/borax mix | Medium (1-2 weeks) | Good | Flat, open-faced flowers |
| Book pressing | Slow (1-4 weeks) | Good, flattened | Cards, bookmarks, resin |
Common Mistakes to Avoid
- Drying flowers that are already past their prime. Wilted or damp flowers mold instead of drying properly.
- Overcrowding a hanging bundle. Too many stems trap moisture in the center and slow the whole process.
- Skipping the water glass during microwave drying. Without it, flowers scorch far more easily.
- Storing finished flowers in a humid bathroom or kitchen. Even fully dried flowers reabsorb moisture over time in damp rooms.
- Rushing silica gel removal. Pulling flowers out too early, before color fully changes, leads to soft spots that mold later.
Frequently Asked Questions
How long does it take to dry flowers naturally?
Air-drying typically takes 2 to 4 weeks depending on the flower type, room humidity, and bundle size. Thinner flowers like lavender finish faster, while dense blooms like hydrangea can take the full month.
Can I dry flowers without any special equipment?
Yes. Air-drying and book pressing both require nothing more than the flowers themselves, some string or a heavy book, and a dry space. Both methods have been used for generations without any commercial drying products.
Why did my dried flowers lose their color?
Sunlight exposure during drying is the most common cause. Storing and drying flowers in a dark space, rather than a sunny windowsill, preserves color far better. Certain flower types also naturally fade more than others regardless of method.
What’s the fastest way to dry a single flower?
The microwave method with silica gel is the quickest option, often finishing in under 5 minutes for thinner flowers. Denser blooms may need a few additional one-minute rounds.
Do dried flowers need any special care once finished?
Minimal care is needed, but keeping them away from direct sunlight, humidity, and rough handling extends their life significantly. A light coat of unscented hairspray adds extra protection against moisture reabsorption.
Final Thoughts
Every method here does the same basic job, pulling water out of a flower before decay sets in, but each one trades speed for texture, or convenience for color accuracy. Air-drying costs nothing and needs no supervision. Silica gel and the microwave method deliver faster, more vivid results for anyone in a hurry. Book pressing and salt mixtures serve very specific craft goals, from bookmarks to confetti to resin jewelry.
The best approach usually comes down to what the flowers are for. A quick hallway arrangement doesn’t need the same care as a wedding bouquet destined for a shadow box. Pick the method that matches the project, and a flower that would have wilted by next week can end up sitting on a shelf for years.

