
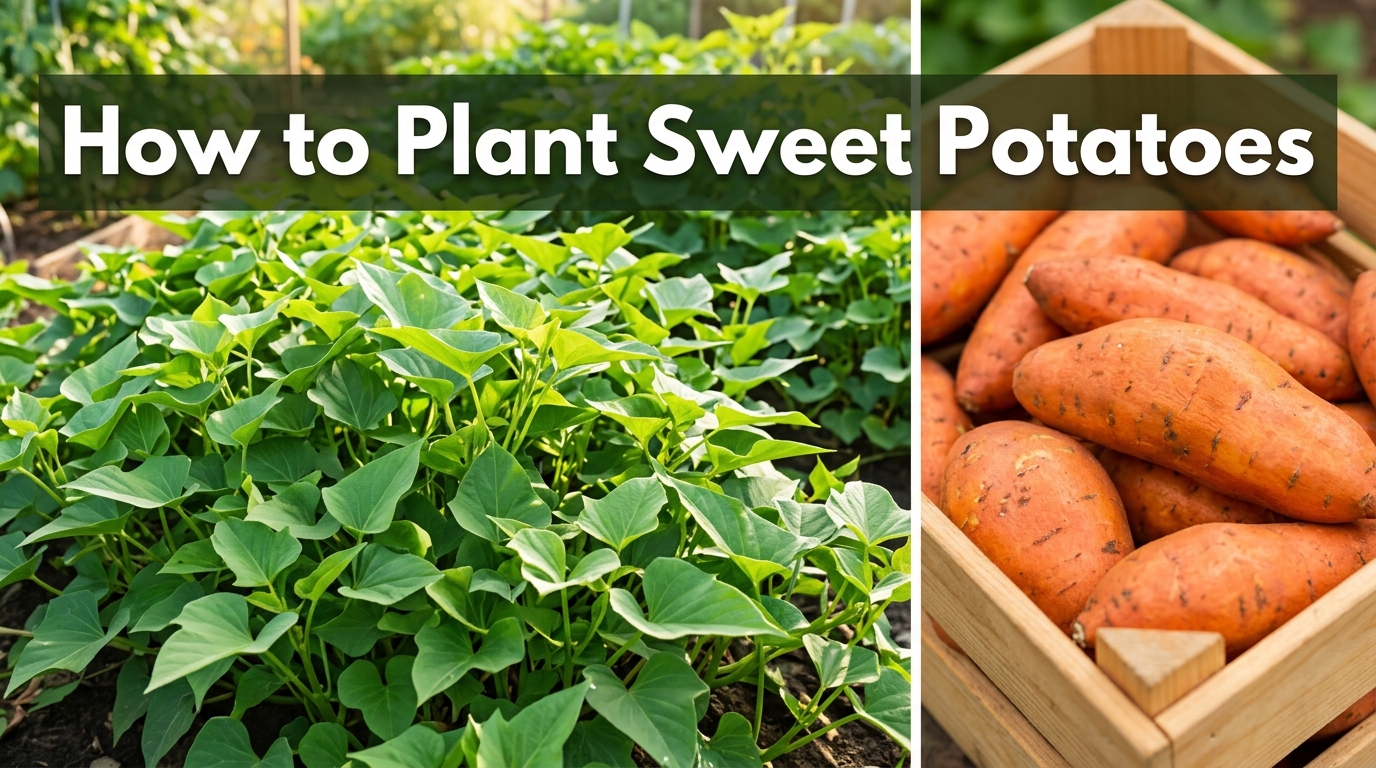
That sweet potato sitting in your pantry with little purple sprouts pushing out of it isn’t ruined. It’s actually the start of a whole harvest, and once you learn how to plant sweet potatoes correctly, one tuber can turn into dozens of pounds of food by the end of summer.
Sweet potatoes don’t grow from seed the way tomatoes or beans do. They grow from rooted shoots called slips, and the entire process, from cutting those slips to digging up the finished crop, is simpler than most people expect. This walks through every method, from garden beds to grow bags to a jar of water on your windowsill.
What You Need Before You Start Planting
Before digging any holes, it helps to understand what you’re actually planting. Sweet potatoes are propagated from slips, which are the leafy shoots that sprout from a mature tuber, rather than from true seed.
You may see the term sweet potato seeds used loosely online, but actual botanical seeds are rarely used by home gardeners. They’re mostly reserved for breeding new varieties, since a seed-grown plant won’t reliably produce a root that resembles its parent. For a garden harvest, slips are the reliable route.
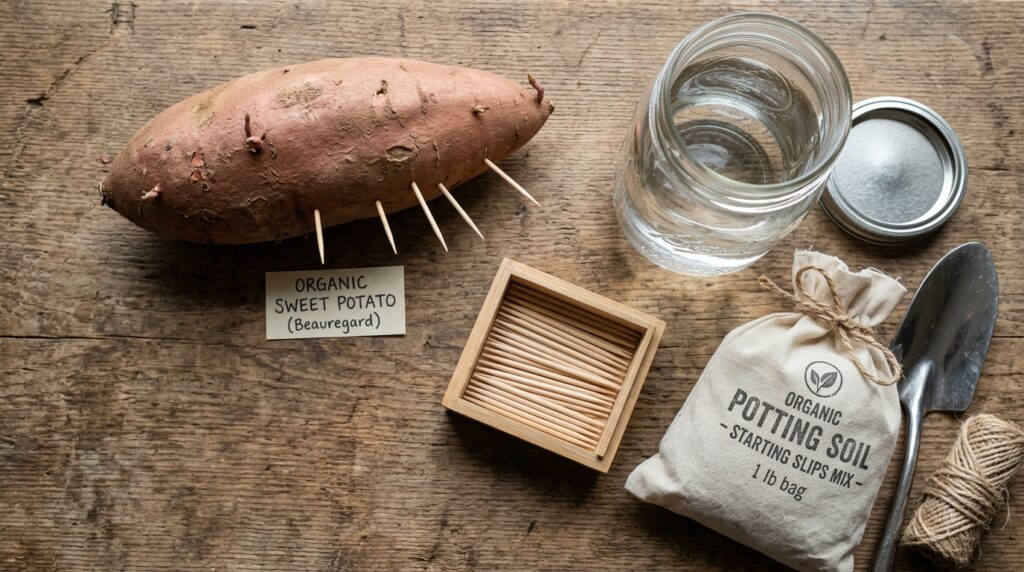
Here’s what to gather beforehand:
- One or more organic, unsprayed sweet potatoes (grocery store potatoes are often treated with a sprout inhibitor)
- A container of water or a shallow tray of moist potting mix
- Toothpicks, if using the water suspension method
- A sunny windowsill or grow light setup
- Loose, well-draining soil for the eventual planting site
Organic tubers sprout more reliably because they haven’t been chemically treated to resist sprouting, a detail confirmed by home garden resources at university extension programs.
How to Cut Sweet Potato Slips for Planting
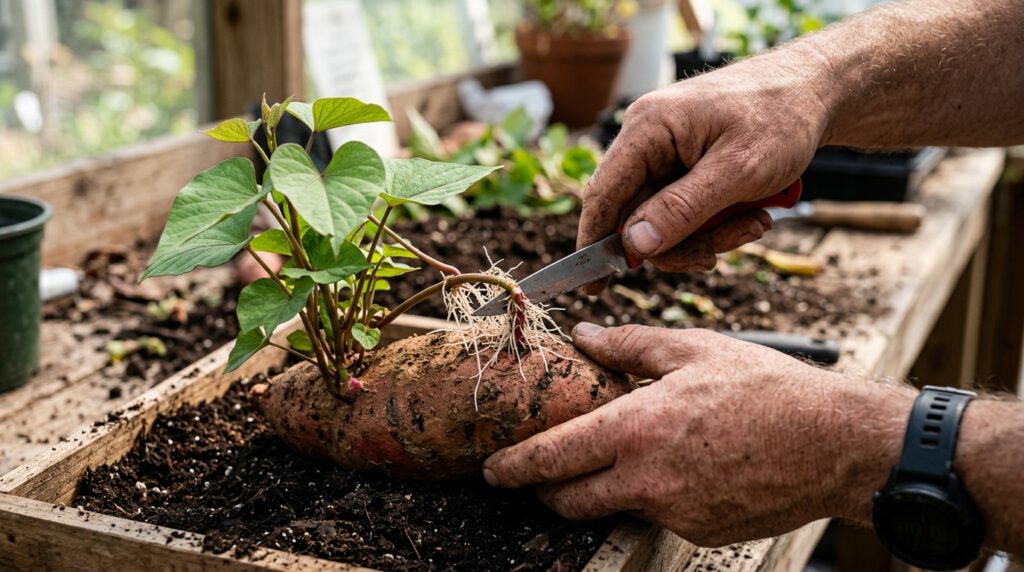
Once your tuber has grown a healthy cluster of shoots, each with a few leaves and its own small root system, it’s time to separate them into individual plants.
Learning how to cut sweet potato slips for planting is straightforward once you’ve seen it done once or twice. Grip the base of a shoot where it meets the tuber and gently twist it free, or use a clean, sharp knife to slice it away along with a sliver of the original potato attached.
Cutting rather than twisting tends to reduce breakage, especially with shoots that are still a little fragile. Either method works, and many growers use a mix of both depending on how firmly a shoot is attached.
A few pointers to keep the slips healthy during this step:
- Only harvest slips that are at least 6 inches tall with several leaves
- Leave a few smaller shoots on the tuber so it can continue producing more slips
- Set cut slips in a glass of water for a few days if they don’t already have visible roots
- Discard any slips with soft, mushy, or discolored stems
Each slip becomes an independent plant once it’s rooted, so a single tuber can realistically produce a dozen or more usable transplants over a few weeks.
How to Plant Sweet Potatoes From a Sweet Potato
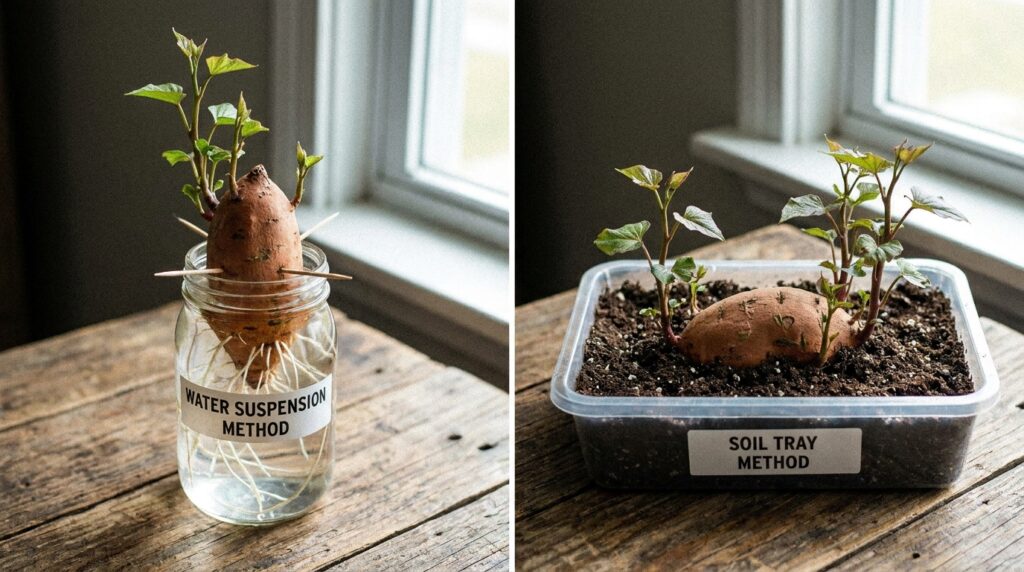
If you’re starting completely from scratch, here’s how to plant sweet potatoes from a sweet potato using either the water method or the soil method, both of which reliably produce slips within a few weeks.
The water method: Insert three or four toothpicks around the middle of the tuber and rest them across the rim of a wide glass or jar, keeping the bottom half submerged in water. Place it in a warm, sunny spot and change the water weekly to prevent it from turning stagnant.
The soil method: Lay the tuber on its side in a shallow tray of moist potting mix, covering it about halfway. Keep the tray warm and consistently damp, and shoots will begin emerging from the top within two to three weeks.
Both methods work well, though the soil method tends to produce slips with a stronger root system right from the start, since they’re rooting directly into growing medium rather than water. Detailed step-by-step instructions for either approach are outlined by regional agricultural extension programs, which recommend keeping the setup near a heat source to speed up sprouting.
Whichever method you pick, expect slips to be ready for transplanting into their final growing spot within four to eight weeks of starting the process.
How to Plant Sweet Potatoes That Have Sprouted
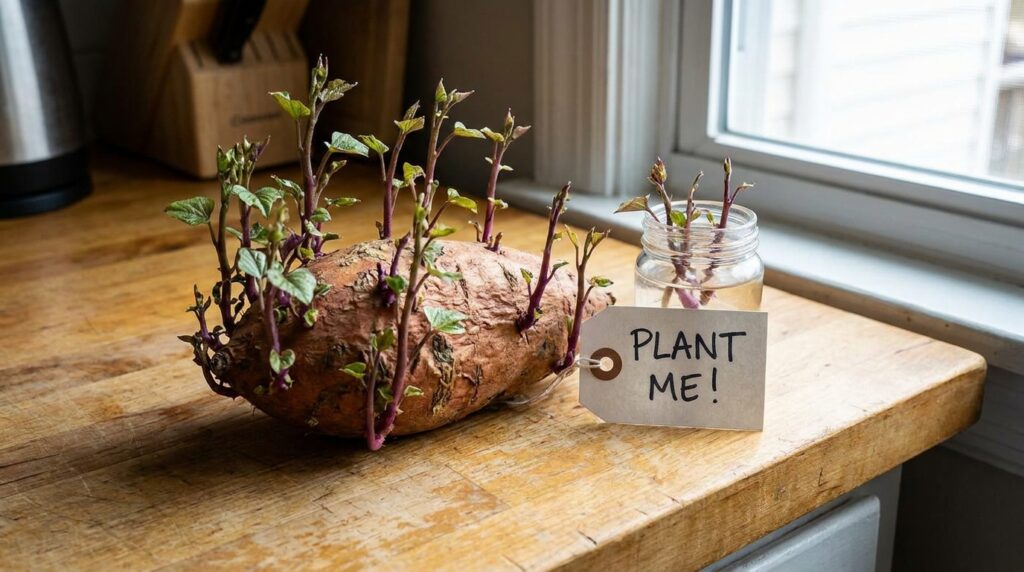
Sometimes you don’t set out to grow anything. A sweet potato just sits in the pantry a little too long, and suddenly it’s covered in shoots. If that’s your situation, here’s how to plant sweet potatoes that have sprouted without wasting the head start it’s already given you.
First, check the sprouts. If they’re small nubs without leaves, give them another week or two in a bright spot to develop into proper slips before doing anything else. If they already have a few inches of stem and some leaves, they can be removed and planted much like store-bought slips.
Twist or cut each usable sprout away from the tuber, leaving a small amount of the potato flesh attached if it comes off easily. Set the cuttings in water for three to five days until roots appear, then move them into soil once those roots are at least half an inch long.
You can also simply plant the entire sprouted tuber directly in the ground or in a large container, burying it a few inches deep with the sprouts pointing upward. This skips the slip-separation step entirely, though it typically produces a less uniform crop than working with individual rooted slips.
How to Plant Sweet Potatoes in the Ground
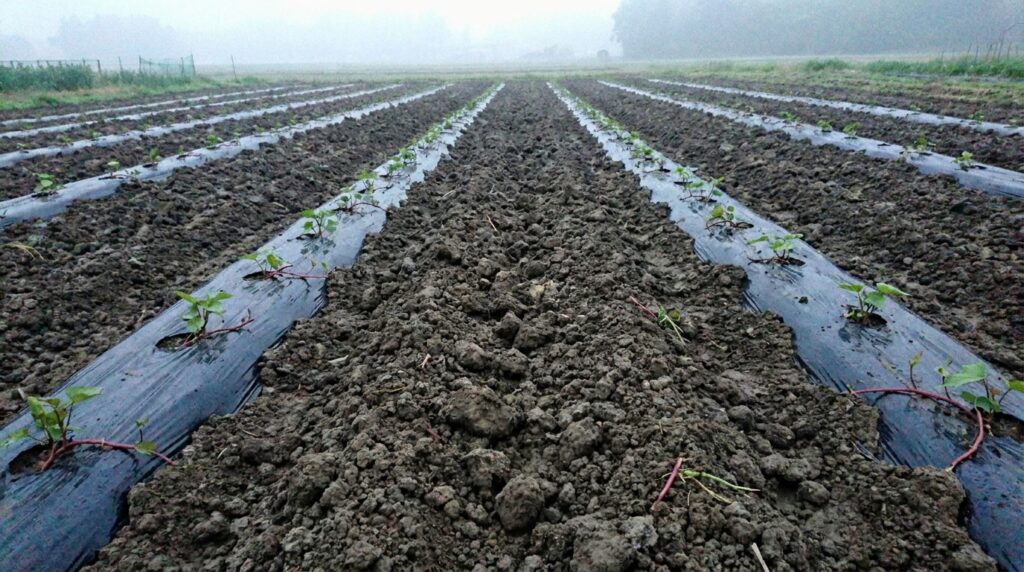
For anyone with garden space, planting directly in the soil remains the most traditional and often the most productive method. Learning how to plant sweet potatoes in the ground starts with picking the right spot and prepping the soil properly.
Choose a location that gets at least six to eight hours of direct sun and has loose, well-draining soil. Heavy clay soil tends to produce misshapen or stunted roots, so working in compost or aged manure a few weeks before planting makes a real difference.
Once the soil has warmed past 65°F, typically a few weeks after your last frost date, you’re ready to plant.
- Dig a hole about 4 to 6 inches deep for each slip
- Set the slip in the hole with the roots down and at least two leaf nodes buried
- Leave the top few leaves exposed above the soil line
- Space slips 12 to 18 inches apart in rows spaced roughly 3 feet apart
- Water thoroughly right after planting and daily for the first week
Mulching with black plastic or straw around the base of each plant helps retain soil warmth and moisture, both of which sweet potatoes respond to well during their long growing season, according to guidance from land-grant university horticulture programs.
| Planting Detail | Recommendation |
|---|---|
| Soil depth for slips | 4 to 6 inches |
| Spacing between plants | 12 to 18 inches |
| Row spacing | 3 to 5 feet |
| Ideal soil temperature | Above 65°F |
| Sunlight needed | 6 to 8 hours daily |
How to Grow Sweet Potatoes in Containers
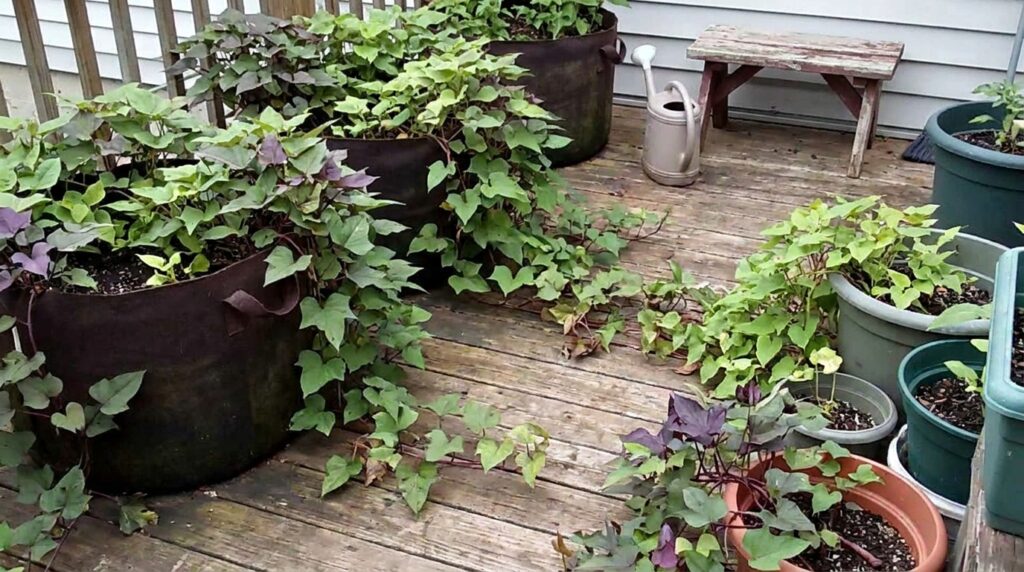
Not everyone has garden beds to work with, and that’s fine, because sweet potatoes actually do quite well in pots when given enough room. Knowing how to grow sweet potatoes in containers comes down to picking a container that’s big enough and filling it with the right soil mix.
Aim for at least a 10-gallon container per plant, and go bigger if you want larger roots. A container that’s 15 to 20 inches deep and equally wide gives the developing tubers plenty of room to expand without competing for space, and the same depth-over-width principle applies whether you’re growing potatoes in a container or their sweeter cousin.
Fill the container with a loose blend of potting mix and compost rather than dense garden soil, since compacted soil restricts root formation and tends to produce smaller, misshapen potatoes. A mix of roughly half potting soil, a third compost, and the rest coarse sand or perlite drains well while still holding enough moisture.
Plant one slip per 10-gallon container, or up to three slips if you’re using a 20-gallon container, spacing them evenly apart. Bury the stem so at least two leaf nodes are underground, just as you would in a garden bed, and water deeply right after planting.
Containers dry out faster than garden soil, especially during hot summer weeks, so check the top few inches of soil daily and water whenever it feels dry to the touch.
How to Plant Sweet Potatoes in Bags
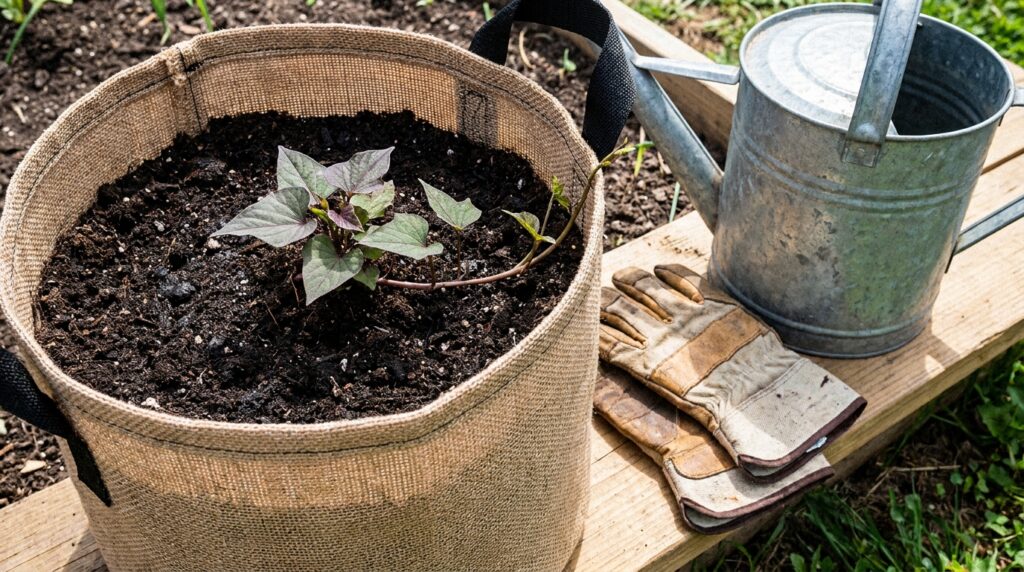
Fabric grow bags have become one of the most popular ways to raise a sweet potato crop in a small space, largely because they’re inexpensive, reusable, and easy to move around to chase the sun.
If you’re wondering how to plant sweet potatoes in bags specifically, the process mirrors container planting almost exactly, with a couple of small advantages. The breathable fabric prevents roots from circling the way they can in solid plastic pots, and it naturally air-prunes roots that reach the edge.
Fill a 10 to 15-gallon grow bag with a loose potting mix and compost blend, then plant one slip in the center, burying the stem a few inches deep. Fold the top edge of the bag down slightly at first, and unroll it as the vines grow to give the plant more depth to work with over the season.
Set the bag somewhere that gets full sun for most of the day, and rotate it every couple of weeks if one side of the plant seems to be reaching more than the other. Bags dry out even faster than rigid containers, so daily watering checks during peak summer heat are worth the habit.
How to Plant Sweet Potatoes in a Bucket
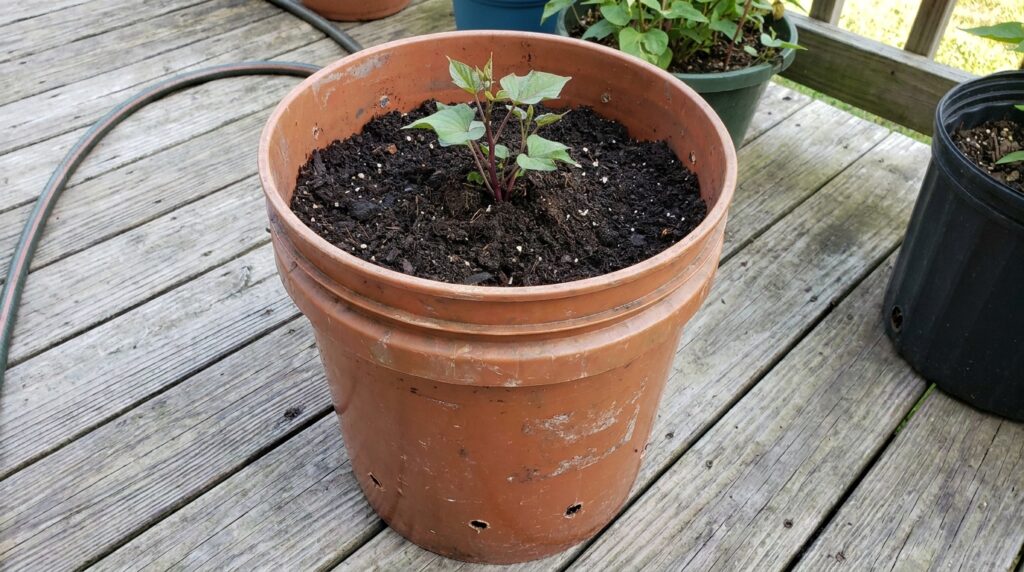
A five-gallon bucket is on the smaller end for sweet potatoes, but it can still work reasonably well if you’re short on space and willing to accept a smaller harvest per plant.
To learn how to plant sweet potatoes in a bucket successfully, start by drilling several drainage holes in the bottom, since standing water is one of the fastest ways to rot developing tubers. Fill the bucket with the same loose potting mix and compost blend used for larger containers.
Plant a single slip in the center of the bucket, burying the stem so two leaf nodes sit below the soil line. Because a five-gallon bucket holds far less volume than a proper grow bag, expect fewer and smaller roots at harvest time compared to a 15 or 20-gallon setup.
Buckets work best as a starter project or for gardeners with very limited patio space, and they’re a great way to introduce kids to growing food without needing a full garden bed.
How Long to Grow Sweet Potatoes in Containers
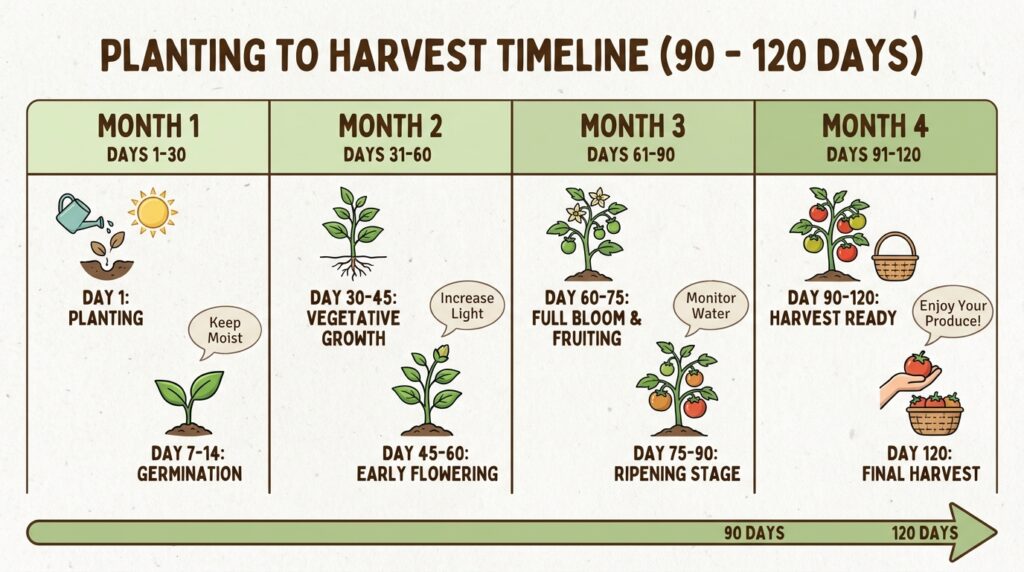
Patience matters with this crop, since sweet potatoes take considerably longer to mature than most vegetables. If you’re planning your season around a harvest date, it helps to know roughly how long to grow sweet potatoes in containers before digging them up.
Most varieties need 90 to 120 days from planting to reach a harvestable size, and container-grown plants generally fall on the same timeline as those grown in the ground, sometimes slightly longer if the container limits root expansion.
Signs that your plants are approaching harvest time include:
- Vines that have slowed their growth and started to yellow
- Leaves that look slightly stressed even with regular watering
- The date lining up with the maturity window listed for your specific variety
- Nighttime temperatures beginning to drop as fall approaches
It’s better to harvest a little early than to risk a hard frost damaging the roots underground, since cold soil temperatures reduce both yield and storage quality according to cooperative extension harvest guidelines.
How Many Sweet Potatoes Per Plant
One of the most common questions from first-time growers is how many sweet potatoes per plant they should realistically expect, since the vines themselves give very few visual clues about what’s happening underground.
On average, a single healthy plant produces somewhere between three and eight usable roots, though this varies quite a bit depending on variety, container size, and how consistently the plant was watered and fed throughout the season. Larger containers and garden beds with loose, fertile soil tend to land on the higher end of that range.
A few factors that influence yield per plant:
- Container or bed size, since cramped roots simply can’t expand
- Variety, with bush-type sweet potatoes often producing fewer but more uniform roots
- Consistent moisture, especially during the first two months after planting
- Soil fertility, balanced with avoiding excess nitrogen, which favors leafy growth over root development
Spacing also plays a role here, and growers who give each plant more room, as outlined by commercial seed and growing resources, typically see larger individual roots even if the total root count per plant stays roughly the same.
How to Grow Sweet Potatoes in Water
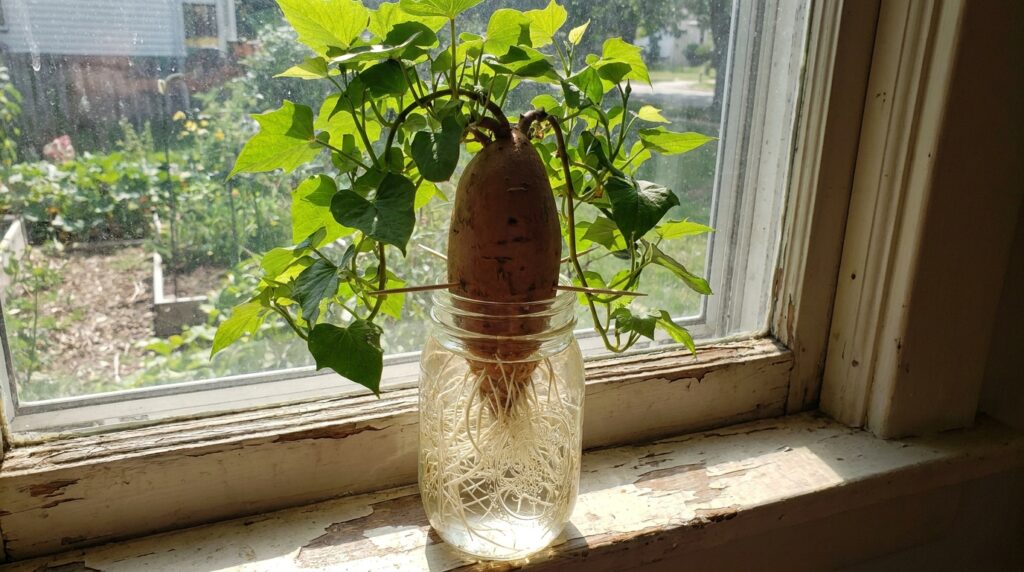
Growing sweet potatoes entirely in water isn’t a practical way to produce a full harvest, but it’s a fun, low-effort project and a genuinely useful step for anyone learning how to grow sweet potatoes in water before transferring slips to soil.
Suspend a whole tuber over a jar using toothpicks, with the bottom half submerged, and place it somewhere warm and sunny. Roots and shoots will begin appearing within one to three weeks, and the plant can technically live this way indefinitely, producing trailing vines and heart-shaped leaves that many people grow purely as an ornamental houseplant.
If your goal is an actual harvest rather than décor, treat the water stage as temporary. Once slips reach 6 to 8 inches with a few roots of their own, transplant them into soil so the developing plant has room to form storage roots, which won’t happen in water alone.
Change the water weekly regardless of which stage you’re at, since stagnant water encourages rot and an unpleasant smell that tends to catch people off guard the first time it happens.
Caring for Your Sweet Potato Plants
Once your slips are in the ground or in containers, care requirements settle into a fairly relaxed routine for most of the season.
Water deeply and consistently for the first 50 to 60 days, since this is when the plant is most vulnerable to drought stress. After that initial window, sweet potatoes become noticeably more drought-tolerant, and overwatering during the later stages can actually cause roots to split or crack.
A light application of a balanced fertilizer at planting time helps establish the vines, but avoid heavy nitrogen feeding later in the season. Too much nitrogen pushes the plant toward lush foliage at the expense of the underground roots you’re actually trying to grow.
Weeding matters most in the first month, since young sweet potato plants can’t yet outcompete aggressive weeds for light and nutrients. Once the vines fill in and start sprawling, they naturally shade out most new weed growth on their own.
- Water deeply once or twice a week once established, more often in containers
- Mulch around plants to retain soil moisture and regulate temperature
- Pinch back overly aggressive vines if they’re crowding neighboring plants
- Watch for pests like flea beetles or sweet potato weevils, especially in warmer regions
Common Problems and How to Avoid Them
Even with a fairly forgiving crop, a few issues tend to pop up repeatedly for home growers.
Rotted slips before planting usually comes down to keeping cut slips in stagnant water too long or planting into soil that’s still too cold. Changing water regularly and waiting until soil temperatures climb past 65°F solves most of this.
Small or misshapen roots often trace back to compacted soil or containers that are too small for the variety being grown. Loosening soil deeply before planting and choosing a larger container makes a noticeable difference by harvest time.
All vines, no visible roots at harvest is usually a sign of excess nitrogen fertilizer, which pushes the plant to prioritize leafy growth. Switching to a lower-nitrogen fertilizer blend for future plantings typically corrects this.
Cracked or split roots generally point to inconsistent watering, particularly a heavy rain or deep watering after a long dry stretch. Keeping moisture levels steady throughout the season, rather than letting the soil swing between bone dry and saturated, helps prevent this.
Expert Tips for a Bigger Harvest
A handful of small adjustments can meaningfully improve your results, especially if you’re moving from a first attempt to a more deliberate second season.
Give plants more room than feels necessary. Wider spacing between slips, whether in the ground or in containers, consistently produces larger individual roots because each plant has less competition for water and nutrients.
Choose a bush-type or compact variety if you’re working with limited container space. Varieties bred for smaller footprints still produce a solid harvest without the sprawling vines that traditional types send out in every direction.
Hold off on heavy fertilizing once vines are established. A light feeding at planting time is usually enough, and repeated nitrogen-heavy applications later in the season tend to reduce root yield rather than improve it.
Cure your harvest properly before eating or storing it. Freshly dug sweet potatoes actually taste bland, and letting them sit in a warm, humid spot for about a week converts starches into sugars, dramatically improving both flavor and shelf life.
Pros and Cons of Each Planting Method
| Method | Pros | Cons |
|---|---|---|
| In the ground | Highest yield potential, less watering needed | Requires garden space, harder to control soil quality |
| Large containers | Good yield, moveable, controlled soil mix | Needs frequent watering, upfront cost of containers |
| Grow bags | Excellent drainage, affordable, reusable | Dries out quickly, needs daily monitoring in heat |
| Five-gallon buckets | Cheap, beginner-friendly, great for small spaces | Smaller harvest, limited root development room |
| Water propagation | Fun, easy to start, no soil mess | Not suitable for a real harvest, roots stay small |
FAQs
Can I plant a whole sweet potato instead of using slips?
Yes, though it’s less efficient than using separated slips. A whole sprouted tuber can be buried a few inches deep with shoots facing up, but the resulting plant is often less uniform than one grown from a properly rooted slip.
How deep should sweet potato slips be planted?
Slips should be planted 4 to 6 inches deep, with at least two leaf nodes buried underground and the top few leaves left exposed above the soil surface.
Do sweet potatoes need full sun to grow well?
Yes, sweet potatoes perform best with at least six to eight hours of direct sunlight daily. Less sun typically results in fewer and smaller roots at harvest.
Why are my sweet potato plants all vine and no roots?
This is almost always caused by excess nitrogen in the soil, which encourages leafy growth over root development. Switching to a lower-nitrogen fertilizer for future plantings usually resolves the issue.
Can sweet potatoes be grown in a small apartment balcony setup?
Absolutely. A single grow bag or large container with at least 10 gallons of soil volume can produce a modest but genuine harvest, making balconies and patios perfectly workable growing spaces.
Wrapping Up
Sweet potatoes reward patience more than perfection. Whether you’re rooting a single grocery store tuber in a jar of water or filling a whole garden bed with slips, the core steps stay the same: warm soil, consistent moisture early on, and enough room for those roots to expand underground.
Pick whichever method fits your space, whether that’s a in-ground bed, a grow bag on the patio, or even sweet potato vines trained along a trellis the same way you might grow a flowering climbing vine, since both plants share the same sprawling, twining growth habit. Start your slips now, and in a few months you’ll be digging up a harvest that started from little more than a forgotten potato in the pantry.

