
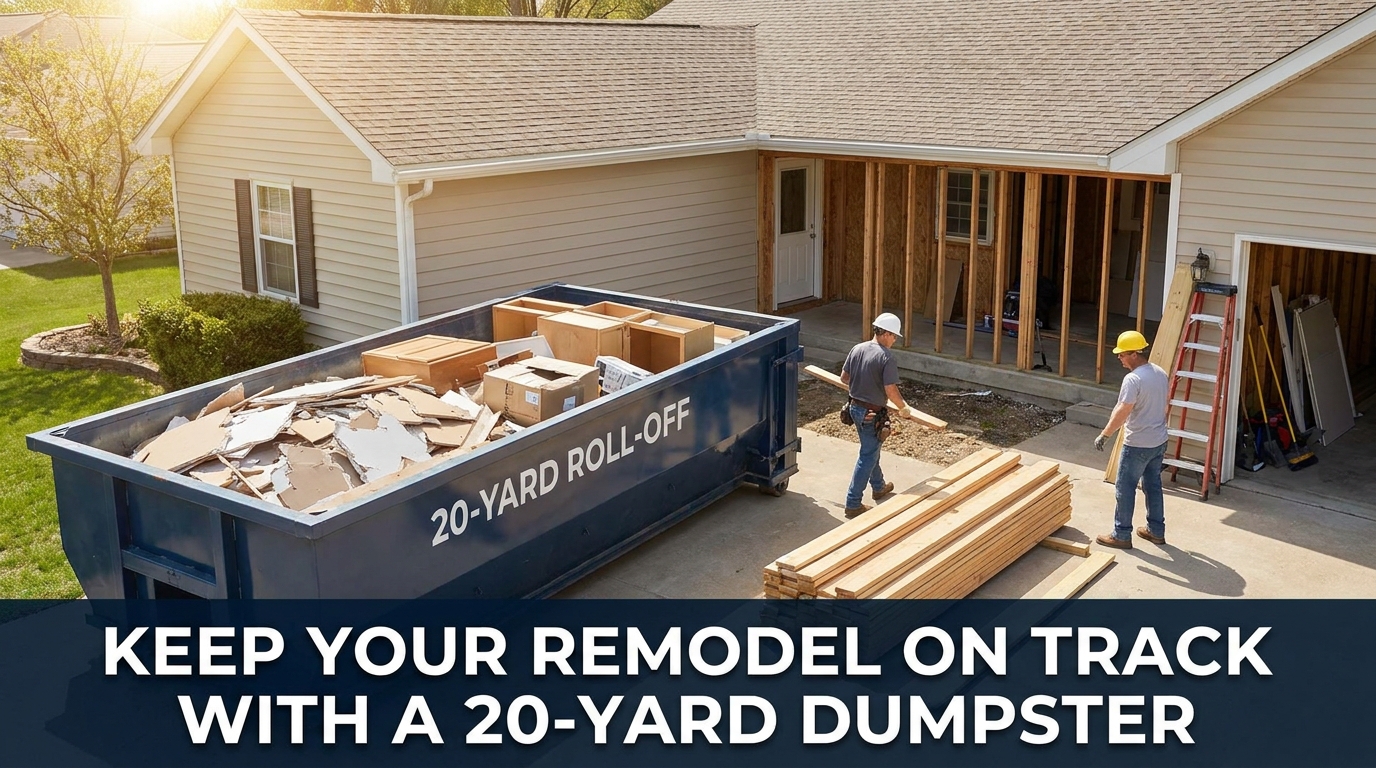
Remodel timelines usually do not fall apart because of one big mistake. They slip because of a dozen small slowdowns that pile up. The hallway gets blocked by debris. The demo pile creeps into the work zone. Someone spends an hour making dump runs instead of hanging drywall. Or the site gets so cluttered that trades start stepping on each other. One of the simplest ways to prevent that kind of drag is having the right container on-site at the right time. In a lot of real-world remodels, a 20-yard dumpster rental hits the sweet spot between “too small to be useful” and “so large it creates placement and cost headaches.”
This is not about buying the biggest container you can find. It is about choosing the size that keeps material moving off the job, keeps access clear, and keeps labor focused on the build instead of cleanup.
Below is a practical, job-tested way to think about when a 20-yard roll-off container is the schedule-saving choice, especially for residential remodels, small commercial refreshes, and DIY projects that still generate serious volume.
Why remodels get behind before the “real work” even starts
Most schedules assume demolition and cleanup are quick. In practice, debris management is the hidden critical path for a lot of projects. If you cannot remove waste efficiently, everything else slows down.
Common schedule-killers include:
- Work areas shrinking over time. Debris stacks up in corners, then in doorways, then in rooms you intended to work in next.
- Extra handling. You move the same material two or three times, from room to garage to driveway to truck.
- Dump runs. Even a “quick” trip burns time: loading, strapping, driving, unloading, waiting, and driving back.
- Safety and access issues. Clutter creates trip hazards and makes it harder to bring in materials like drywall, cabinets, or flooring.
- Weather exposure. Debris piles soak up water, get heavier, and become harder to handle.
- Neighbor and inspector pressure. Overflowing debris piles can trigger complaints or complicate inspections.
A properly sized roll-off container does not just “hold trash.” It creates an organized workflow that supports the build.
What makes a 20-yard roll-off the “middle size advantage”
A 20-yard container is often the most forgiving option for remodels because it balances four practical realities:
- It holds enough volume to avoid constant container anxiety.
Smaller containers can fill fast, especially when you are ripping out cabinets, drywall, flooring, trim, and packaging. - It still fits in many residential and light commercial properties.
A 40-yard container can be overkill for many remodel sites, and it may create placement challenges in tight driveways or urban areas. - It supports phased work.
Remodels are rarely “demo everything in one day.” You might demo a kitchen, then a bathroom, then a basement corner. A 20-yard roll-off can handle that steady stream without forcing you into multiple hauls. - It helps control labor time.
Less time spent managing debris piles means more time on trade work. That is the schedule win.
Remodel scenarios where a 20-yard container keeps things moving
If you are deciding between sizes, look at the project type and the way debris will be generated.
1) Kitchen remodels (especially with flooring)
Kitchens generate bulky debris: cabinets, countertops, drywall sections, old tile, and a surprising amount of cardboard and packaging from new materials. The key is not just volume. It is the awkward shape of what you throw away.
A 20-yard container is often large enough to avoid “instant fill” from cabinets, while still manageable for a driveway placement.
2) Multi-room flooring replacement
If you are removing carpet, pad, tack strips, LVP, or tile across multiple rooms, debris adds up fast. Flooring waste is also annoying because it creates long, bendy pieces that can “bridge” and waste space in a small container if you do not load carefully.
With a 20-yard, you have more room to break down and layer materials without turning the container into a game of Tetris every five minutes.
3) Bathroom plus adjacent room updates
A single bathroom might not sound like a lot, but when you add drywall, vanity, tub surround, tile, and subfloor repairs, it stacks up. Add an adjacent hallway, linen closet, or laundry nook and it becomes a steady stream.
A 20-yard container works well when your remodel scope expands naturally, which happens often once walls open up.
4) Basement finishing or partial demo
Basements can be deceptive. You remove framing, old paneling, carpet, ceiling tiles, and junk that has been living down there for years. The “remodel” turns into a cleanout plus renovation.
A middle-size container gives you breathing room for both the planned work and the surprise pile.
5) Small commercial remodels
Tenant improvements, office refreshes, or retail updates can generate a mix of light demolition and bulky items. Time matters because closures or limited work windows add pressure. Having a container that can keep up reduces after-hours scrambling.
The schedule math: fewer bottlenecks, fewer interruptions
Here is a simple way to think about it.
If your crew loses even 30 minutes a day to debris handling, over a two-week phase that is 5 hours of lost production time per person involved. Multiply that by a couple of trades and the impact becomes real.
A 20-yard container helps in three ways:
- You keep the work zone open. Less weaving around piles and less time “making room” to work.
- You reduce re-handling. Debris goes straight from tear-out to container instead of staging inside the building.
- You avoid emergency decisions. When the container is too small, you end up rushing: overfilling, calling for pickup too late, or stopping work to deal with overflow.
That is why “right size” is more than cost. It is a schedule tool.
Placement planning: keep the container convenient, not in the way
A container only improves workflow if it is positioned to support the project.
Quick placement checklist
- Shortest safe route from demo area to container. Fewer steps equals less fatigue and faster cleanup.
- Do not block material deliveries. Keep access for drywall drops, lumber, cabinets, and equipment.
- Account for door swing and paths. Make sure entry doors, garage doors, and gates still function.
- Look up. Watch for powerlines, tree branches, and eaves where a truck needs clearance.
- Protect surfaces if needed. Driveways and pavers may require boards or protection depending on site conditions.
- Keep the pickup path clear. A container that cannot be picked up on time can create a domino effect in your schedule.
If the only placement option is on the street, permit requirements vary by municipality. The safest approach is to confirm the local rules before delivery so you do not lose a day dealing with a last-minute compliance issue.
Weight matters: the most common way remodel dumpster plans go sideways
Most people think in terms of “how much space” debris takes up. On remodels, weight can be the bigger surprise. Tile, plaster, roofing, masonry, and concrete are heavy. Even wet drywall can get heavier than you expect.
Tips to avoid weight surprises
- Keep heavy materials separate when possible. If you are doing any concrete, brick, or dirt, plan it intentionally. You may need a different disposal approach.
- Load evenly. Concentrating weight on one end can create pickup issues and is harder on the container.
- Break down bulky items. Cabinets, shelving, and long trim should be broken down so you are not “air-loading” the container.
- Do not treat it like a compactor. Overloading makes pickup risky and can cause schedule delays when the container has to be adjusted.
If your remodel has a heavy-material component, the “middle size advantage” still applies, but you should plan based on weight as well as volume. It is one more reason a 20-yard container often works better than a smaller one, because it is easier to load thoughtfully without running out of room immediately.
Loading strategy: how to get more usable space without slowing the crew
A 20-yard container can hold a lot, but only if you load it with a plan. The goal is not perfection. The goal is steady progress and no wasted space.
Practical loading sequence
- Flat, dense items first. Drywall sheets (broken down), plywood, and flat debris create a stable base.
- Then bulky items. Cabinets, vanities, and framing can go next, ideally broken down.
- Fill gaps with loose material. Trim, insulation, and smaller pieces should fill the voids between bulky items.
- Finish with packaging and light debris. Cardboard and wrap can take up space fast, so break it down and place it where it fills gaps.
A rule that keeps jobs moving
If your crew is spending more than a few minutes figuring out where something should go, the workflow needs adjusting. Assign one person per day to do quick “container organization” in short bursts, or do a 10-minute load reset at lunch. That small habit prevents end-of-day chaos.
When a 20-yard is probably not the right choice
The “middle size advantage” does not mean it is always best.
Consider a different plan if:
- You are doing major structural demo across multiple floors. A larger container or multiple swaps may make more sense.
- You are generating mostly heavy debris (concrete, brick, soil). Weight limits can become the controlling factor, and you may need a specialized approach.
- Your site has extremely tight access. If you cannot place a roll-off container conveniently, you may need a smaller footprint solution and more frequent pickups.
A smart plan matches the container to the project constraints, not just the debris pile.
A simple “schedule-first” approach to choosing the right time to order
If you want the container to protect your timeline, order it around the phases that generate the most debris.
A typical remodel rhythm:
- Day 1 to 3: Demolition and initial tear-out
- Day 4 to 7: Framing, rough-ins, and continued removal
- Day 8 to 12: Drywall, flooring prep, packaging waste
- Day 13+: Punch work, trim, final cleanup
A 20-yard container is most valuable when it is on-site before demo starts, and stays through the messy middle. That is when clutter can take over and steal time.
Final takeaway: the right dumpster size is a time-management decision
Remodels are all about momentum. When the site stays clear, trades move faster, homeowners are happier, and the work stays predictable. The reason a 20-yard roll-off container often “wins” is that it supports consistent debris removal without creating oversized placement headaches.
If you are a contractor trying to hit milestones, or a DIYer trying to keep weekends productive, think of a 20-yard container as a workflow tool. It is not just about what you throw away. It is about keeping your remodel on schedule from day one through final cleanup.

