

If you’ve ever watched your thriving summer garden slowly wilt as temperatures drop — and wondered if you did something wrong — you’re not alone.
Most gardeners focus so much energy on spring planting and summer growth that they forget the most protective thing they can do: properly close down the garden for winter.
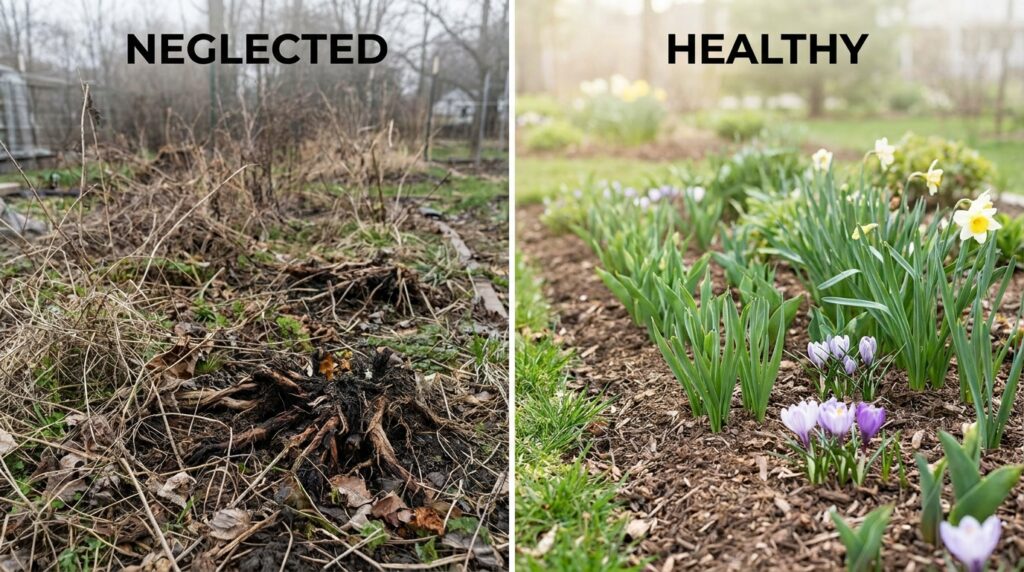
Winterizing your garden isn’t just cleanup. It’s an investment. Done right, it means healthier soil, stronger plants, fewer pests, and a head start when spring arrives. Done wrong — or skipped altogether — it can mean months of damage that takes an entire growing season to recover from.
This guide walks you through everything you need to know about how to winterize your garden, from soil prep to plant protection to tool storage. Whether you have a small raised bed or a sprawling backyard setup, these steps apply.
Let’s get into it.
Why Winterizing Your Garden Matters
Think of winterizing your garden the same way you think about winterizing a car or a home — it’s about protection, preservation, and preparation.
Here’s what happens when you don’t winterize:
- Soil compacts and nutrients leach away from winter rains and freeze-thaw cycles
- Pests and fungal diseases overwinter in dead plant material, ready to attack in spring
- Perennial roots freeze and die without proper insulation
- Garden tools rust and degrade when left exposed to moisture and cold
- Irrigation lines crack under frozen water pressure
And here’s what proper winterizing gives you in return:
- A soil ecosystem that’s active, rich, and ready come March
- Fewer pest problems the following season
- Perennials that survive and return stronger
- Equipment that lasts years longer
- Less work and money spent in spring
According to research from the University of Minnesota Extension, gardens that are properly closed down for winter establish significantly faster and with fewer disease issues in the following growing season.
That’s a compelling reason to spend a few weekends now doing it right.
When to Start Winterizing Your Garden
Timing is everything when it comes to winterizing.
Start too early and you may cut off plants that still have weeks of productive growth left. Start too late and you risk frost damage before you’ve had a chance to protect anything.
The general rule: Begin winterizing after your first hard frost (when temperatures drop to around 28°F or below for several hours) but before the ground freezes solid.
For most gardeners, this falls somewhere between late September and early November, depending on your USDA Plant Hardiness Zone.
Here’s a quick timing guide:
| Hardiness Zone | Average First Frost | Start Winterizing |
|---|---|---|
| Zone 3–4 | Late September | Early–Mid September |
| Zone 5–6 | Mid October | Early October |
| Zone 7–8 | Late October–November | Mid October |
| Zone 9–10 | November–December | Late October |
If you’re not sure what zone you’re in, the USDA Plant Hardiness Zone Map is the go-to resource — just enter your ZIP code.
A good real-world signal: when nighttime temperatures are consistently dipping below 40°F and your annuals start looking ragged, it’s time to start.
Step 1 — Clean Up Dead Plants and Debris
This is where most people begin — and also where many make their first mistake.
What to Remove
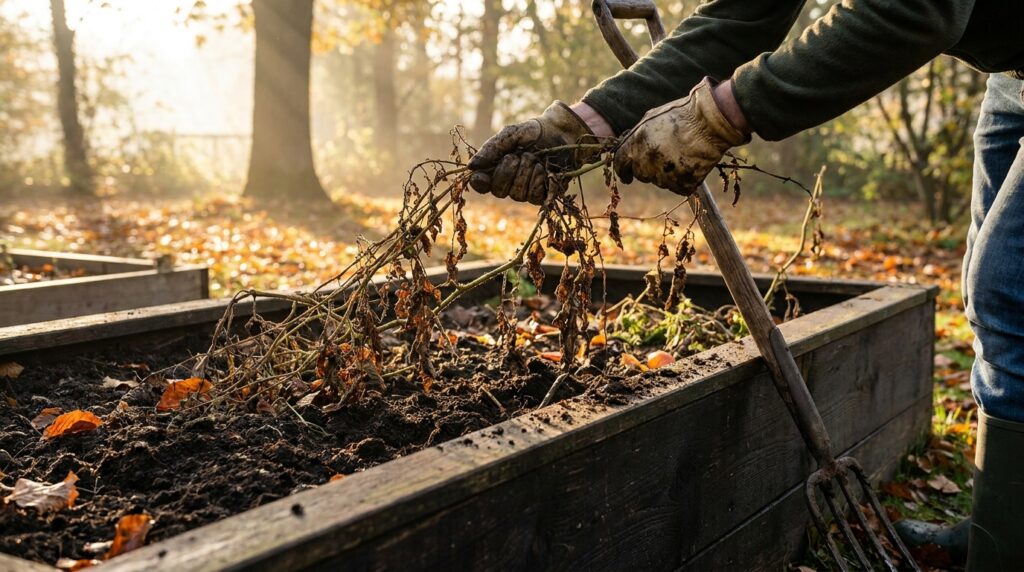
Pull up all your annual plants that have completed their lifecycle. This includes:
- Tomatoes, peppers, and eggplant
- Squash, cucumbers, and melons
- Beans, corn, and basil
- Marigolds, petunias, and other annual flowers
Remove the entire plant — roots and all — because root matter left in the soil can harbor disease and pest larvae.
What to Leave
Not everything needs to go. Some plant material is actually beneficial to leave in the garden over winter:
- Ornamental grasses — provide structure and habitat
- Seed heads on native plants — feed birds through winter
- Perennial stems — protect root crowns and add habitat for beneficial insects
The Xerces Society, a leading invertebrate conservation organization, recommends leaving some plant stems standing and avoiding overly aggressive fall cleanup to support native pollinators that overwinter in hollow stems and leaf litter.
It’s a balance — clean where disease and pests are a concern, but leave structure where it supports the ecosystem.
What to Do With Removed Material
- Healthy plant matter: Add to your compost pile
- Diseased plants: Bag and trash — do NOT compost diseased material, as it can spread pathogens
- Weed roots: Trash — never compost weeds that have gone to seed
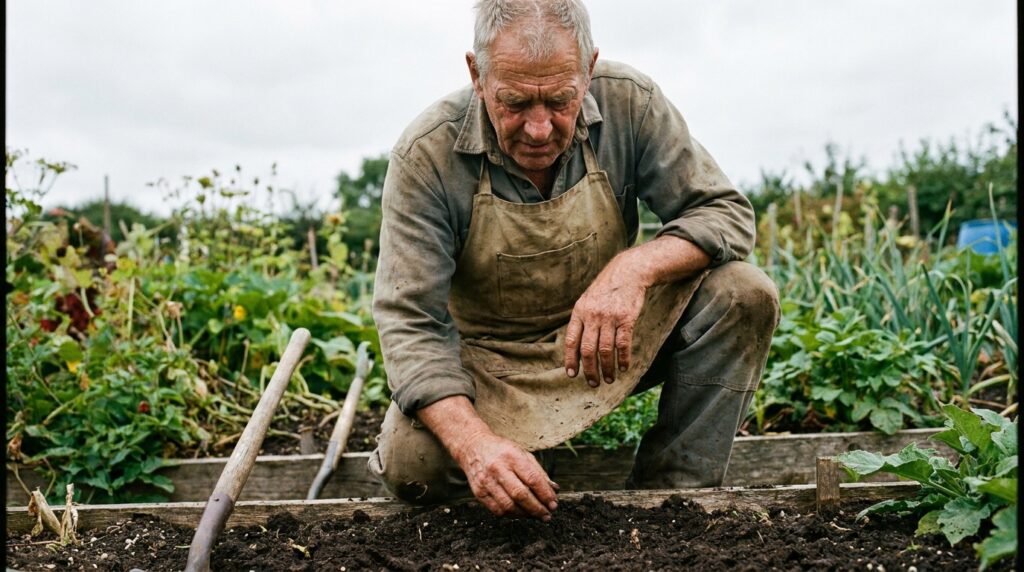
Step 2 — Amend and Protect Your Soil
Healthy soil is the foundation of a productive garden. Fall is actually one of the best times to improve your soil, because amendments have all winter to break down and integrate.
Test Your Soil First
Before adding anything, consider doing a soil test. Many cooperative extension services offer affordable testing kits, or you can order one from Cooperative Extension programs through your local land-grant university.
A soil test tells you:
- pH level (ideal range: 6.0–7.0 for most vegetables)
- Nutrient levels (nitrogen, phosphorus, potassium)
- Organic matter percentage
What to Add in Fall
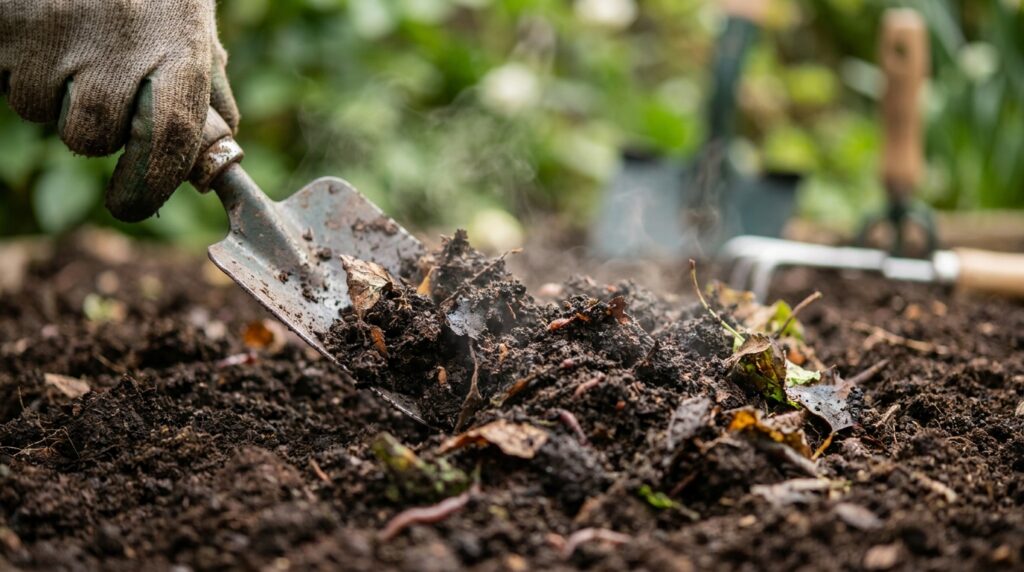
Compost: The most universally beneficial amendment. Work 2–4 inches of finished compost into the top 6 inches of soil. This improves structure, drainage, and microbial activity.
Aged manure: Chicken, cow, or horse manure that has composted for at least 6 months can be added in fall and will finish breaking down by spring planting.
Cover crops: Also called “green manures,” crops like winter rye, crimson clover, and field peas are seeded in fall and turned under in spring. They prevent erosion, suppress weeds, and add nitrogen. The Sustainable Agriculture Research & Education (SARE) program has an excellent guide on choosing the right cover crops for your region.
Lime or sulfur: If your soil test revealed a pH imbalance, fall is the ideal time to correct it — lime takes several months to fully adjust pH.
Avoid Tilling Aggressively
Modern soil science has largely moved away from deep tilling. Research from Rodale Institute shows that aggressive tilling disrupts fungal networks and soil structure. A light incorporation of amendments (2–4 inches) is generally better than deep turning.
Step 3 — Mulch Your Garden Beds
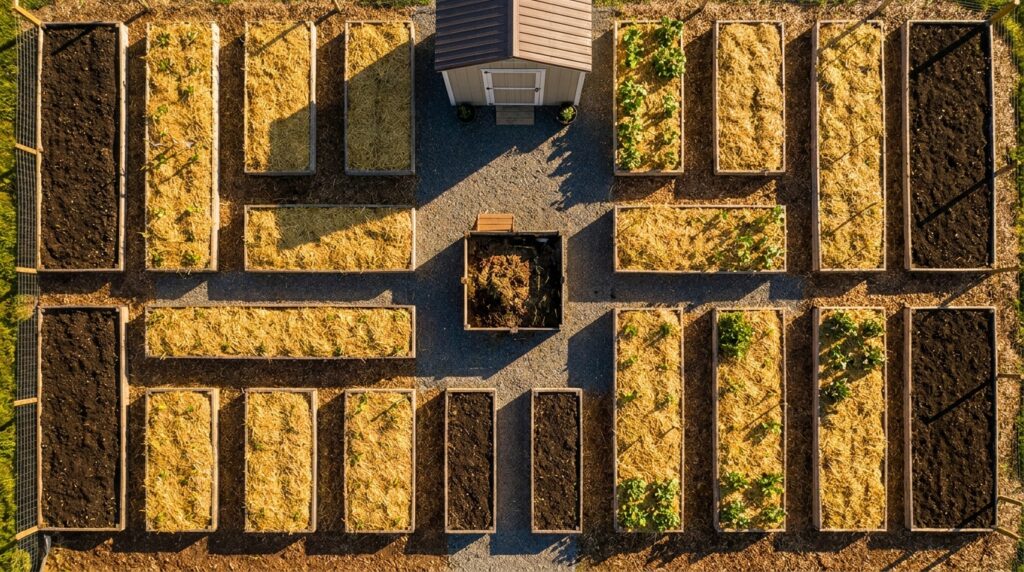
Mulch is one of the hardest-working tools in a winter garden. It:
- Insulates soil against freeze-thaw temperature swings
- Retains moisture during dry winter periods
- Suppresses weed germination in early spring
- Gradually feeds soil as it decomposes
Best Mulches for Winter
| Mulch Type | Best For | Depth |
|---|---|---|
| Straw | Vegetable beds | 3–4 inches |
| Shredded leaves | Perennial beds | 3–6 inches |
| Wood chips | Trees, shrubs, paths | 2–4 inches |
| Pine needles | Acid-loving plants | 2–3 inches |
| Compost | All beds | 2–3 inches |
Pro tip: Don’t mulch too close to plant crowns or tree trunks. Leave a 2–3 inch gap to prevent rot and rodent damage — a practice sometimes called “no mulch volcanoes.”
Wait until after a hard frost to apply mulch on perennial beds. Mulching too early can keep the soil warm and encourage late growth that will be damaged by winter cold.
Step 4 — Protect Perennials and Shrubs
Perennials are long-term investments in your garden. With a little protection in fall, most will return reliably every spring.
Herbaceous Perennials
Plants like hostas, daylilies, coneflowers, and sedums die back to the ground naturally. Your job is to:
- Cut back stems to 4–6 inches above the ground after a killing frost
- Apply 3–4 inches of mulch over the crown to insulate roots
- Leave some stems standing if you want winter structure or bird habitat
Tender Perennials
Some perennials, like dahlias, cannas, and elephant ears, are cold-sensitive and won’t survive frozen ground. You have two options:
- Dig and store: Lift bulbs or tubers after the first frost, dry them for a week, then store in a cool, dark, frost-free location (ideally 40–50°F) in paper bags or boxes of peat moss
- Overwinter indoors: Some gardeners pot up tender plants and bring them inside as houseplants for winter
Roses
Roses need special attention:
- Stop deadheading 6 weeks before the first frost — this signals the plant to harden off
- After a hard frost, mound 10–12 inches of soil or compost over the base
- For grafted roses in cold climates, consider a rose cone or burlap wrap
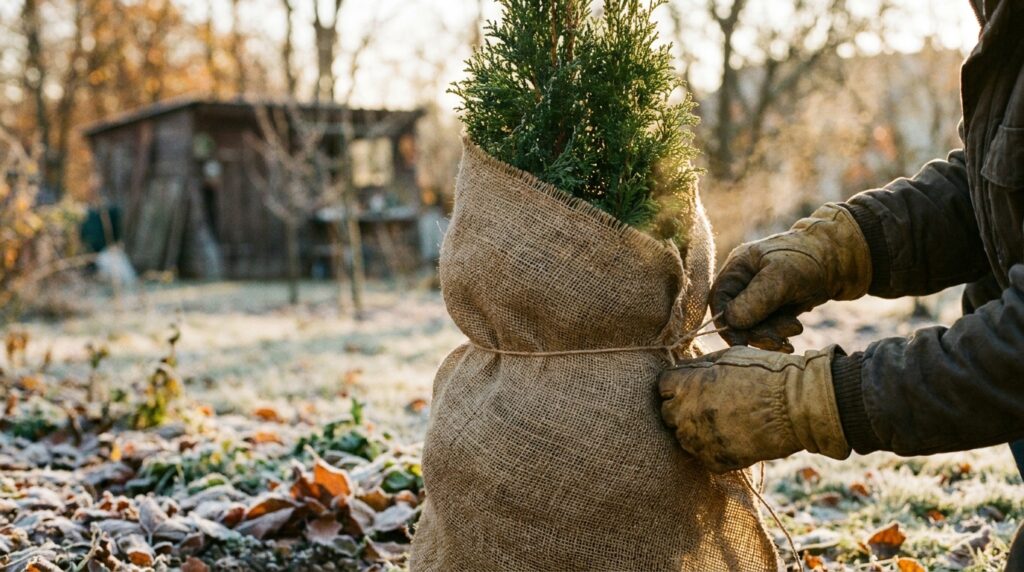
Evergreen Shrubs
Broad-leaved evergreens like rhododendrons, hollies, and boxwoods can suffer from winter burn — a dehydration stress caused by dry winter wind and frozen ground.
Protect them by:
- Applying an anti-desiccant spray like Wilt-Pruf in late fall
- Wrapping loosely with burlap (not plastic) to block wind
- Ensuring they’re well-watered going into winter
Step 5 — Prepare Your Lawn for Winter
The lawn is part of the garden system, and it needs winter prep too.
Final Mowing
Mow your lawn to its ideal winter height before the last mow of the season:
- Cool-season grasses (fescue, bluegrass, ryegrass): 2.5–3 inches
- Warm-season grasses (bermuda, zoysia, St. Augustine): 1–1.5 inches
Avoid cutting too short — this can expose crown tissue to freezing temperatures.
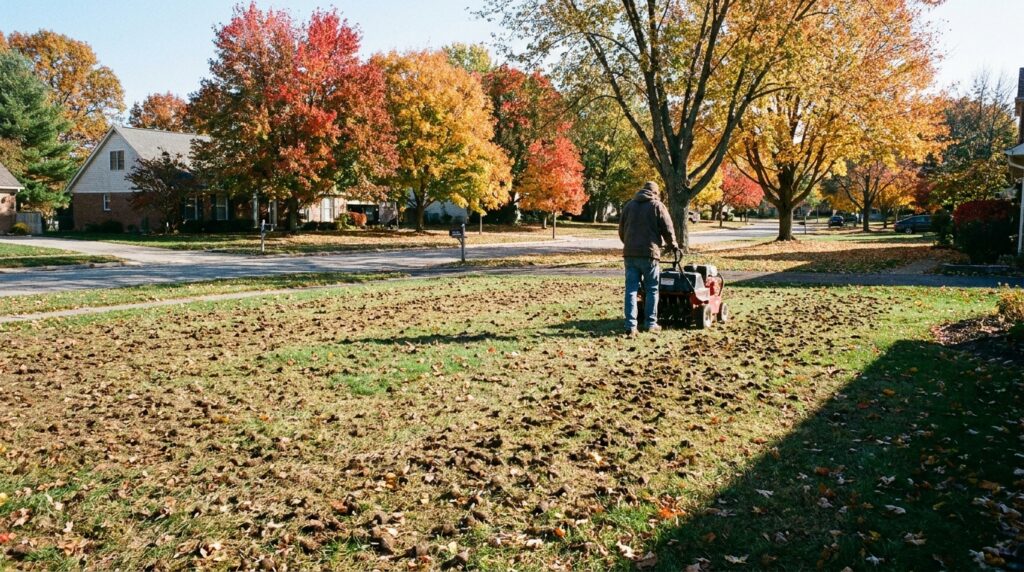
Aeration
Fall aeration breaks up compacted soil and allows water, oxygen, and nutrients to penetrate deeply before winter. This is especially beneficial for high-traffic areas. Core aeration (removing actual soil plugs) is more effective than spike aeration.
Fertilization
Apply a slow-release, high-phosphorus fertilizer in early fall (not late fall) to encourage strong root development before dormancy. The Lawn Institute provides region-specific guidance on lawn care timing and fertilizer selection.
Leaf Management
Leaving thick layers of leaves matted on the lawn can suffocate grass and encourage mold. Options:
- Rake and compost — the classic approach
- Mulch mow — run the mower over fallen leaves to shred them into fine pieces that decompose in place and feed the lawn
- Blow into beds — shredded leaves make excellent mulch for garden beds
Step 6 — Winterize Garden Irrigation Systems
Frozen water expands. And when it expands inside an irrigation line, it can split pipes, crack fittings, and destroy entire systems.
This is one of the most financially important steps in winter garden prep.
Drip Irrigation Systems
- Turn off the water supply at the main shutoff
- Open end caps on drip lines and flush remaining water
- If using a timer or controller, remove batteries and store indoors
- Disconnect and coil drip lines, storing in a garage or shed
In-Ground Sprinkler Systems
Automatic irrigation systems typically require compressed air blowout to fully clear all water from the lines. This is often best handled by a licensed irrigation professional, as too much pressure can damage components.
The general process:
- Shut off the water supply to the system
- Attach an air compressor to the system’s blowout port
- Blow out each zone one at a time, starting at the farthest from the compressor
- Insulate above-ground components (backflow preventers, valve boxes) with foam insulation
The Irrigation Association offers detailed guidance and can help you locate certified irrigation professionals in your area.
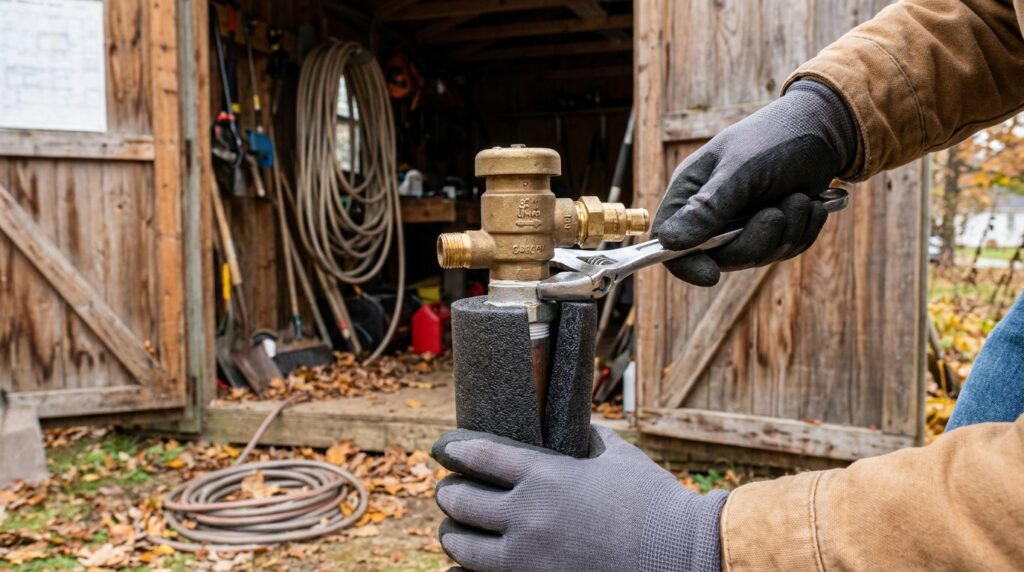
Outdoor Spigots and Hose Bibs
Even if you don’t have an irrigation system:
- Disconnect all garden hoses before the first freeze (water trapped in a connected hose can back-freeze into the pipe)
- Shut off and drain frost-free hose bibs from the interior shutoff valve
- Insulate outdoor spigots with foam faucet covers (available at any hardware store)
Step 7 — Store Garden Tools Properly

Garden tools are expensive. With proper end-of-season care, a quality shovel or pruner can last 20+ years. Neglect them and you’ll be replacing them every few seasons.
Cleaning
- Remove all soil and plant debris from metal surfaces
- Wash with soap and water if needed, then dry thoroughly
- Use a stiff wire brush to remove rust spots
Sharpening
Fall is the ideal time to sharpen:
- Pruning shears and loppers
- Garden hoes and edgers
- Spades and shovels
A diamond file or whetstone works for most blades. For complex tools, many hardware stores offer sharpening services.
Oiling
Apply a thin coat of linseed oil or mineral oil to all metal surfaces to prevent rust. Rub wooden handles with linseed oil to prevent cracking and splitting.
Storage
- Store in a dry location — shed, garage, or basement
- Hang tools off the floor to prevent moisture contact
- Store pruners, loppers, and hand tools in a bucket of slightly oiled sand (this keeps blades clean and rust-free through winter)
Step 8 — Plan Ahead for Spring

The quieter months of winter are a gift for gardeners who use them wisely.
Order Seeds Early
Many popular seed varieties sell out by February. Browsing and ordering from seed catalogs or websites in November and December ensures you get your first choices. Reputable sources include:
- Johnny’s Selected Seeds — extensive variety selection, excellent for market and home gardeners
- Baker Creek Heirloom Seeds — focus on rare and heirloom varieties
- Seed Savers Exchange — heirloom preservation and community seed saving
Sketch Your Garden Layout
Rotate your crops. Planting the same family of plants in the same spot year after year depletes specific nutrients and builds up soil-borne pathogens. The general rule is a 3–4 year rotation for major vegetable families.
Use winter downtime to sketch out next year’s bed layout with crop rotation in mind.
Evaluate What Worked and What Didn’t
Keep a garden journal. Before winter sets in completely, spend 20 minutes writing notes about the season:
- What varieties performed best?
- Which beds had drainage issues?
- What pest or disease problems appeared?
- What would you change?
This kind of reflective documentation is one of the habits that separates average gardeners from excellent ones.
Expert Tips from Seasoned Gardeners
We asked experienced gardeners and horticultural specialists for their best winterizing advice. Here’s what they shared:
1. “Mulch is your best friend, but timing matters.”
Apply mulch after the ground has frozen slightly, not before. Pre-frost mulching can actually keep ground warm enough to attract rodents that will nest near plant crowns and damage roots.
2. “Never compost diseased material — ever.”
Home compost piles rarely reach the high temperatures needed to kill pathogens. Bag diseased plant material and remove it from the property entirely.
3. “Fall soil amendments are more effective than spring ones.”
Adding compost, lime, or manure in fall gives amendments a full winter to break down and integrate. By the time you plant in spring, the soil is already improved.
4. “Don’t be too tidy — leave some for the wildlife.”
An impeccably cleaned garden provides little habitat for the beneficial insects, birds, and other wildlife that help your garden thrive. Leave some structure. Leave the leaves in out-of-the-way spots.
5. “Get a soil test every 2–3 years.”
Guessing at soil amendments is wasteful and sometimes counterproductive. A $15–$30 soil test from your local extension service gives you precise recommendations.
Common Winterizing Mistakes to Avoid
Even experienced gardeners make these errors. Here’s what to watch for:
Cutting Back Perennials Too Early
Perennials use their foliage to photosynthesize and store energy after flowering. Cutting them back before a killing frost reduces the energy reserves the plant has for winter survival. Wait until after the plant has been killed back by frost.
Planting Bulbs Too Late
Spring bulbs (tulips, daffodils, crocuses, hyacinths) need a cold period underground to bloom properly. If you miss the planting window (typically before the ground freezes), they may not bloom the following spring. The window is generally 6–8 weeks before the ground freezes.
Watering Too Much — or Too Little — Before Freeze
Newly planted trees and shrubs, as well as evergreens, should be watered deeply in late fall before the ground freezes. This provides a moisture reserve for the winter. Annuals and bare soil don’t need watering, but established perennials and woody plants do.
Forgetting the Compost Pile
Add your fall garden debris to the compost pile and give it a final turn. Then cover it loosely with a tarp to prevent excess moisture accumulation while still allowing airflow. The pile will continue to decompose slowly even through winter.
Skipping the Irrigation Blowout
Even in mild climates, a single hard freeze can crack unprotected irrigation lines. This is one of the most expensive and avoidable winterizing mistakes.
Winterizing Checklist at a Glance
Use this checklist as a quick reference before winter sets in:
Garden Beds
- Remove and compost (or discard) all dead annuals
- Cut back diseased foliage — bag and trash
- Pull all annual weeds before they set seed
- Add 2–4 inches of compost to beds
- Plant cover crops if desired
- Correct soil pH based on soil test results
- Apply 3–4 inches of mulch after first hard frost
- Plant spring-blooming bulbs
Perennials & Shrubs
- Cut back herbaceous perennials after killing frost
- Dig and store tender bulbs (dahlias, cannas)
- Mound soil around rose bases
- Apply anti-desiccant to broad-leaved evergreens
- Wrap vulnerable shrubs in burlap
Lawn
- Final mow at proper winter height
- Core aerate if needed
- Fertilize (early fall only)
- Mulch mow fallen leaves
Irrigation & Water
- Disconnect and store garden hoses
- Drain and blow out irrigation systems
- Shut off and insulate outdoor spigots
- Drain any outdoor water features
Tools & Equipment
- Clean all soil and debris from tools
- Sharpen blades
- Oil metal surfaces and wooden handles
- Store in dry location
Planning
- Order seeds from catalogs
- Sketch crop rotation plan for next year
- Write garden journal notes for the season
- Schedule soil test if needed
FAQs About Winterizing Your Garden
When should I stop watering my garden in fall?
Gradually reduce watering as temperatures drop and plant growth slows. Most established plants need less water as days shorten. However, don’t stop completely — trees, shrubs, and evergreens benefit from a deep watering in late fall before the ground freezes. This moisture reserve helps them survive winter dehydration stress. Stop watering once the ground freezes solid.
Should I remove leaves from my garden beds in fall?
It depends. Whole, matted leaves on the lawn should be removed or mulch-mowed (they can smother grass). But in garden beds, shredded leaves make excellent winter mulch — they insulate soil, suppress weeds, and break down to feed the soil. Whole leaves can mat down and prevent airflow, so run them through a mower or leaf shredder first. Organizations like the National Wildlife Federation also advocate leaving leaf litter in low-traffic garden areas to support overwintering beneficial insects.
Can I leave tomato cages and stakes out over winter?
Metal tomato cages will rust faster if left outside all winter, and wooden stakes can split from freeze-thaw moisture cycling. It’s best to pull, clean, and store them in a shed or garage. This extends their lifespan significantly — a five-minute task that saves you from buying replacements every year.
How do I protect container plants over winter?
Container plants are more vulnerable than in-ground plants because their roots are exposed to freezing temperatures on all sides. Options include:
- Move indoors — ideal for tender plants and tropicals
- Cluster together — group pots in a sheltered spot (against a south-facing wall or in a garage) to reduce exposure
- Insulate — wrap pots in burlap, bubble wrap, or foam to protect roots
- Bury the pot — sink the container into the ground and mulch heavily over the top
Terracotta pots can crack in freezing temperatures. If you have valuable terracotta, always bring them inside for winter.
Is it too late to winterize my garden if it’s already snowed?
It’s not ideal, but it’s not too late for many tasks. You can still:
- Disconnect hoses and winterize spigots (urgent if pipes are at risk)
- Add mulch on top of snow to insulate garden beds
- Wrap vulnerable shrubs if they haven’t been damaged yet
Some tasks — like cutting back perennials and digging tender bulbs — are best done before snow, but even a late mulching can reduce damage. Do what you can, and use the experience to plan a better timeline next year.
Final Thoughts
Winterizing your garden is one of those tasks that feels optional in the moment but pays enormous dividends come spring.
It doesn’t require a weekend marathon or an expert-level skill set. It’s a series of manageable steps — clean up, protect, amend, mulch, store — that work together to protect everything you’ve invested in your garden throughout the growing season.
Start with the most urgent tasks (pulling dead plants, disconnecting irrigation, protecting vulnerable perennials) and work your way through the checklist over a few weekends. You don’t have to do everything at once.
By the time the last snow falls, you’ll know your garden is ready. And when the ground thaws in spring, your soil will be richer, your perennials stronger, and your work lighter than it would have been if you’d just left things as-is.
That’s the real reward of winterizing — it’s not just about this winter. It’s about next spring, and the season after that.
Ready to get started? Grab your gloves, pick up a bag of compost, and head outside. Your garden is waiting.
